A clean macOS Tahoe installation is a complete Mac reset to an “out of the box” state with a full system reinstall from scratch. This method is useful before selling your Mac, when transferring it to a new owner, or for fixing issues that can’t be resolved by conventional means. If you just need to update the system without losing files, there’s a way to reinstall macOS without losing data. But if you’ve decided on a full reset — remember: the process erases absolutely everything, so it’s best not to attempt it without a backup.

Sometimes you need to install macOS with a complete erasure of all computer contents
Reasons for a Clean macOS Tahoe Installation
A simple update over the existing system handles most tasks — a clean installation isn’t for everyone. It makes sense in several situations:

There are several reasons for a clean macOS installation
- The Mac is being prepared for sale or transfer to another person
- There are persistent system failures that don’t go away after reinstalling apps and resetting settings
- You want to start fresh and remove years of accumulated clutter
- The Mac was purchased second-hand and you need to reliably remove someone else’s data and accounts
A clean macOS Tahoe installation isn’t an everyday procedure — it’s a tool for specific tasks. It’s not needed for a regular system version update and would only waste time. If you fall into one of the scenarios listed above, the bootable USB method is the most reliable: it guarantees disk erasure and installs the system from scratch, and the USB drive itself will remain a useful tool for the future.
What You’ll Need for a Clean macOS Tahoe Installation
Before starting, it’s worth preparing everything in advance, otherwise the process will drag on. Here’s the minimum set:
- A USB flash drive of 16 GB or larger — it will become the bootable installer and will be completely erased in the process
- The macOS Tahoe installer downloaded from Apple’s official source
- A Mac backup — via Time Machine or manual, to an external drive or cloud
- The Mac administrator password and an internet connection
It’s also worth knowing which processor you have — Apple Silicon (M1, M2, M3, M4 and newer) or Intel. Booting from the installation USB drive is initiated differently on these platforms.
Macs That Support macOS Tahoe
macOS Tahoe can’t be installed on all Apple computers. Here’s the list of Macs that support this operating system:

Even this old fellow is on the list of supported devices
- MacBook Pro (2019 and newer)
- iMac (2020 and newer)
- Mac Pro (2019 and newer)
- Mac mini (M1 and newer)
- Mac Studio (all models)
- MacBook Air (M1 and newer)
If your Mac isn’t on the list, a clean Tahoe installation via the standard method won’t work — the system simply won’t launch the installer.
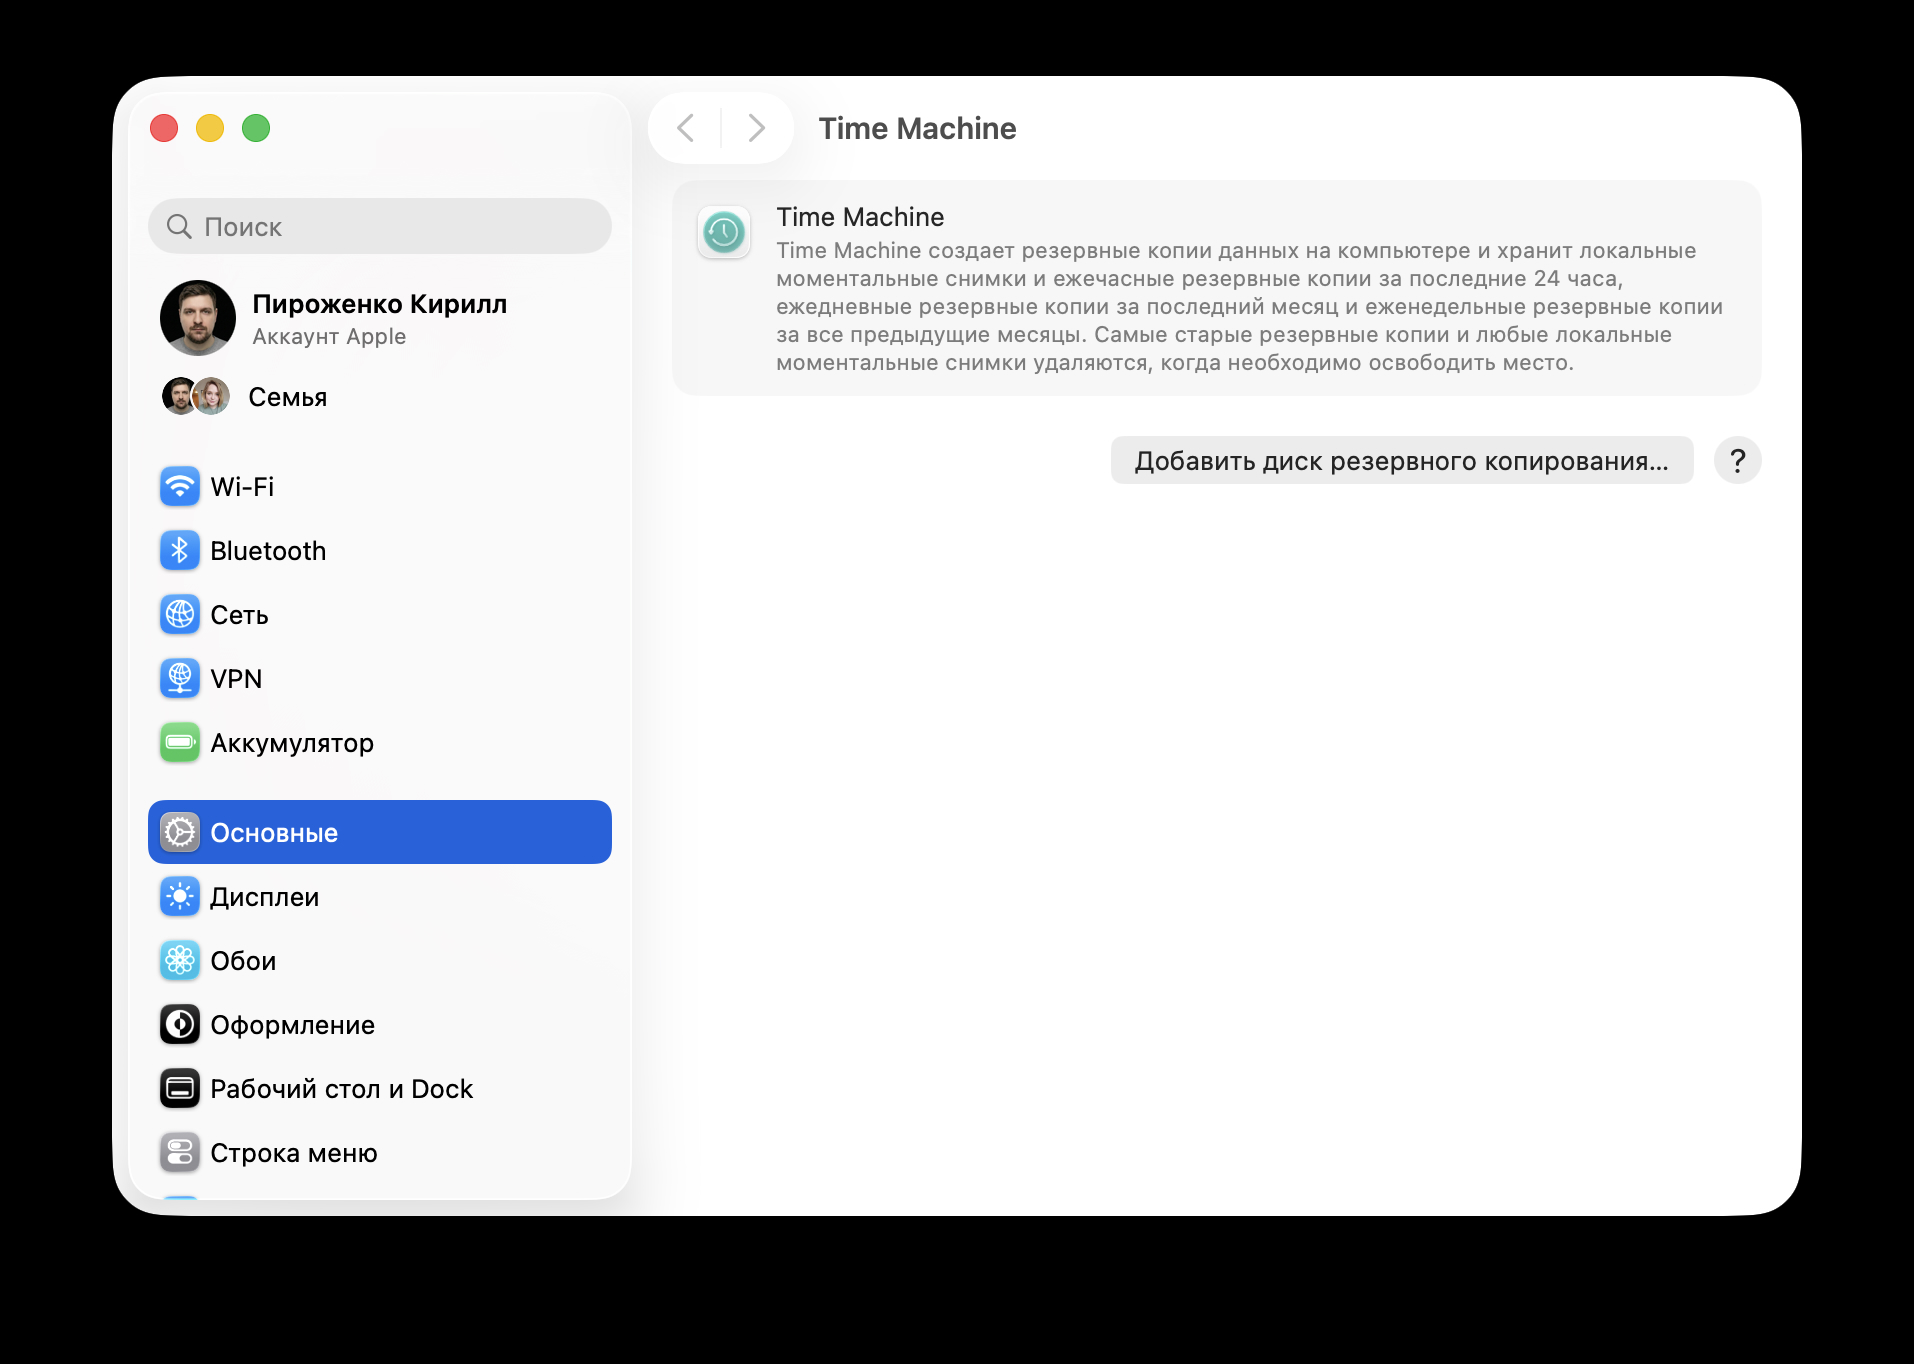
Backing Up Your Mac Before Reinstallation
This is the most important step that’s most often skipped. A clean installation deletes absolutely everything: documents, photos, apps, settings, licenses, keychain passwords if they aren’t synced with iCloud.
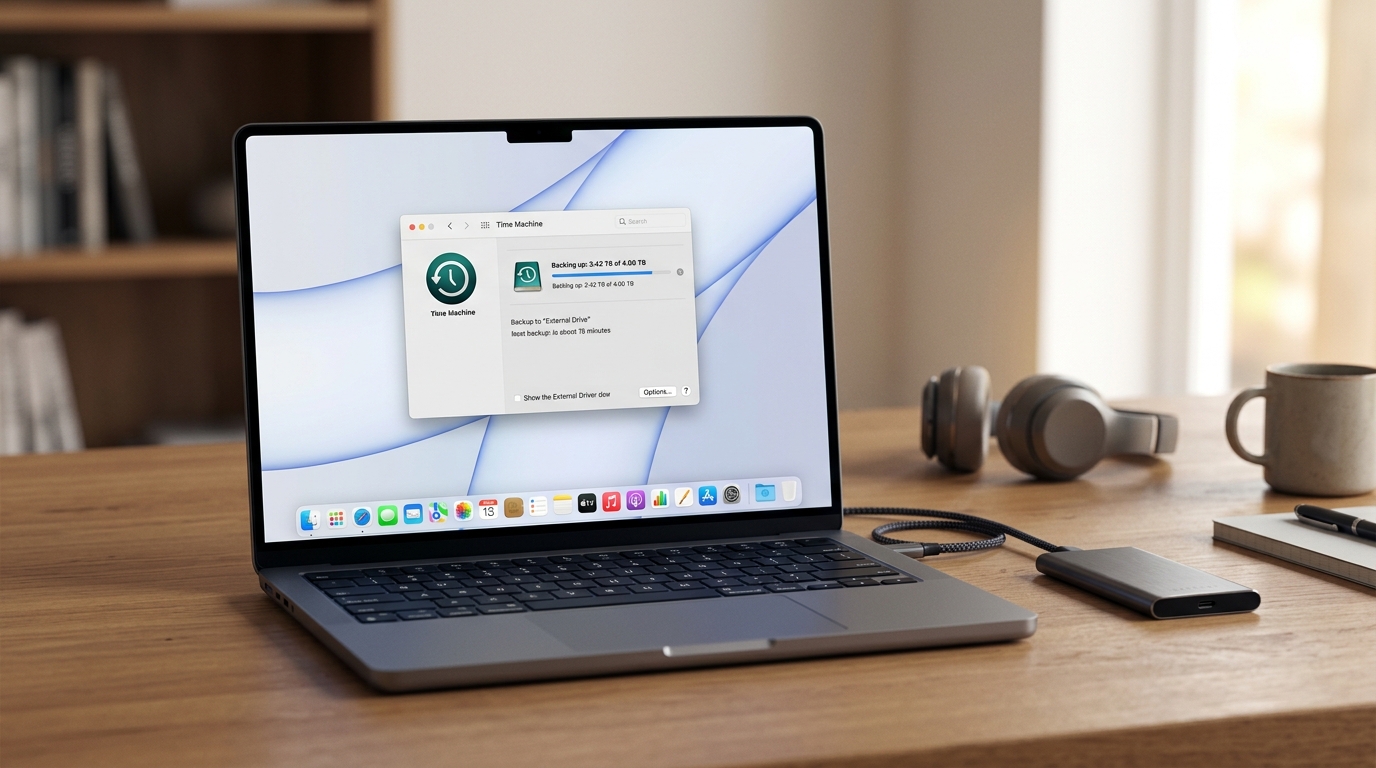
Mac backup via Time Machine before a clean installation
There are two options:
- A full backup via Time Machine to an external drive — the most convenient method; you’ll be able to restore the system entirely or selectively afterward
- Manual backup of critical data — work files, projects, photo archive, password exports, license keys
Set up and regularly create backups
If you’ve never made a backup before, we recommend studying a detailed guide on backup on Mac — all options are covered there. After backing up, you should sign out of Apple ID, iMessage, and iCloud, especially if the Mac is being prepared for sale. This will remove the device’s association with the account.
Creating a Bootable macOS Tahoe USB Drive via Terminal
The bootable USB drive is the foundation of the entire process. The Mac will boot from it instead of the internal drive and launch the installer. Here’s the procedure:
- Connect the USB drive to your Mac and rename it to something clear, for example TahoeUSB. The contents will be completely erased.
- Open Terminal — via Spotlight (Command + Space, type Terminal) or from the Applications > Utilities folder.
- Enter the command
softwareupdate --fetch-full-installer --full-installer-version [number]
where you replace [number] with the desired system version, for example 26.4.1, and wait until the file “Install macOS Tahoe.app” appears in the Applications folder (/Applications). - Enter another command, replacing TahoeUSB with the exact name of your USB drive:
- Press Return, enter the administrator password, and wait for the process to complete.
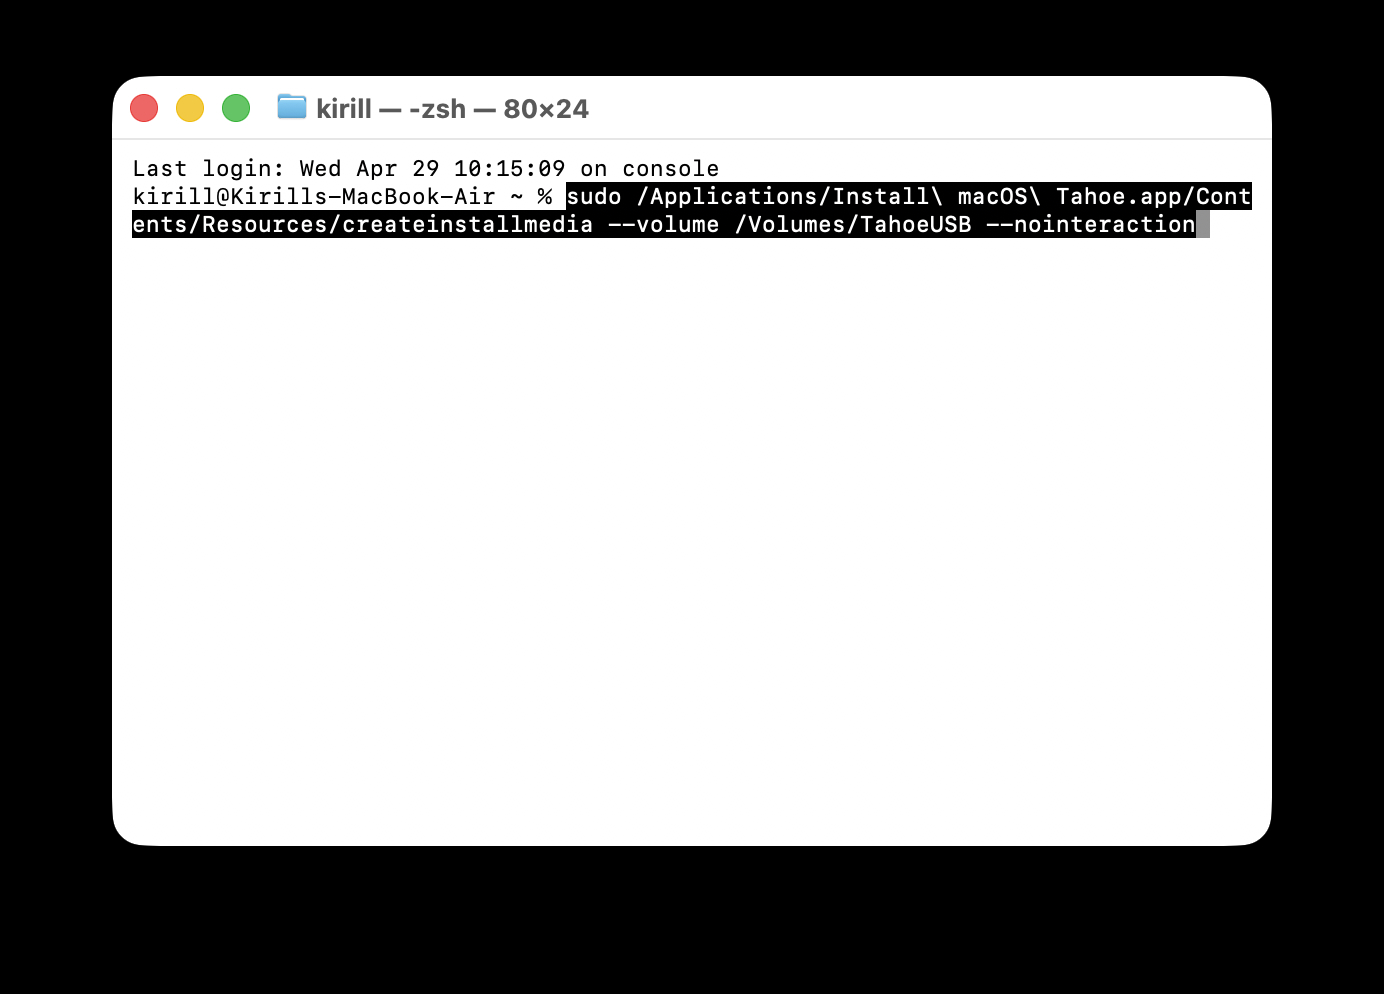
Enter this command in Terminal
sudo /Applications/Install macOS Tahoe.app/Contents/Resources/createinstallmedia --volume /Volumes/TahoeUSB --nointeraction
When the Terminal shows a line with “100%” and a disk named “Install MacOS Tahoe” appears in the system, the USB drive is ready. You can close Terminal. Such a USB drive will come in handy not only now — it’s convenient to keep on hand as a recovery tool for any occasion.