The other day, Apple released the Apple Sports app in Russia. I had been waiting for this moment for a long time and immediately downloaded the app on my iPhone. I wanted to follow NHL games and also prepare for the FIFA World Cup, which kicks off on June 11. And I have to say, Apple Sports turned out to be just the beginning — the real discovery awaited me on Mac.

It turns out Live Activities on Mac is a genuinely useful thing
How Live Activities from Apple Sports Appeared on Mac
Apple Sports appeared in Russia quite recently — the company expanded the app’s availability to over 90 countries at once, and ours was among them. The app is free and works on any iPhone with iOS 17.2 or later. I added the NHL to my favorites and started waiting for the next interesting game.
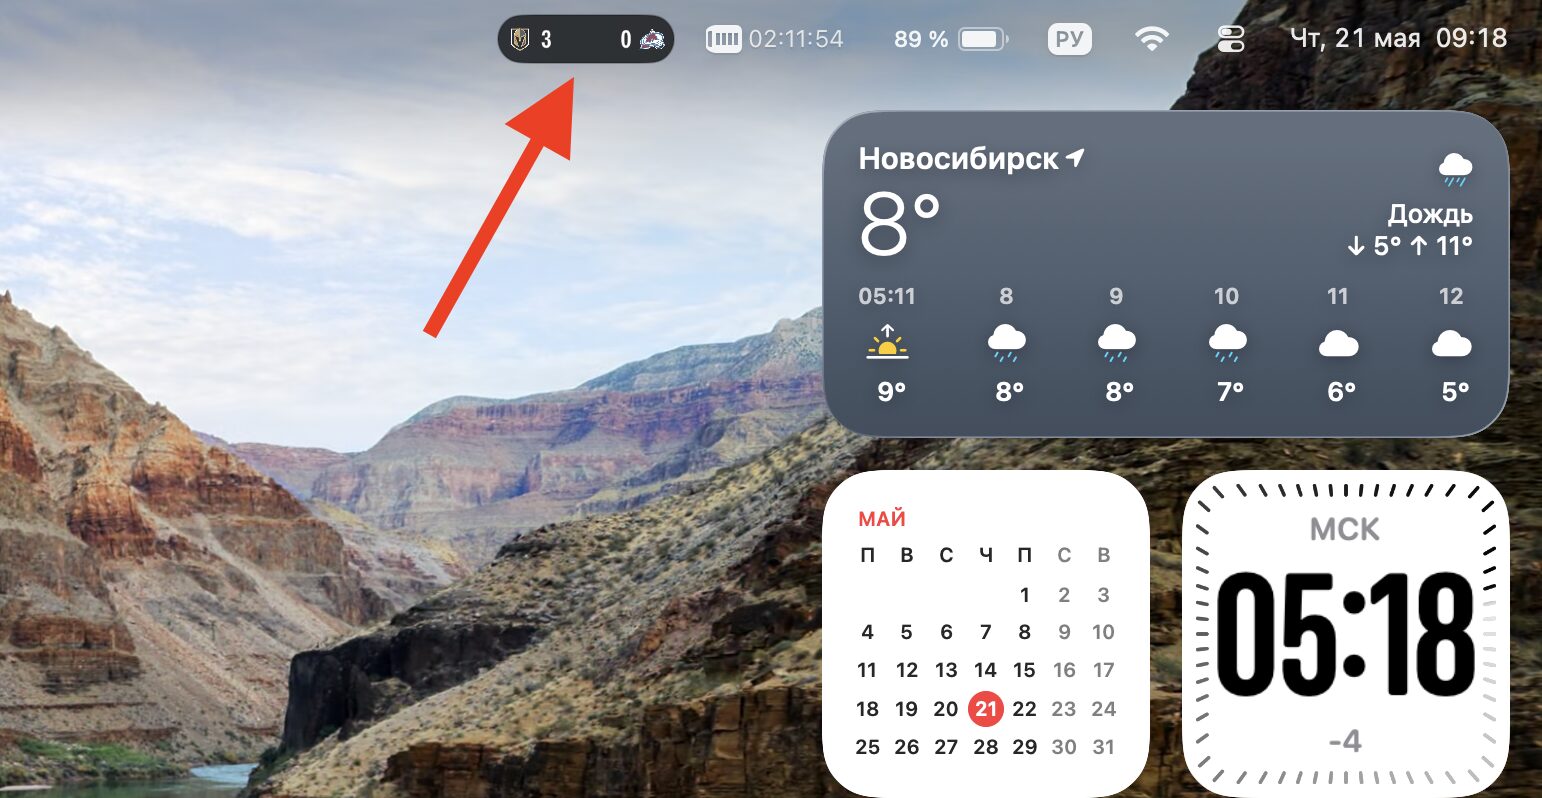
The match score was displayed in the menu bar, and it was incredibly convenient
I didn’t have to wait long. The Stanley Cup conference finals had just started — Vegas Golden Knights vs. Colorado Avalanche. I opened Apple Sports, gave the app all the necessary permissions — notifications, Live Activities. And then the most interesting part began.
I have iPhone Mirroring set up on my Mac. This is a feature that lets you control your smartphone directly from your computer. So, when the match started, Live Activities kicked in not only on the iPhone but also on the Mac. Right in the menu bar, the game score appeared. It updates instantly. I was sitting there working at the computer, and the score was always in front of my eyes — I didn’t even have to pick up my phone.
Why Sports Matches Are the Best Showcase for Live Activities
To be fair, I had tested Live Activities on Mac before. When macOS Tahoe first came out, I tried this feature with delivery services. I ordered food and tracked the courier in the menu bar. And honestly, it didn’t impress me at all. The courier is on the way, the status shows — “preparing,” “en route,” “nearby.” The information updates rarely, and the practical benefit is minimal. It’s easier to just open the app on your phone and look at the map. Back then I thought that Live Activities on Mac was a nice-looking but useless thing.
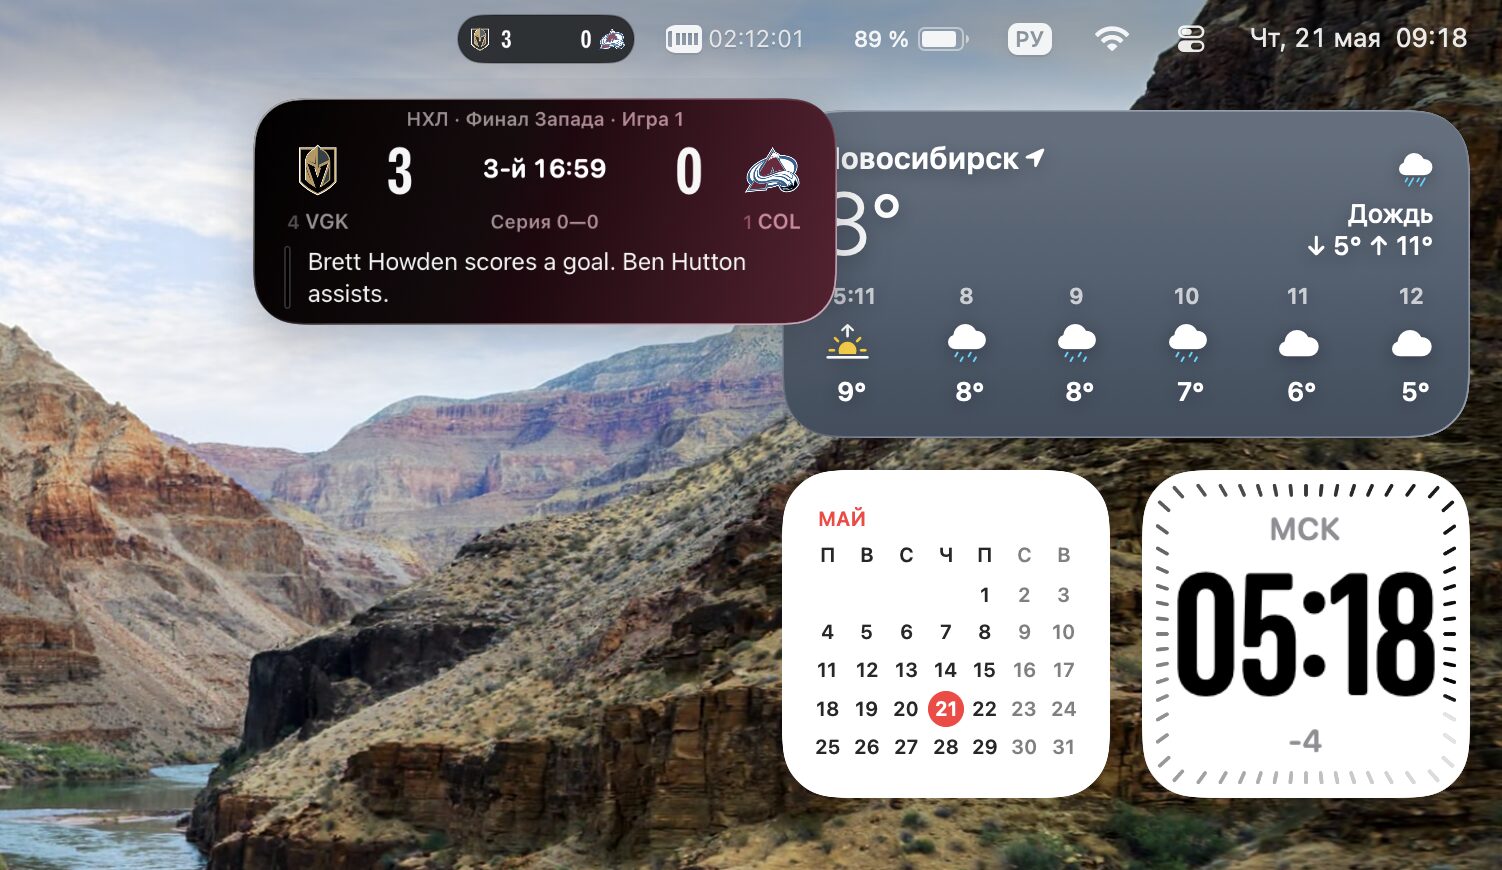
You could expand the widget and see the details
But sports events are a completely different story. Here, the score changes in real time, and every update matters. You’re working at your computer, and in the menu bar you see that Vegas tied the score or Colorado scored on the power play. No need to open a broadcast tab, no need to get distracted. One glance up — and you’re in the loop. It was precisely sports that truly revealed Live Activities on Mac for me. Now I consider this feature the best in macOS Tahoe. Seriously.
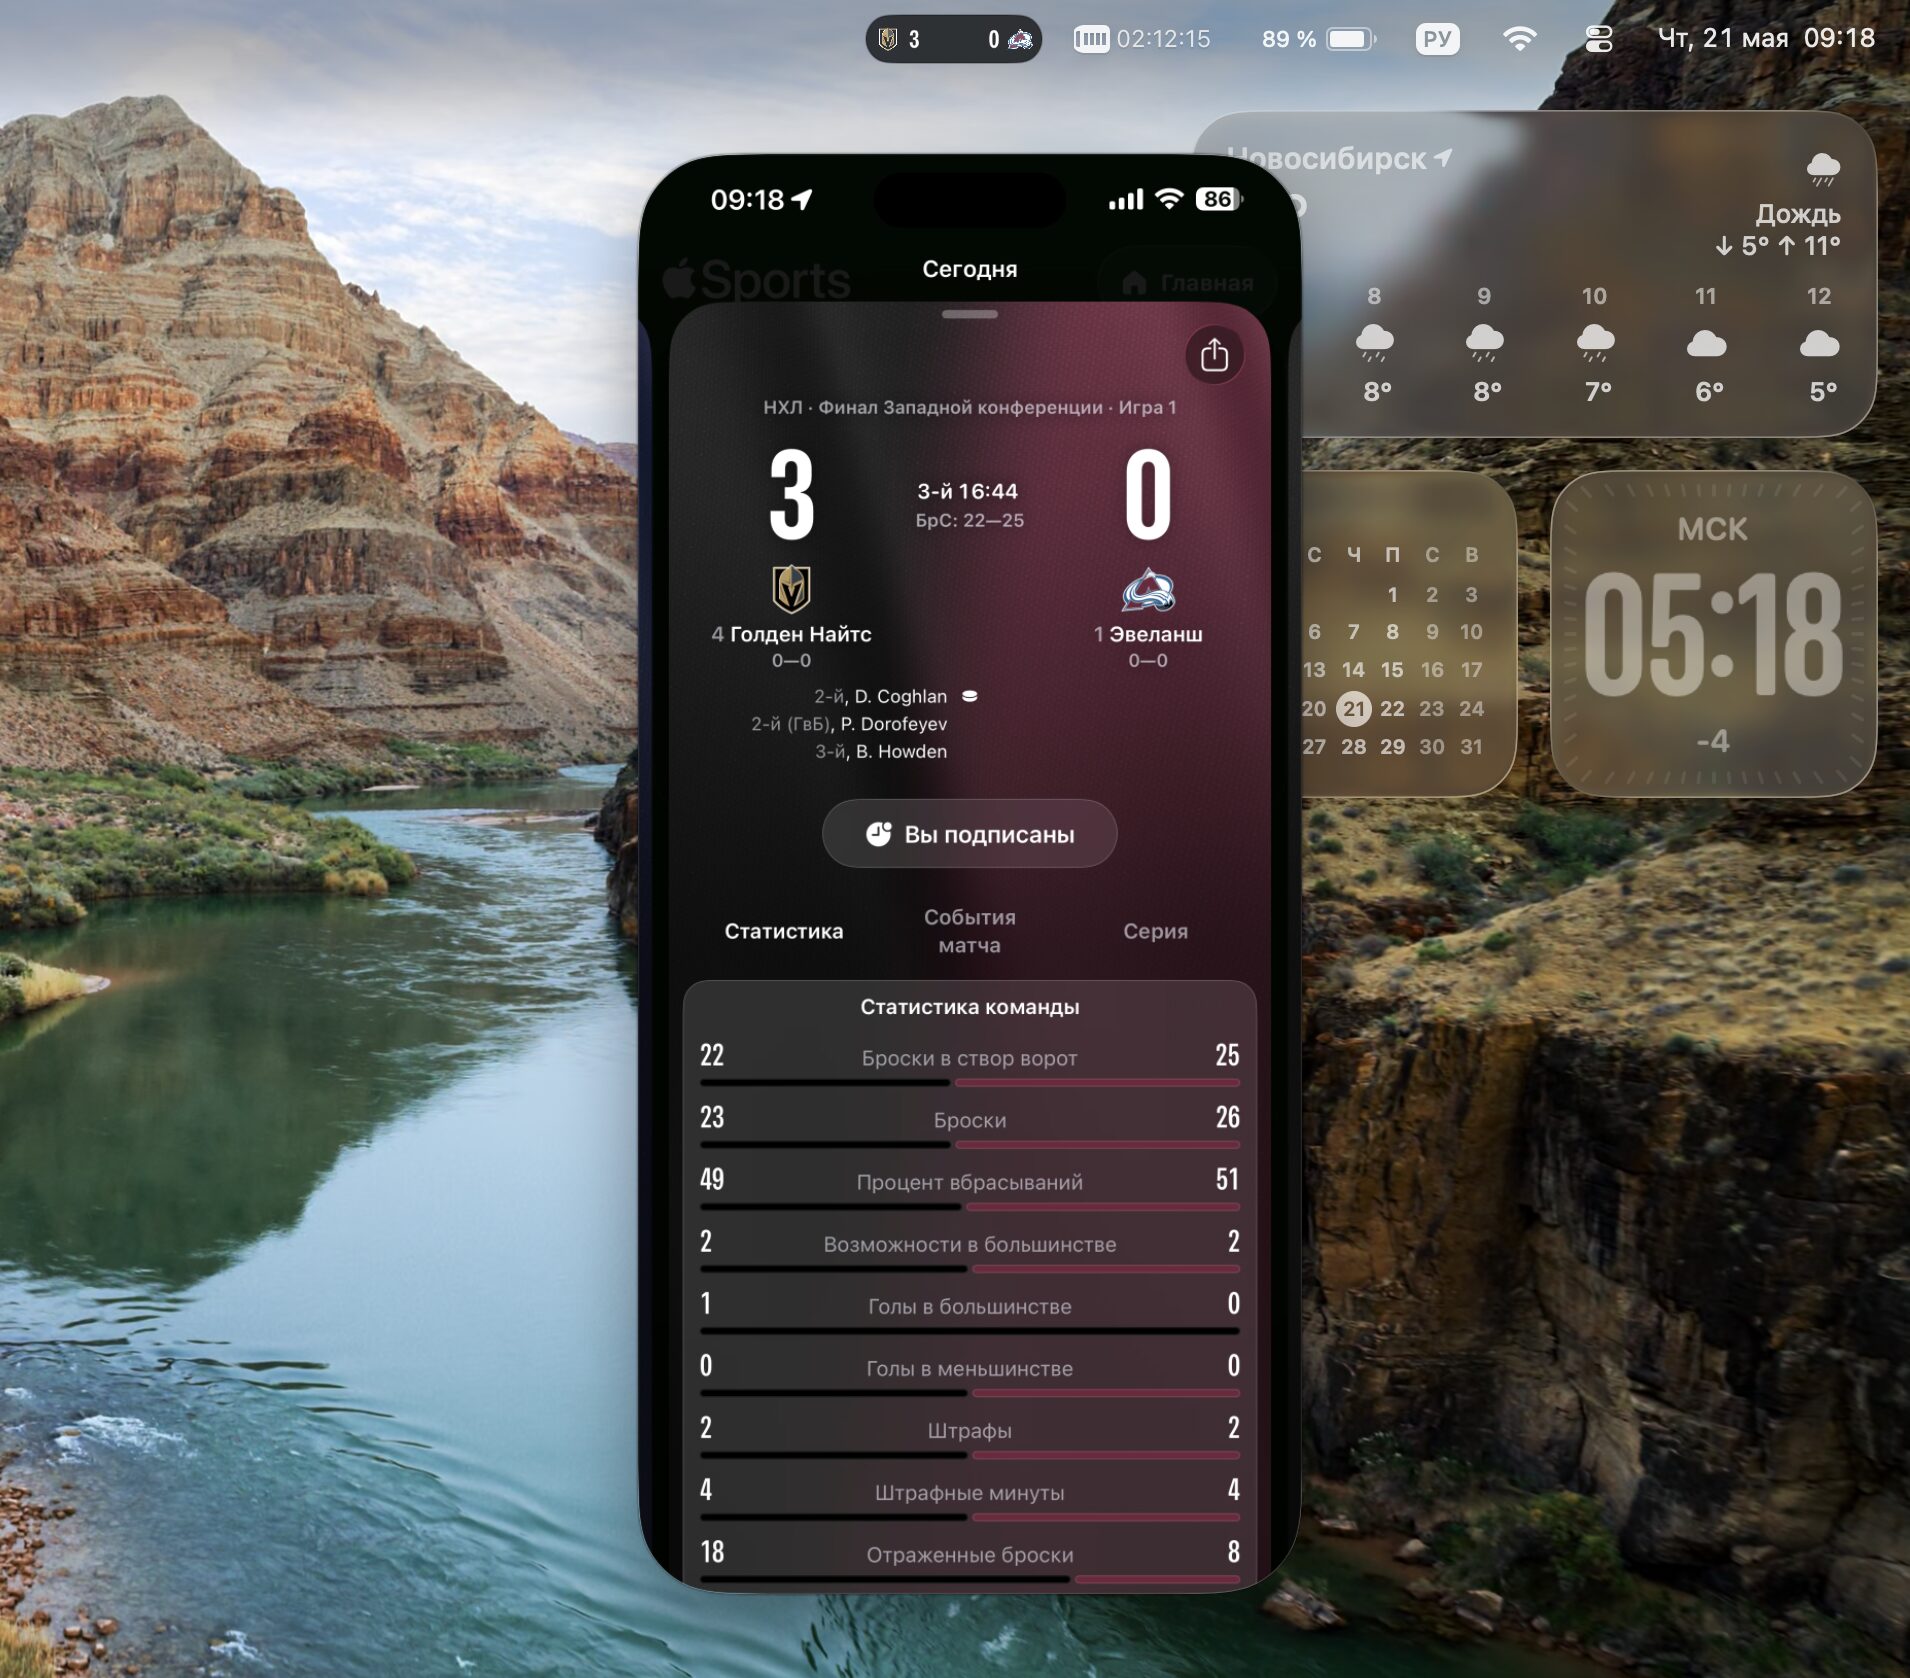
If you wanted, a single click would launch iPhone Mirroring with all the details
Which Devices Support Live Activities on Mac
Before setting things up, make sure your devices meet the requirements. Your Mac must be running macOS Tahoe (macOS 26) or later. Your iPhone needs iOS 18 or a newer version. Both devices must be signed in to the same Apple ID, with Wi-Fi and Bluetooth enabled. And most importantly — iPhone Mirroring must already be set up on your Mac.
Without iPhone Mirroring, Live Activities won’t work on the computer. Apple implemented this feature specifically through the iPhone pairing — the Mac doesn’t have its own apps with Live Activities support; all the data comes from the smartphone. But this is completely invisible in everyday use. You set up the pairing once, and everything works automatically from then on.
Setting Up iPhone Mirroring on Mac
If you haven’t set up this feature yet, here’s a quick guide.
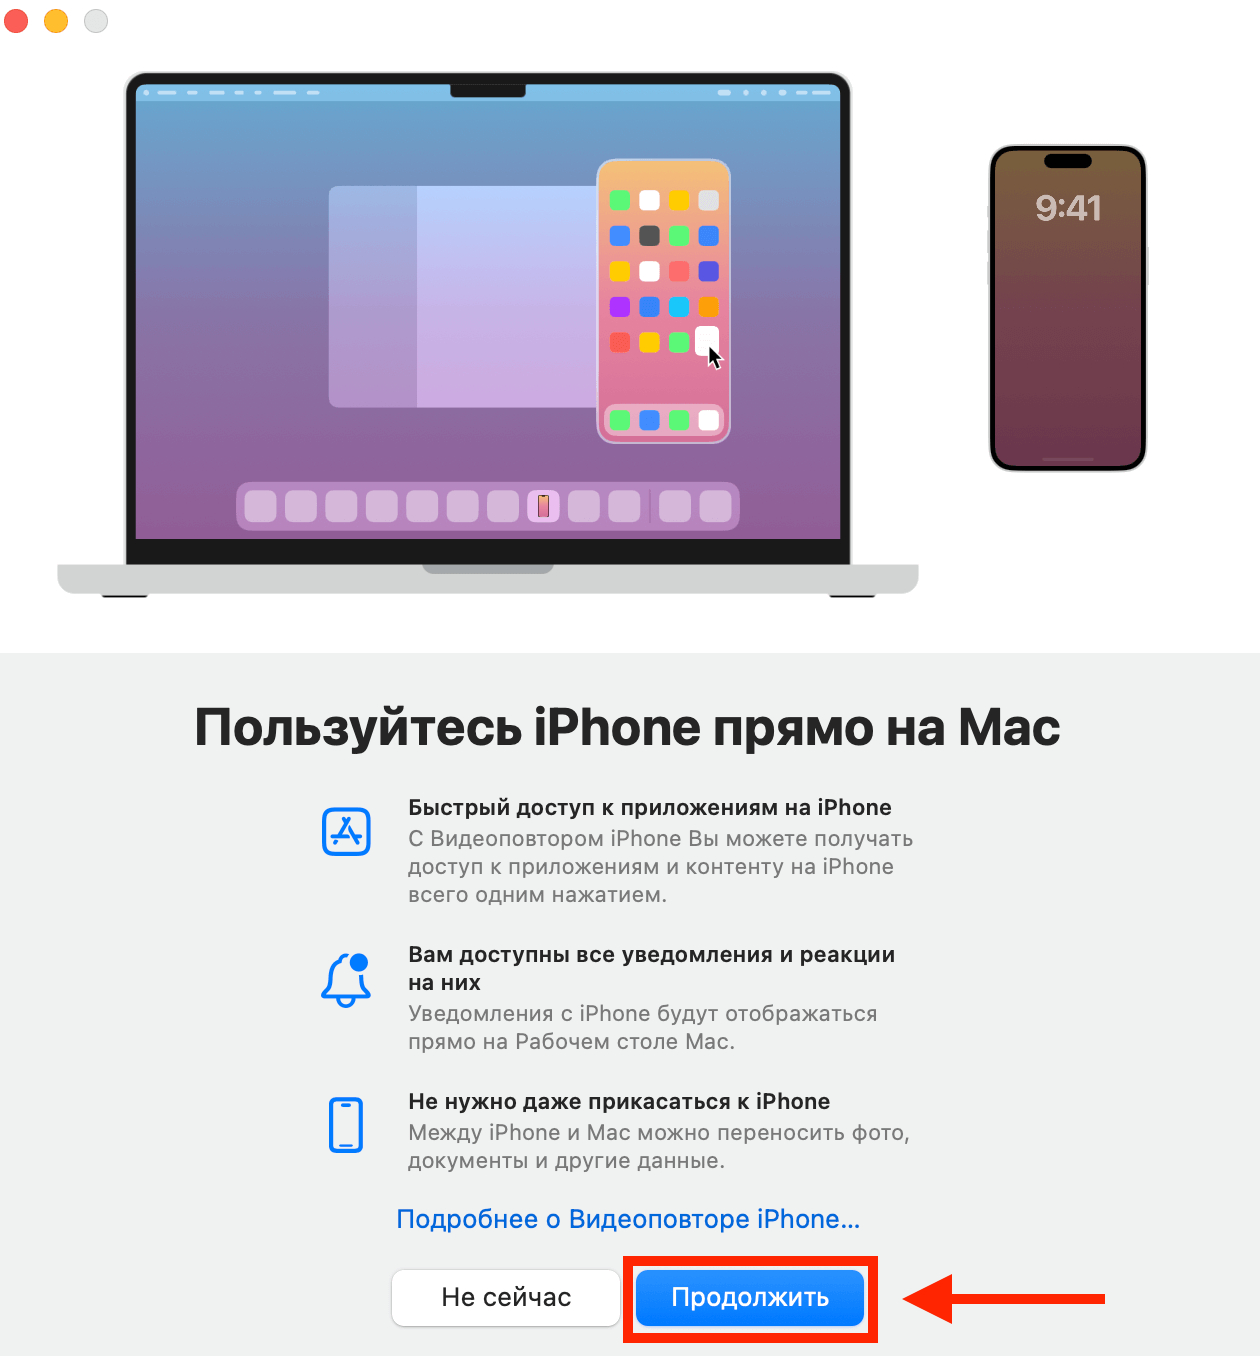
Start the connection and after that you’ll need to enter the passcode on your iPhone
- Open the “iPhone Mirroring” app on your Mac. Its icon is in the Applications folder.
- On the first launch, your Mac will offer to connect to your iPhone. Make sure the smartphone is locked and nearby.
- Confirm the connection — a permission prompt may appear on your iPhone.
- After that, the iPhone screen will be displayed on the Mac. iPhone Mirroring is set up.
Once the pairing is established, the Mac automatically starts receiving notifications and Live Activities from the iPhone. Even when the iPhone Mirroring window is closed. Now you need to make sure that Live Activities are enabled for the necessary apps on your iPhone. Otherwise, nothing will come through to the Mac.
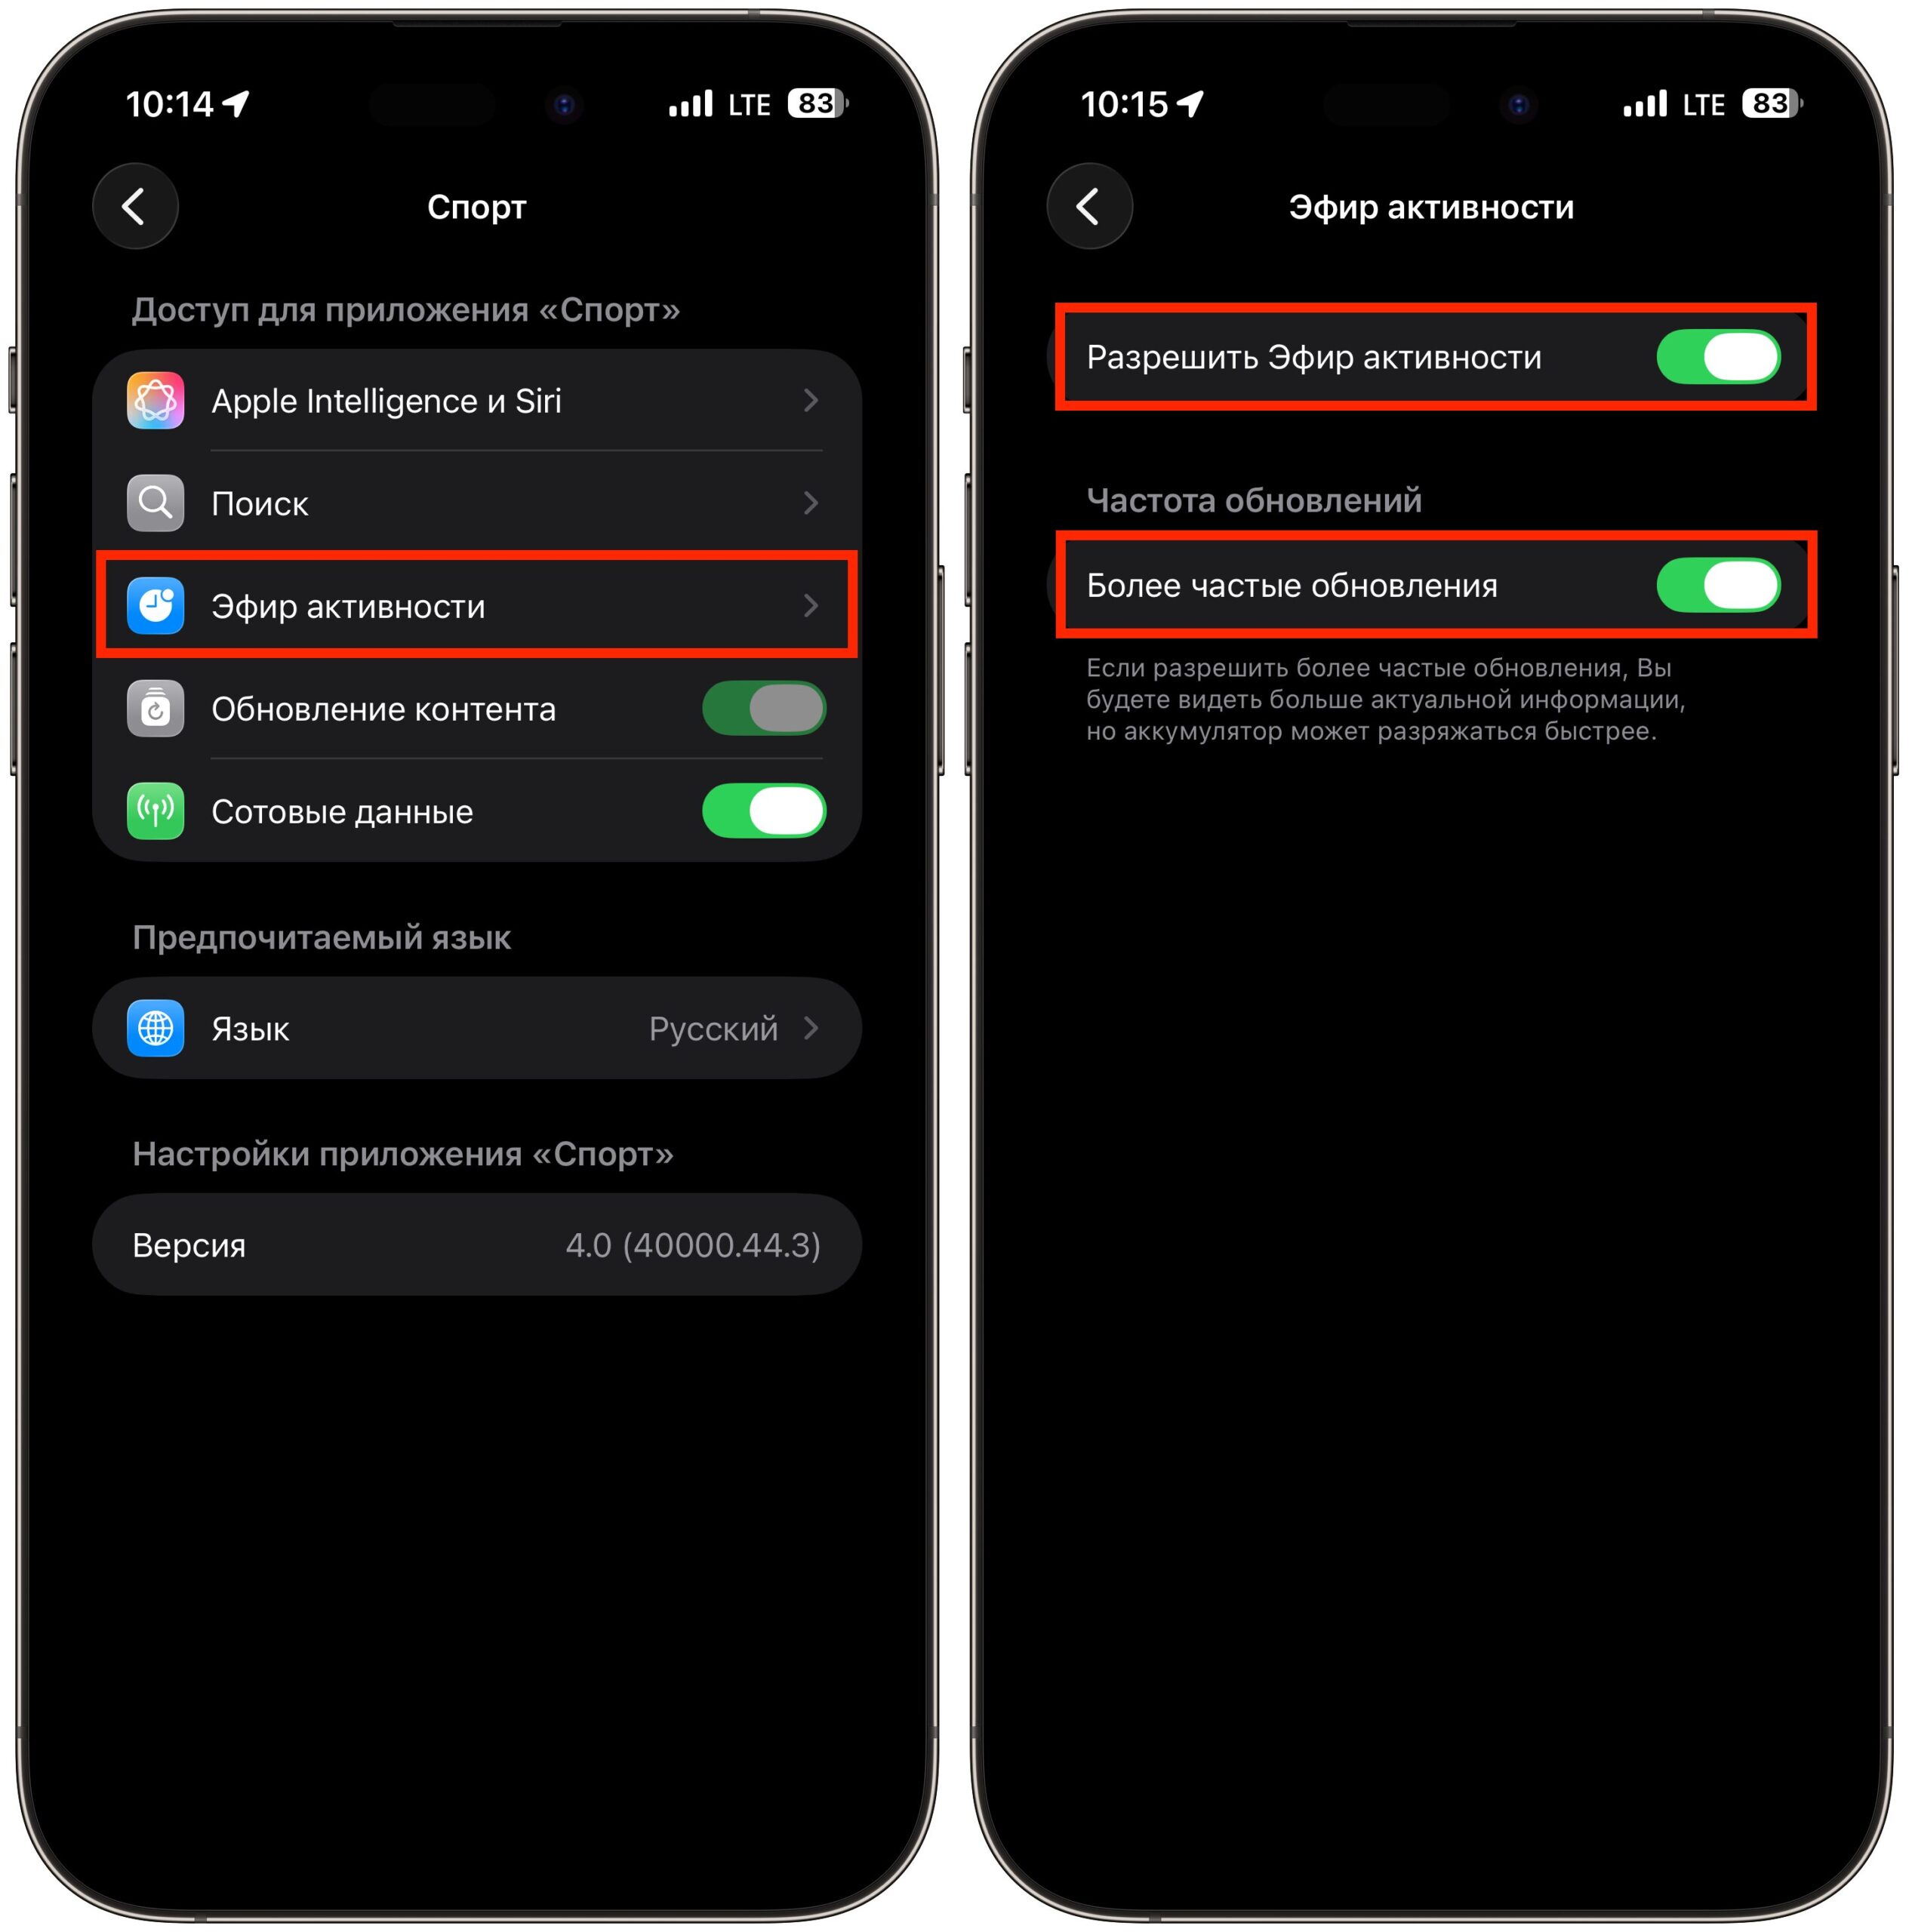
Activate Live Activities on your iPhone. This is what will be mirrored to your Mac
- Open “Settings” on your iPhone.
- Go to the section of the desired app. For example, Apple Sports.
- Find the “Live Activities” option.
- Turn on the toggle if it’s off.
Repeat this for every app from which you want to receive Live Activities on Mac. In addition to Apple Sports, this feature is supported by Yandex Go, food delivery apps, timers, and many other programs. Also, check that your Mac is allowed to receive Live Activities. Open “System Settings” — “Notifications” and make sure the “Allow Live Activities from iPhone” option is enabled.