When we take photos — on an iPhone or a DSLR camera — we almost always focus only on the main subject. And that’s a mistake. What’s happening in the background and at the edges of the frame affects the final shot just as much as the subject itself. This article will teach you not only how to compose the foreground, but also how to work with the background.
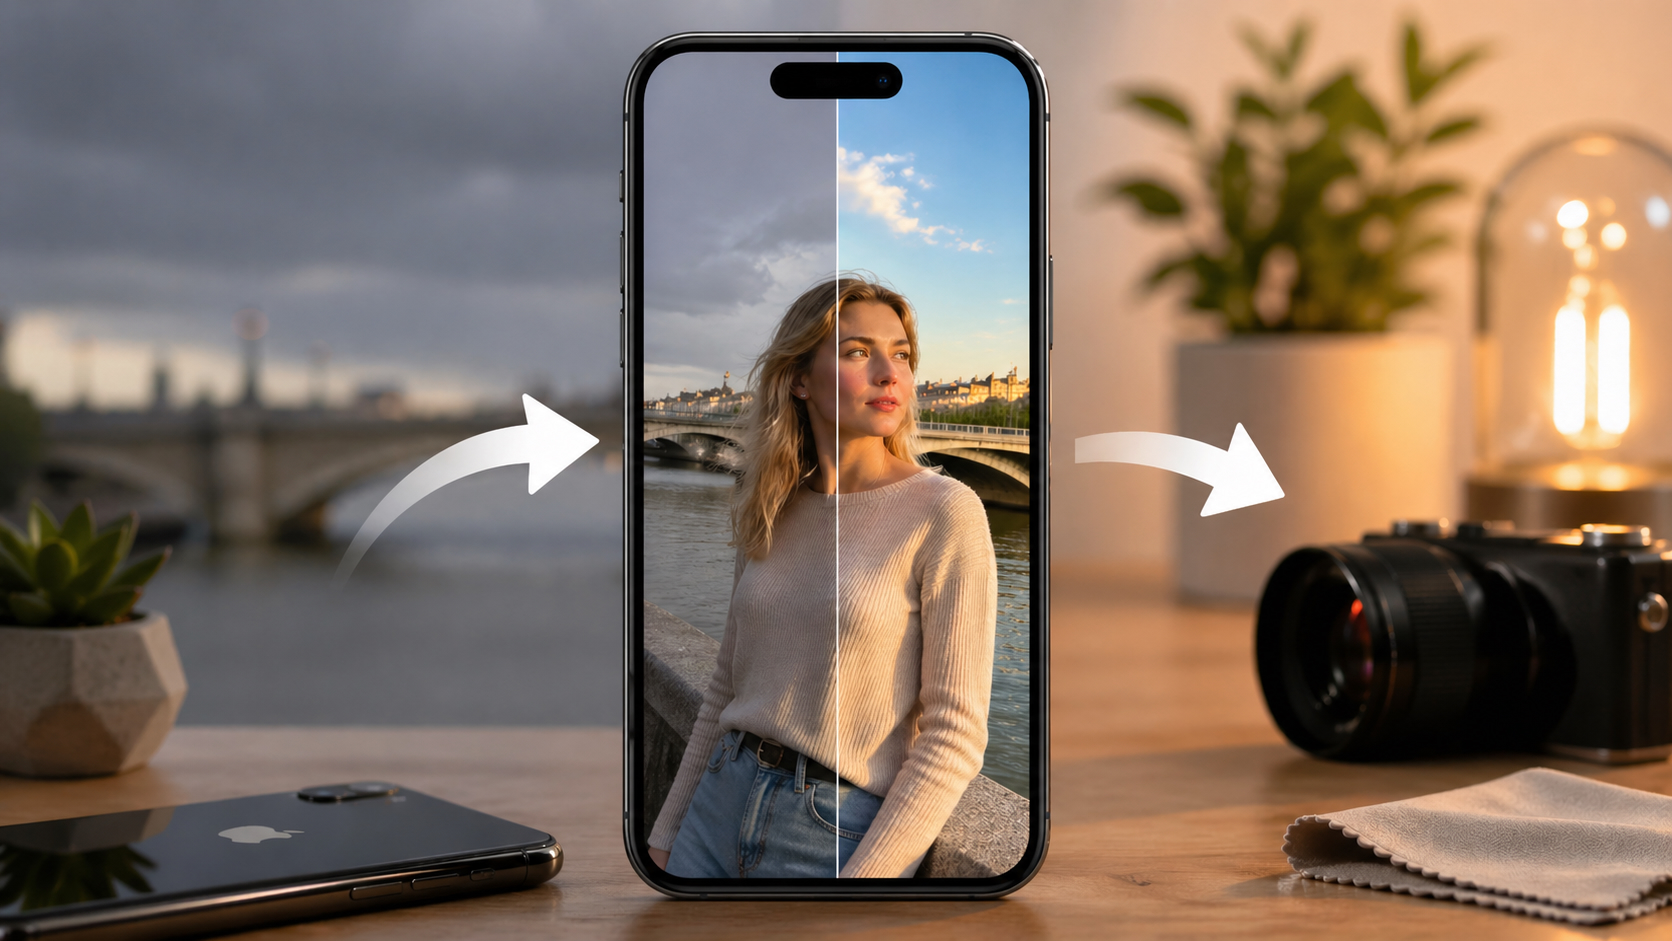
Improving the background can dramatically change the quality of your photos
How to Create a Beautiful Background in iPhone Photos
A classic beginner mistake — a lamp post “growing” out of someone’s head in a portrait. This isn’t just an amateur problem: even in wedding photos, you’ll find shots where trees or door frames stick out of the bride’s or groom’s head. The reason is simple: the photographer focuses on the face and doesn’t notice what’s happening behind it.
The solution is equally simple — step to the side or ask the person in the frame to shift. On iPhone, this is especially important: the screen is small, and in bright sunlight, details at the edges are easy to miss.
A similar issue arises with nature photography. A branch crossing a bird’s body, a blade of grass across an animal’s face, a rock out of place in a landscape — all of these ruin the shot. In landscape photography, litter is also a problem: it’s better to remove it before shooting than to clean it up later in an editor.
Mistakes That Ruin the Background in iPhone Photos
Try not to clutter the background. For example, here it distracts from the subject
If we boil the problems down to a short list, the same things usually get in the way:
- stray objects “growing” out of people or animals
- background lines coinciding with the horizon or important elements
- litter and everyday clutter in the landscape
- a random bird or person flying into the edge of the frame
- a bright patch of sky or light that steals attention
The good news: all of this is visible before you press the shutter button. It’s enough to consciously scan the frame before shooting, rather than only checking whether the face is in focus.
How to Get a Blurred Background on iPhone
A blurred background is what separates a “phone snapshot” from a “beautiful portrait.” In classic photography, the degree of blur depends on three things: the distance to the subject, the focal length of the lens, and the aperture. The closer you are to the person, the longer the lens, and the wider the aperture — the more the background blurs.
On iPhone, you can’t directly control the aperture, but the logic is the same:
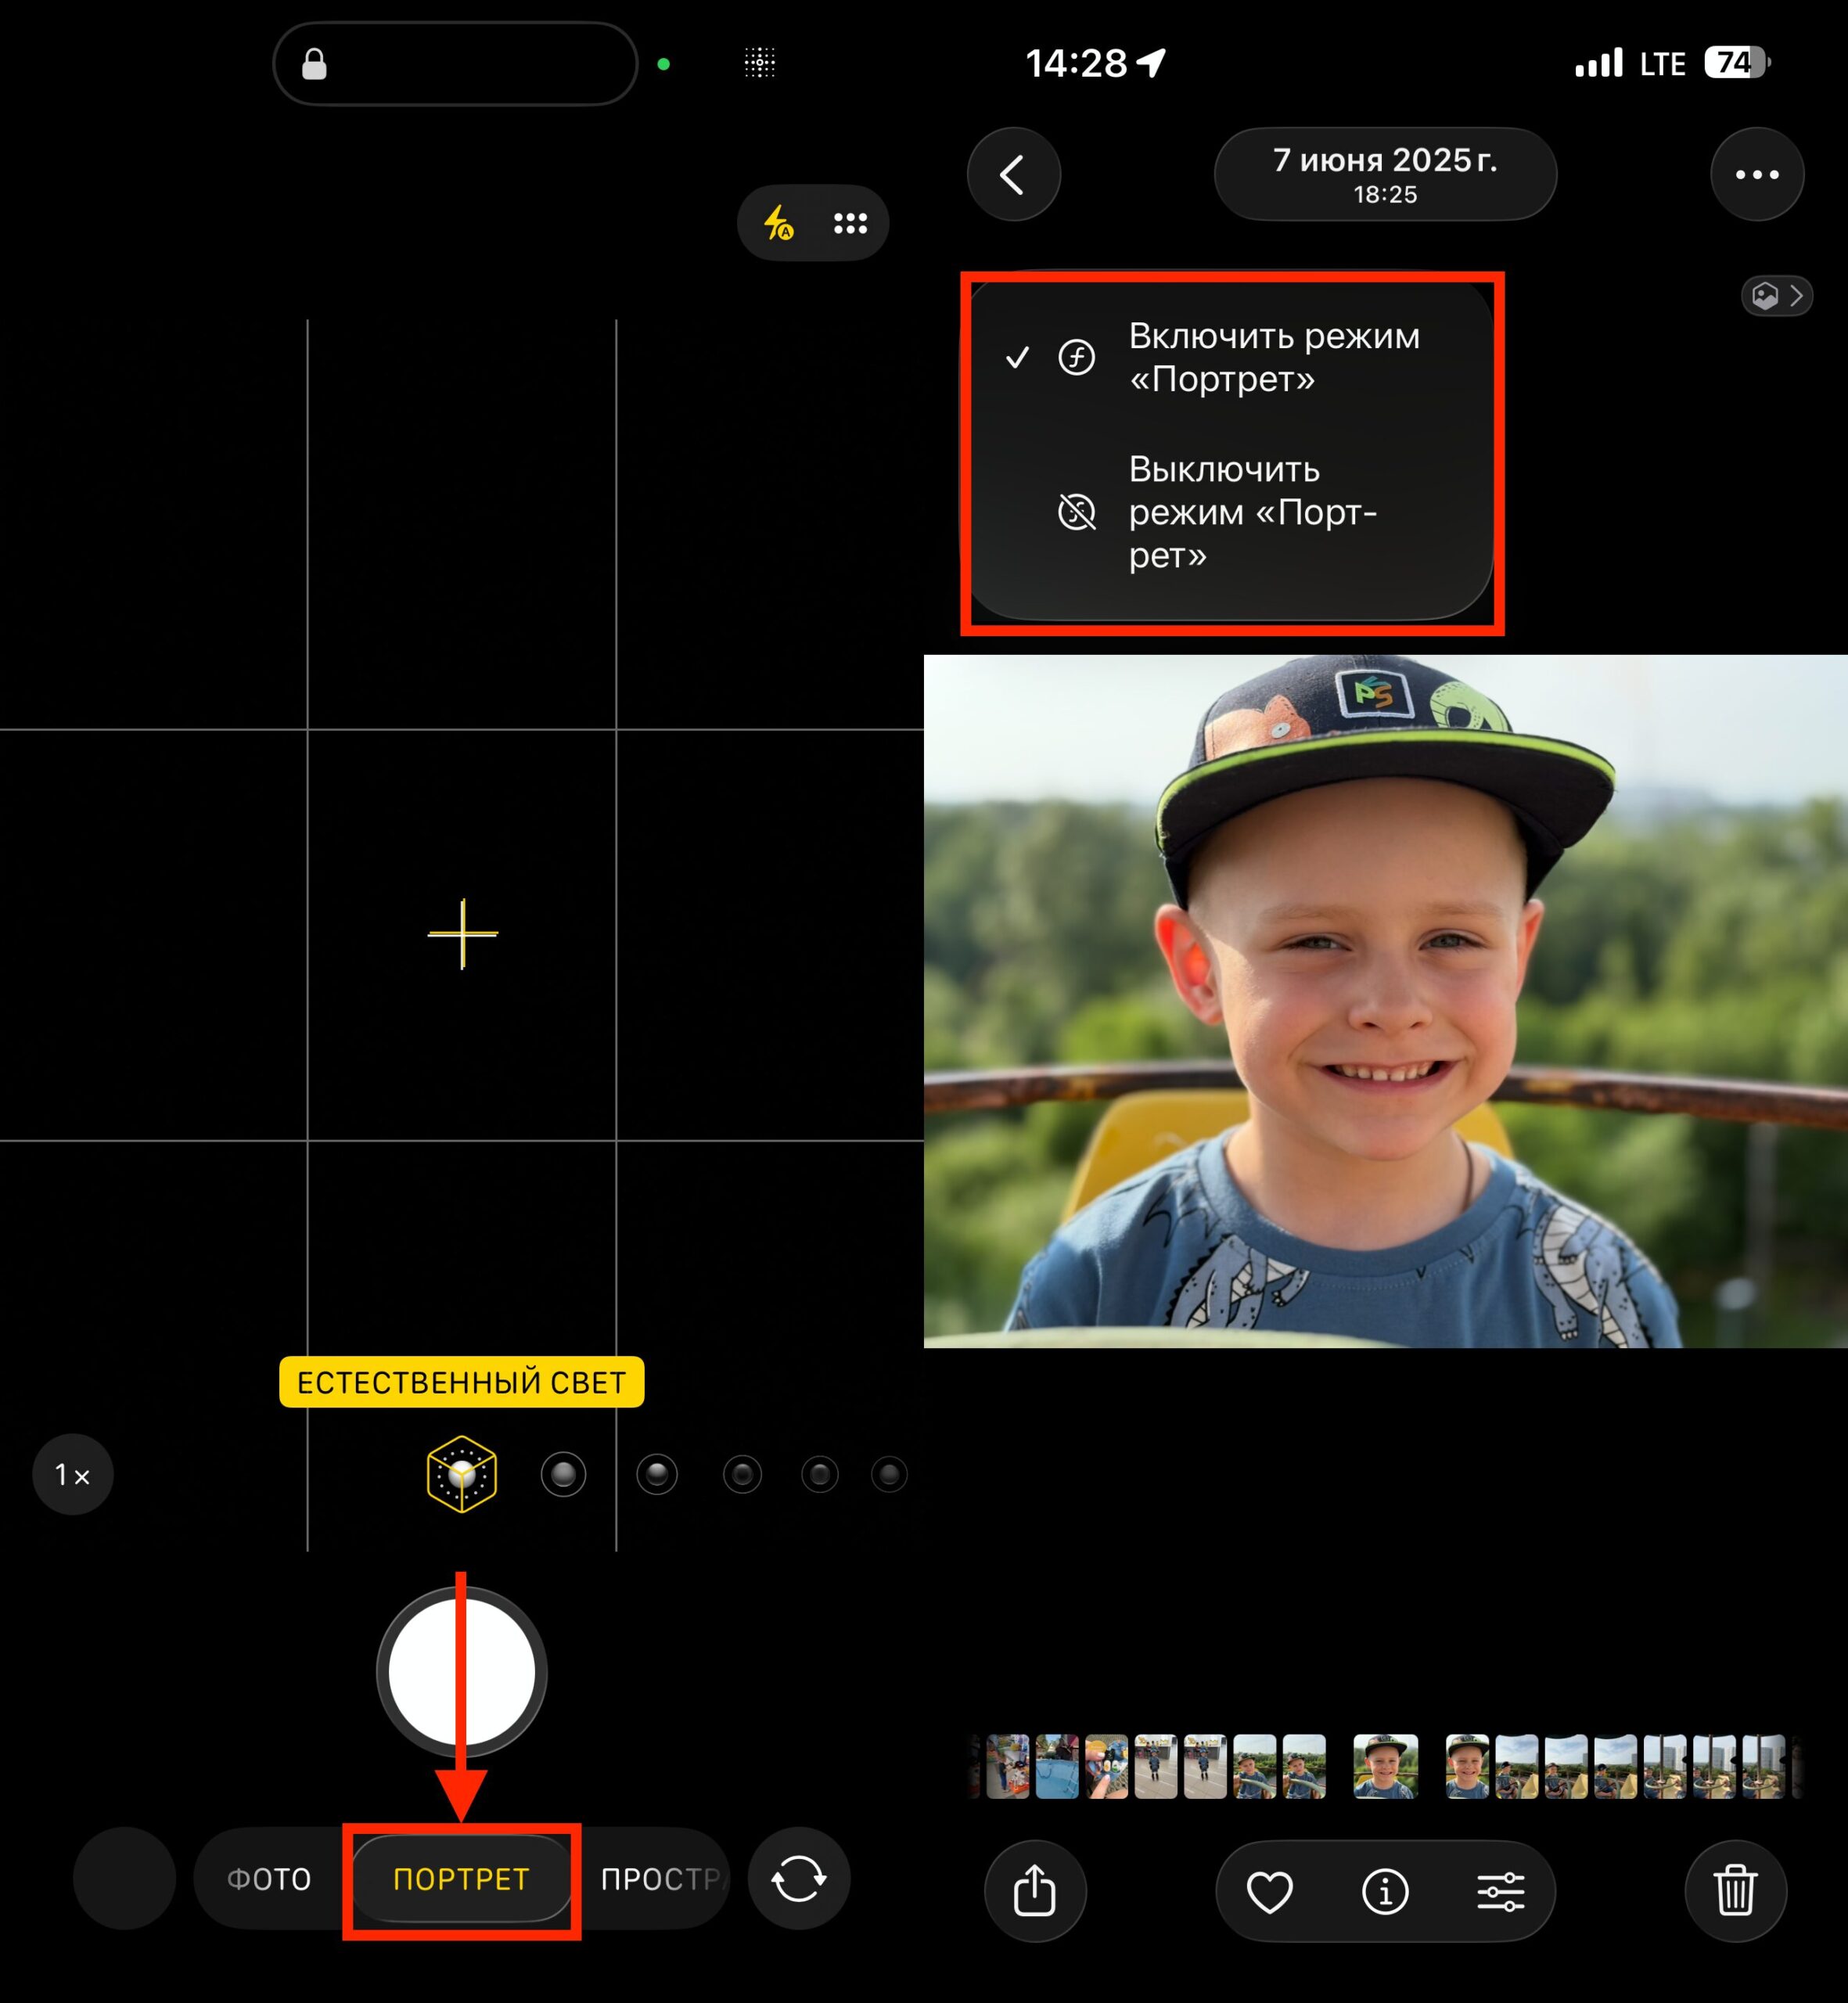
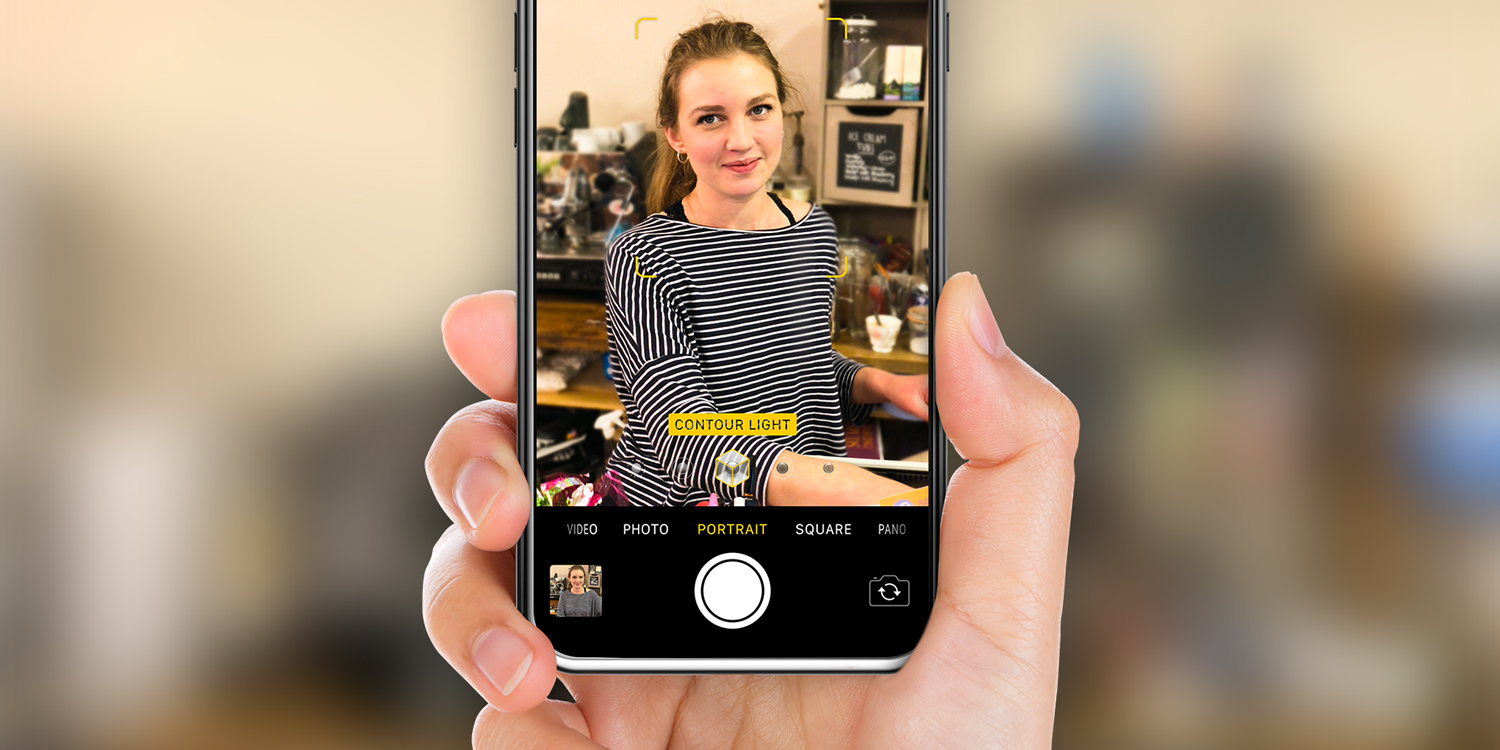
You can switch to Portrait mode during shooting or afterward in the gallery
- Get closer to the subject so it fills most of the frame.
- Use the telephoto lens (2x or 3x on Pro models) instead of the main module.
- Enable “Portrait” mode — it simulates blur using software.
- In “Portrait” mode on newer iPhones, you can adjust the depth of blur even after taking the shot.
For landscapes, it’s the opposite: you usually want sharpness throughout the entire frame — a wide angle, a closed aperture, and focus at the so-called hyperfocal distance (the point at which focusing makes everything sharp from the foreground to the horizon). On iPhone, this role is handled by the main 1x module — it provides great depth of field by default.
Bokeh Effect in iPhone Photos
Bokeh is the quality of the blurred part of the frame, not the amount of blur. The word comes from the Japanese “boke” — “blur, haze.” You can get a heavily blurred background with ugly bokeh, or a slight blur that looks very pleasing. The difference lies in the character of the blur.

Good bokeh means soft, even circles of light without harsh edges
Good bokeh looks like this: the background dissolves smoothly, and spots of light from streetlights or reflections turn into soft circles without hard edges. Bad bokeh is “nervous”: background textures become aggressive, highlights develop bright rims, double outlines, or rings like a sliced onion. Sometimes colored halos (chromatic aberrations) appear on high-contrast edges.
The main factor in bokeh quality is the optical design of the lens. A cheap filter in front of the lens can also ruin the image. For iPhone owners, this means a simple thing: cheap clip-on lenses and screen protectors degrade precisely the part of the image that should look beautiful.
Editing the Background in iPhone Photos
If the background still turned out less than ideal, some things can be fixed in an editor. We recommend working carefully: use masks to locally reduce sharpness, clarity (micro-contrast), and texture, adding slight blur if needed.
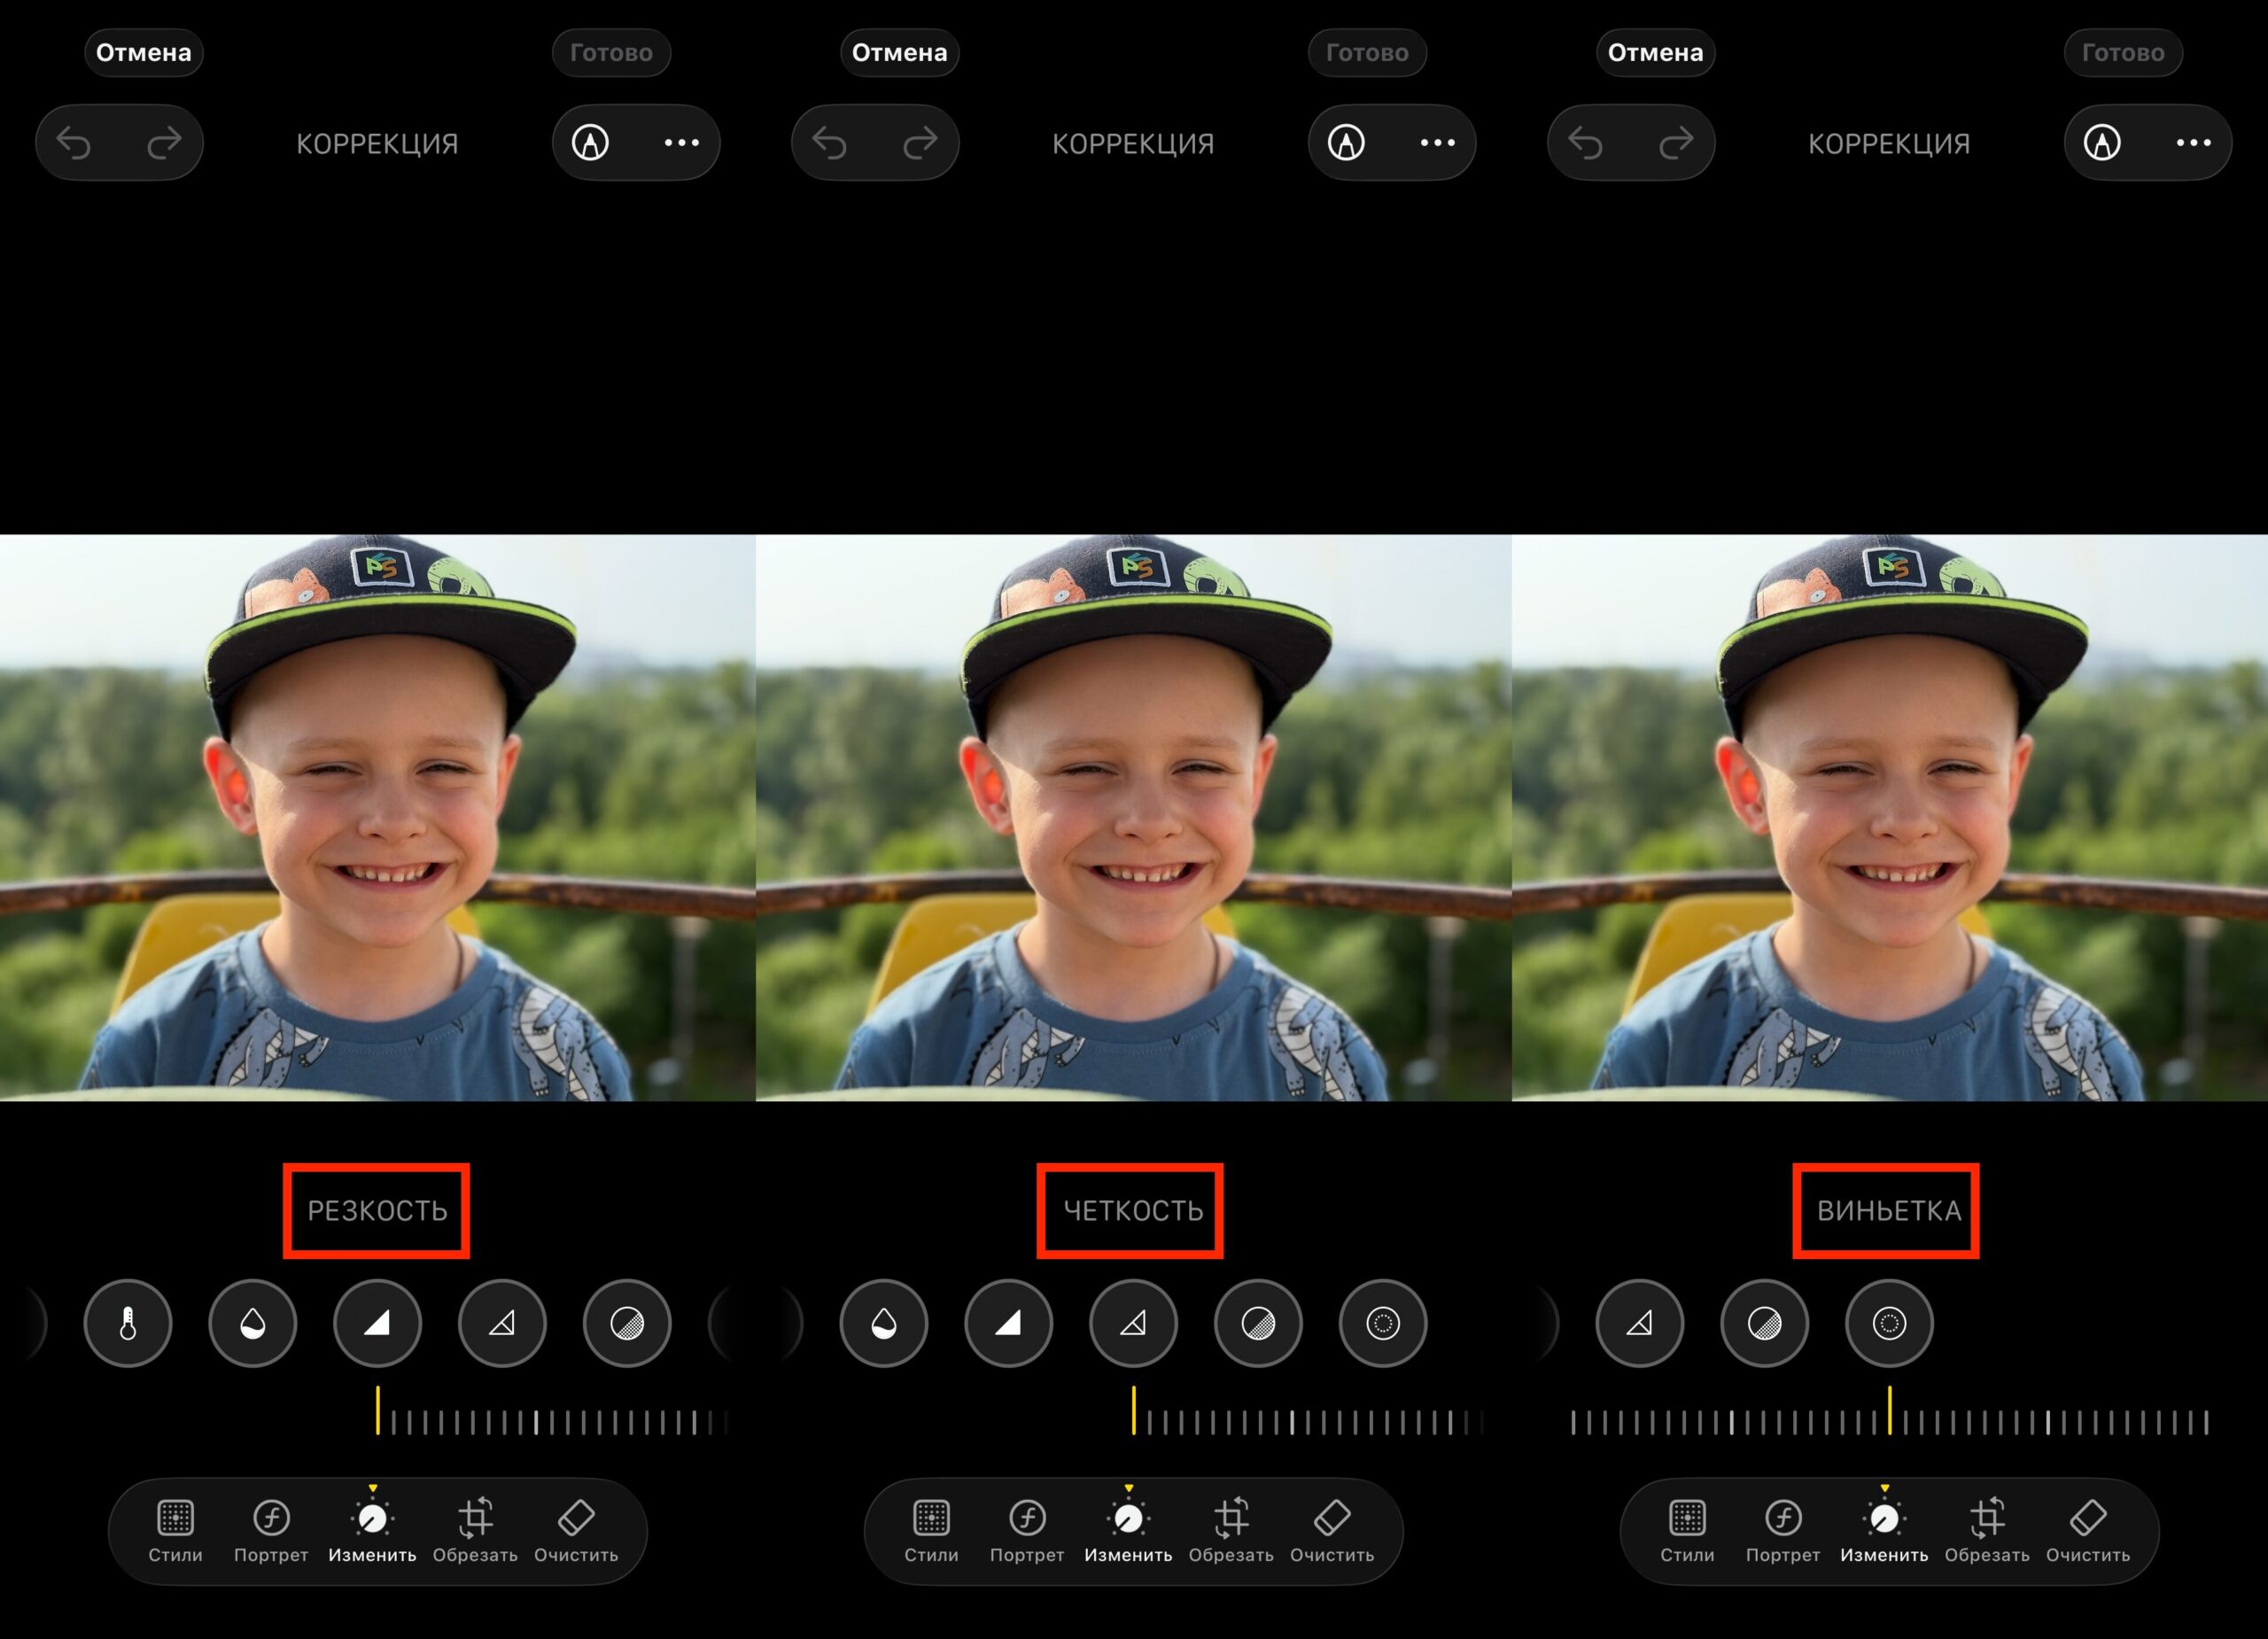
Play with these sliders and you’ll find settings that work perfectly for you
On iPhone, this can be done in the built-in Photos app (using the “Definition,” “Sharpness,” and “Vignette” sliders) or in apps like Snapseed and Lightroom Mobile. The golden rule — don’t overdo the background blur: an over-blurred background with artificially smoothed details looks worse than an honest shot with minor imperfections.
In short, keep three things in mind before every shot: check whether anything is “growing” out of the subject’s head or body, try stepping to the side, and think about whether you need heavy background blur or sharpness throughout the entire frame. That’s enough to make your smartphone photos noticeably better — without buying new gear and without complicated settings.