Checking Mac performance is a task that every Apple computer owner faces sooner or later. It may seem like your MacBook or iMac has become slower, but subjective feelings can be deceiving. Benchmarks and speed tests provide objective numbers that make it easy to understand whether your hardware is fine, whether it’s time to update macOS, or whether it’s time to think about buying a new Mac. In this article, we’ll look at the best tools for testing the processor, graphics, and disk, explain how to properly run tests, and what to do with the results.
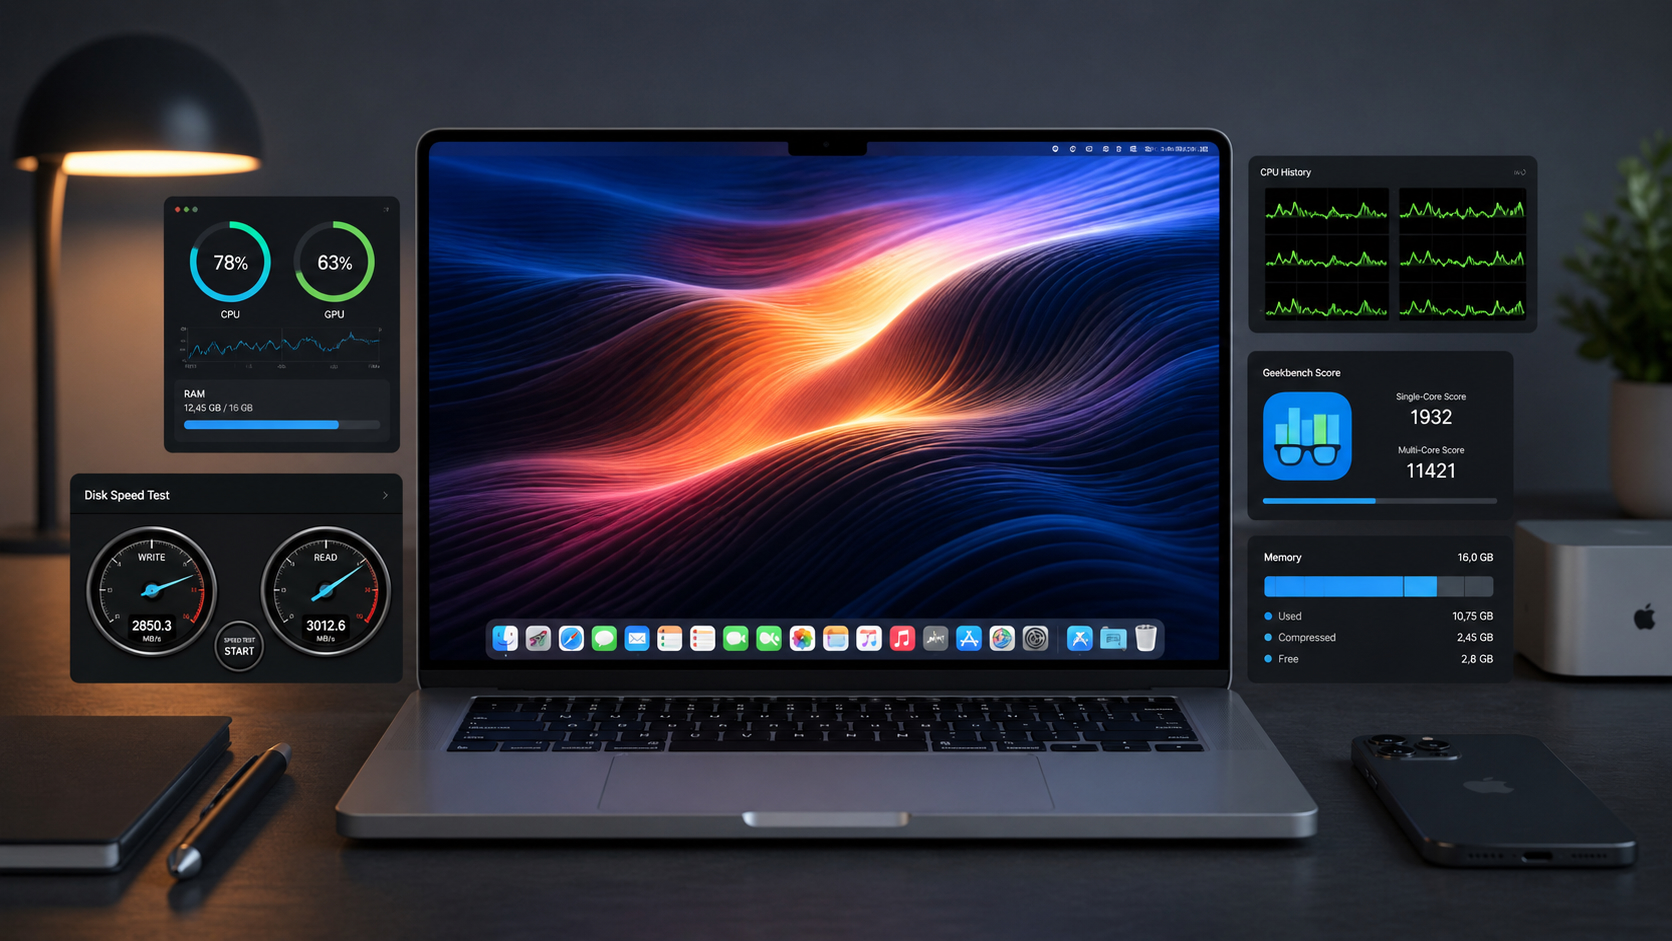
There are several applications that help measure the performance of your computer
When You Need to Run a Mac Performance Test
A Mac performance test isn’t just an enthusiast’s whim — it’s a practical tool. It helps in several situations:
- You’ve noticed that your Mac has become slower and want to understand whether the problem is with the software or the hardware.
- You’re choosing a new Mac and want to compare it with your current model using specific numbers.
- You’re selling your Mac and want to show the buyer that the device is working properly.
- You’ve installed a macOS update and want to make sure it hasn’t slowed down the system.
- You suspect that your SSD is degrading and want to check read and write speeds.
A benchmark (from the English “benchmark” — “reference test”) runs a series of standard tasks on the computer and measures how quickly the Mac handles them. The result is expressed in points or specific metrics like megabytes per second. These numbers can be compared with results from other Macs to understand where your computer stands on the overall scale.
How to Prepare Your Mac for Testing
Before running any test, it’s important to prepare your Mac. Without this, results will be inaccurate — background processes can consume processor or RAM resources, and the final scores will be lower than they should be.
- Restart your Mac. This will clear the RAM and terminate all background processes. Open the Apple menu and select “Restart.”
- Close all applications. After restarting, don’t open anything except the benchmark program. This especially applies to browsers with dozens of tabs — they consume a significant amount of memory.
- Disable Time Machine and other backup tasks. If your Mac is copying files to an external drive during the test, the results will be skewed.
- Plug your MacBook into the charger. On battery power, macOS may limit performance to conserve energy.
- Make sure your Mac isn’t overheated. If the laptop was just under heavy load, let it cool down for 10-15 minutes. Overheating leads to throttling — the processor reduces its frequency to prevent damage.
For maximum accuracy, run the same test two or three times in a row and use the average result. The first run sometimes shows lower numbers due to a “cold start” of the system.
Geekbench 6 for Mac: CPU and GPU Test
There are many utilities for testing Mac, but not all are equally useful. Below is a selection of proven tools used by both regular users and professional tech reviewers. Geekbench is the most popular benchmark for Mac, iPhone, and other platforms. The sixth version of the program tests the processor (CPU) and graphics accelerator (GPU) in a few minutes and delivers results in points that are easy to compare with other devices.
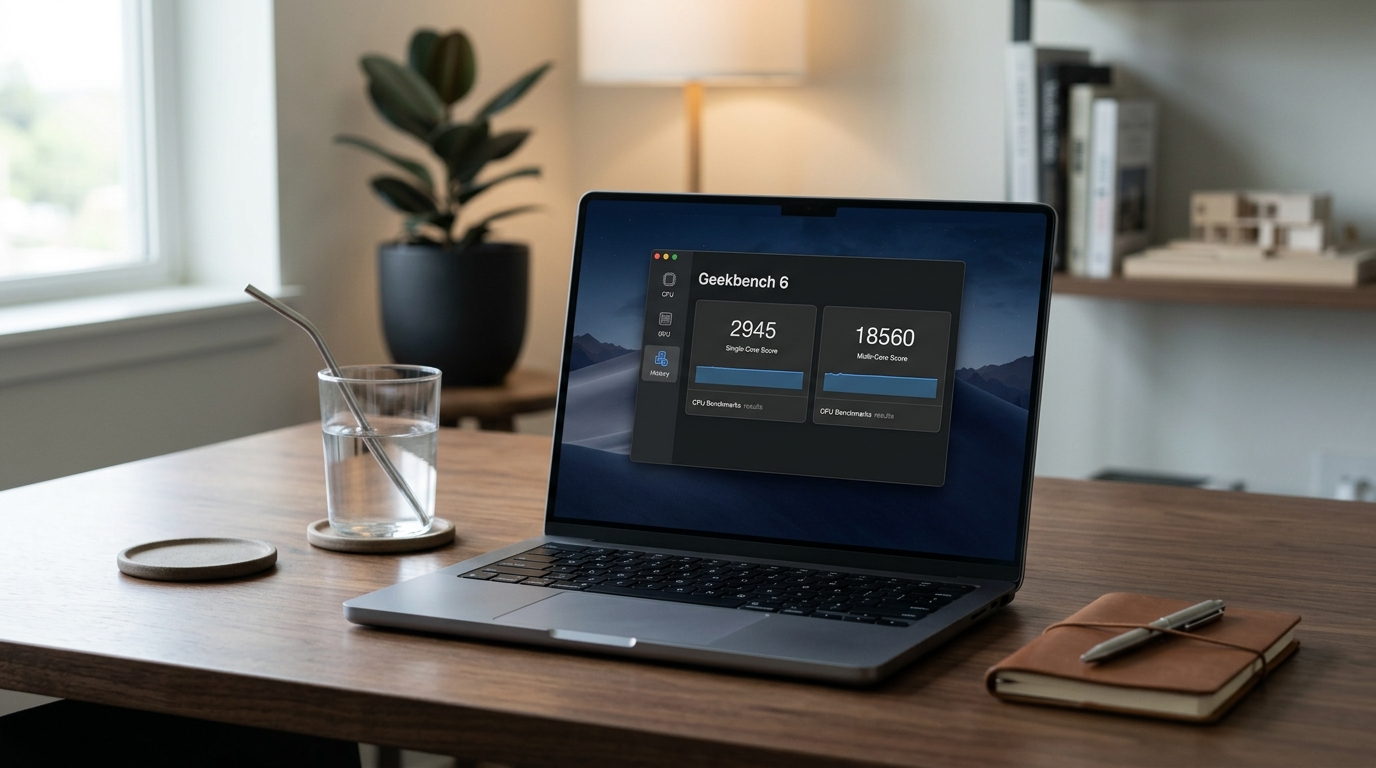
Geekbench 6 shows CPU test results in points — separately for a single core and for all cores
The CPU test in Geekbench 6 includes tasks that approximate real-world usage: text processing, file compression, image processing, and machine learning. The program shows two results — for a single core (Single-Core) and for all cores (Multi-Core). The first metric is important for everyday tasks, while the second is for heavy multi-threaded work like video rendering.
How to run a test in Geekbench 6:
Geekbench is one of the most informative tests
- Download Geekbench 6 from geekbench.com and install the application.
- Open the program. The main screen will display your Mac model, macOS version, and RAM capacity.
- Click “Run CPU Benchmark” to test the processor, or switch to the GPU tab to test graphics.
- Wait for it to finish. The CPU test takes about 2-5 minutes. Upon completion, a results page will open in your browser.
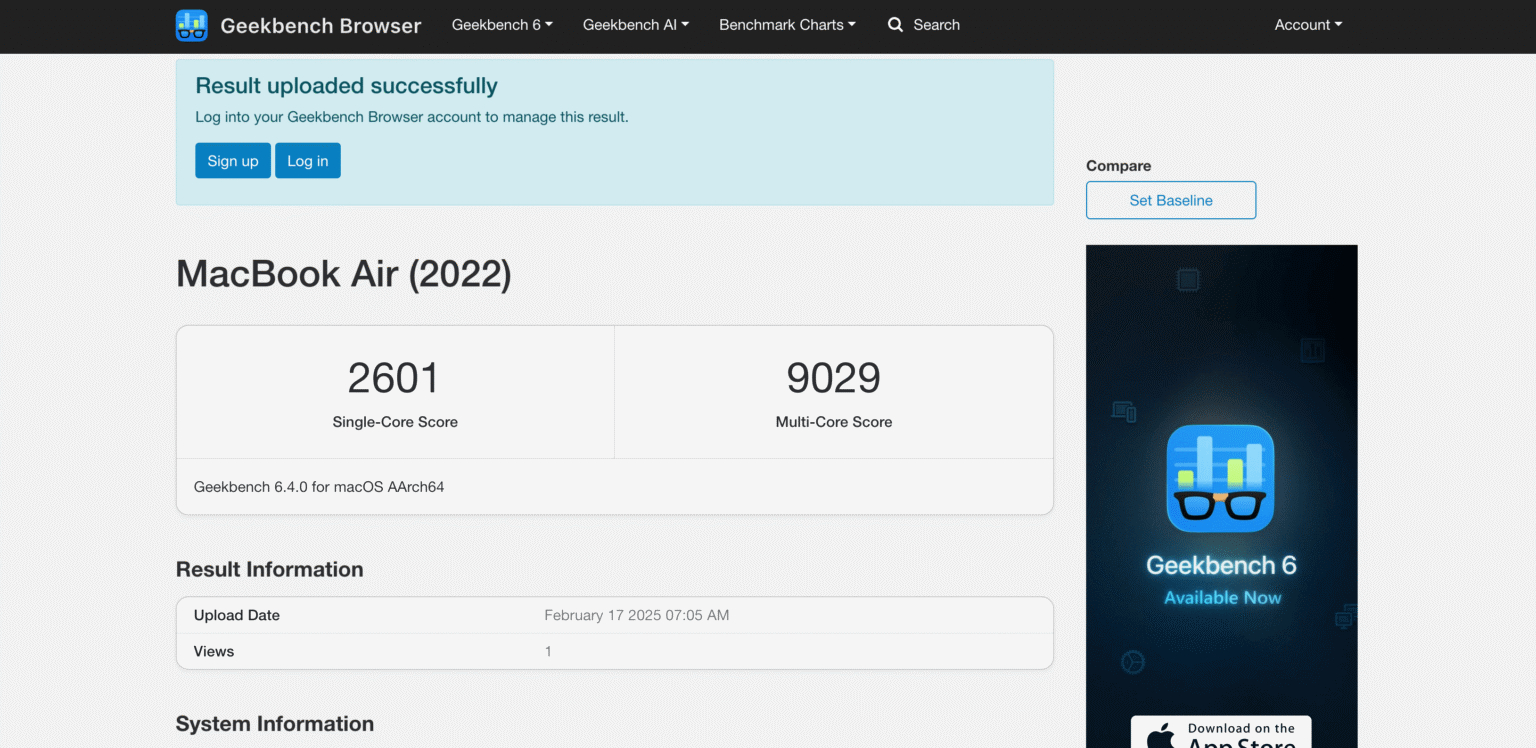
The Geekbench website has an extensive results database — Geekbench Browser. There you can find scores for any Mac model and compare them with your result. If your Mac shows scores significantly below the average for its model, it’s a reason to investigate the causes.
Cinebench for Mac: Checking Rendering Power
Cinebench from Maxon is another popular benchmark aimed at content creators. The program tests performance through rendering a three-dimensional scene — a task that pushes both the processor and graphics to the maximum.
The current version — Cinebench — is available for free on maxon.net. The test is especially useful for those who work with 3D graphics, video editing, or animation, but it’s also suitable for a general assessment of Mac power. Cinebench shows results for a single core and for all processor cores, as well as a separate GPU test. Results can be compared with the database on the Maxon website.

Cinebench will show how ready your computer is for graphics work
How to run Cinebench:
- Download Cinebench from maxon.net.
- Open the application and select the desired test: CPU (Single Core), CPU (Multi Core), or GPU.
- Click “Start” and wait for it to finish. The test takes from 1 to 10 minutes depending on the selected mode.
- Compare the obtained scores with results from other Macs on the Maxon website or in reviews.
How to Check SSD Speed on Mac Using Blackmagic
Mac performance depends not only on the processor. A slow drive can become a bottleneck for the entire system — applications will launch with delays, and files will take longer to copy than usual. Blackmagic Disk Speed Test is a free utility from Blackmagic Design that measures your disk’s read and write speeds in just a couple of minutes.
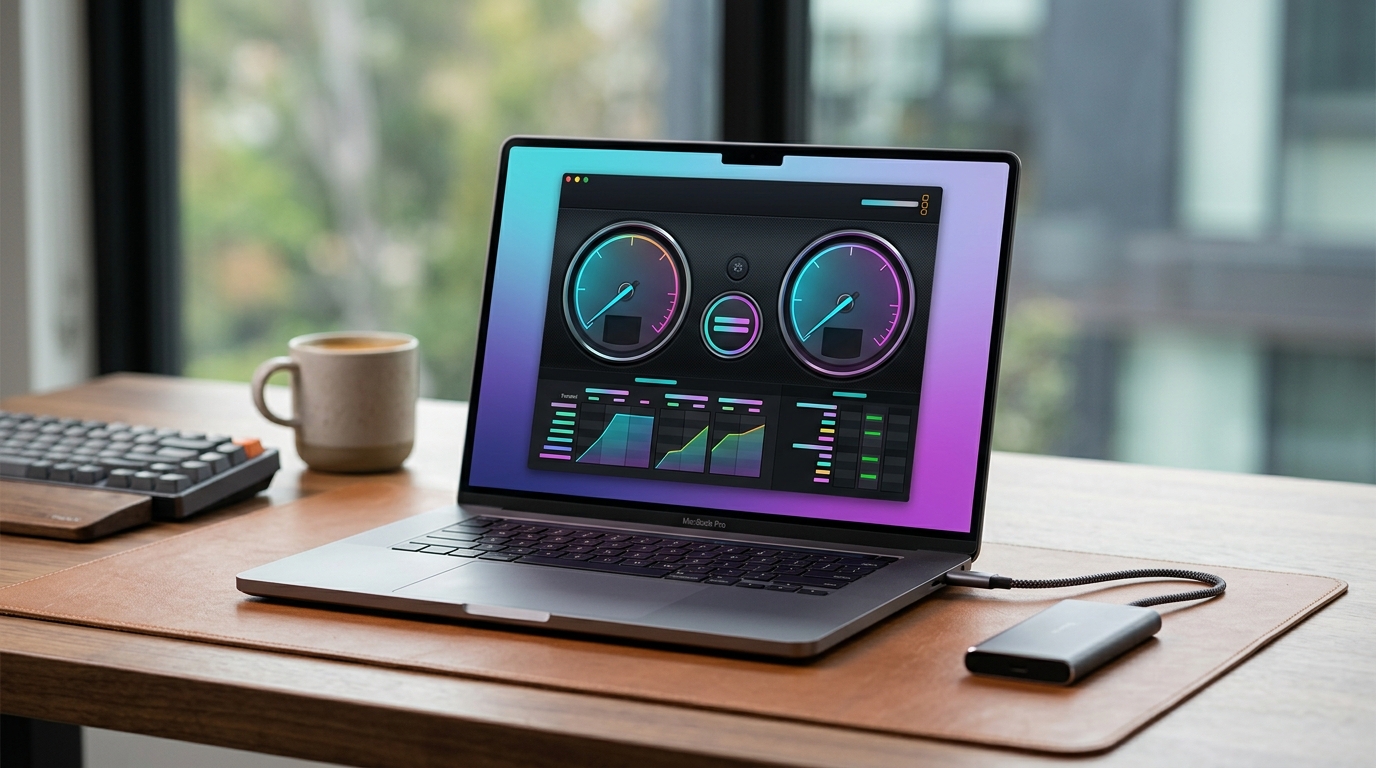
Blackmagic Disk Speed Test clearly shows the disk’s write and read speeds
The program was originally created for videographers who need