Installed macOS 27 Golden Gate, tested the updated Liquid Glass, new Siri, and the redesigned search, and after a couple of days realized: a beta on a work Mac only gets in the way. Some apps are buggy, plugins stop working, battery drains faster than usual. Sound familiar? When the first build came out, many rushed to install macOS 27 Golden Gate, and surprises like these were inevitable. So let’s get back to the stable macOS 26 Tahoe. I’ll warn you right away: Apple doesn’t have a magic “revert” button — you’ll have to erase the disk. But if you follow the steps, in about an hour your Mac will be back on a proven system.
Figuring out the macOS 27 downgrade
Why You Can’t Install macOS Tahoe Over Golden Gate
The main thing to understand before starting: you can’t install Tahoe over Golden Gate. macOS 27 is a newer version of the system, and the older installer simply won’t allow itself to be installed on top. The only working path is to completely erase the internal disk and install Tahoe from scratch.

Golden Gate works a bit better than Tahoe, but complaints still exist
This leads to the second important thing. Golden Gate only installs on Macs with Apple chips (M1 and newer), because it’s the first macOS that has completely dropped Intel processor support. This means you won’t need to deal with two boot methods: you definitely have Apple Silicon, and the procedure will be the same.
On the beta, it’s better not to create backups and keep the version from the previous OS
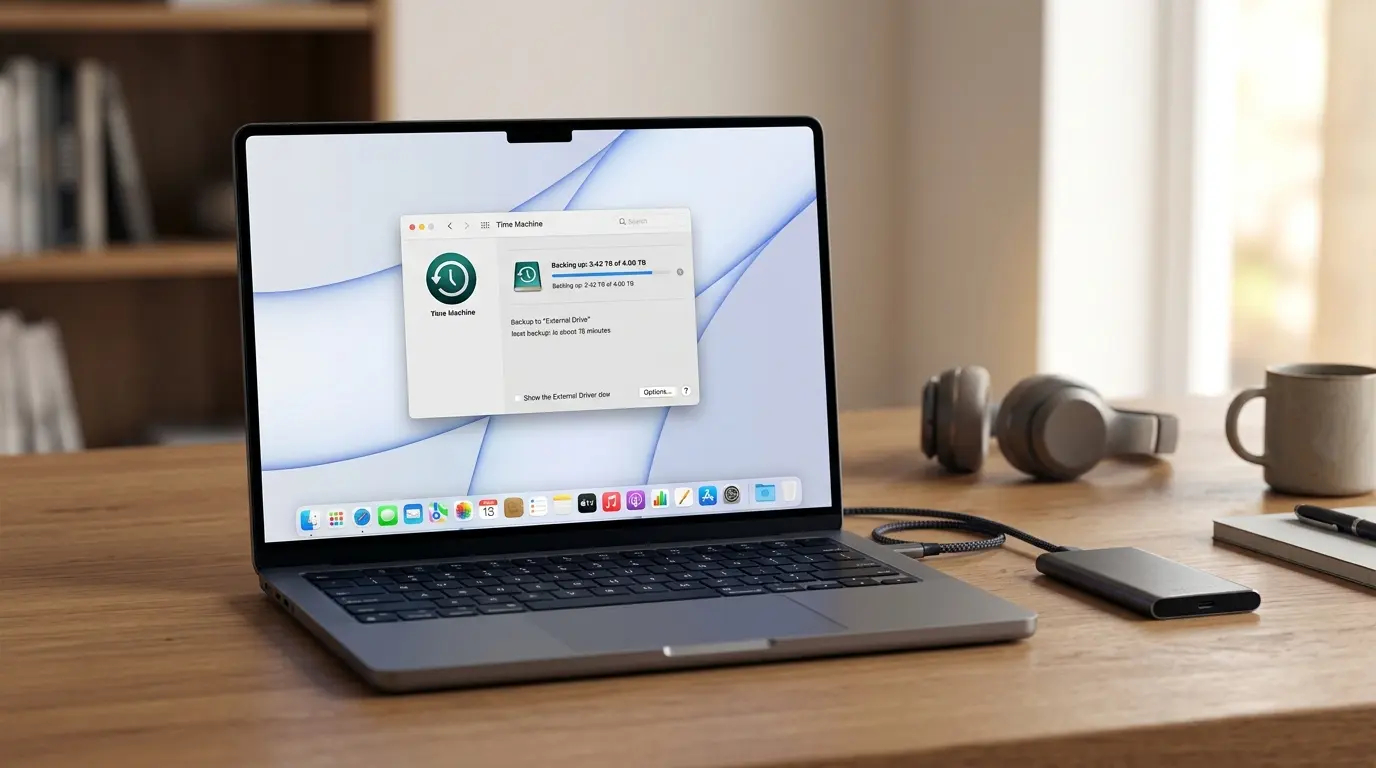
And the third nuance that trips people up most often. A Time Machine backup made on the beta won’t restore back to Tahoe. The system won’t restore a backup from a newer OS onto an older one. So if you made a backup on Golden Gate, it won’t work for restoring data — only an old backup from Tahoe or manual copying of needed files will do.
The conclusion is simple: without a backup, it’s better not to attempt the downgrade. Erasing takes everything: documents, photos, apps, licenses, passwords from the keychain — unless they’re synced with iCloud.
What You Need to Downgrade from macOS 27 to macOS 26
Gather everything in advance, otherwise the process will stretch to half a day. Here’s the minimum kit:
- A bootable USB drive with macOS Tahoe. This is the foundation of the whole operation. I won’t go into detail about creating one here — we have a separate step-by-step guide with a bootable USB drive where everything is shown step by step, from the Terminal command to the finished installer. Make the USB drive following that guide and come back here.
- A backup of important data. Manual is better: copy your work files, photo archive, password exports, and license keys to an external drive. If you have an old Time Machine backup still from Tahoe, great — it will be useful for a full restore. If you had no backup at all, study our backup guide and make a copy right now.
- Administrator password and internet. You can’t install the system without the password, and internet will be needed to activate the Mac after installation.
One more tip: before erasing, sign out of Apple ID, iMessage, and iCloud. This removes unnecessary bindings and saves you from questions during the setup stage.
How to Install macOS Tahoe from a Bootable USB Drive
When the USB drive is ready and your data is safe, let’s move on to the actual downgrade. Here’s the procedure:
- Connect the bootable USB drive with Tahoe to your Mac.
- Completely shut down the computer through the Apple menu.
- Press and hold the power button until the startup options window appears on screen.
- Select the boot disk with the Tahoe installer and click “Continue.”
- In the utilities menu, open “Disk Utility.”
- Select the Mac’s internal disk where Golden Gate is currently installed, and click “Erase.”
- Choose APFS format and confirm the erase. From this point on, the beta is gone.
- Close “Disk Utility,” return to the menu, and select “Install macOS Tahoe.”
- Choose the erased disk as the target and wait for the installation to finish.
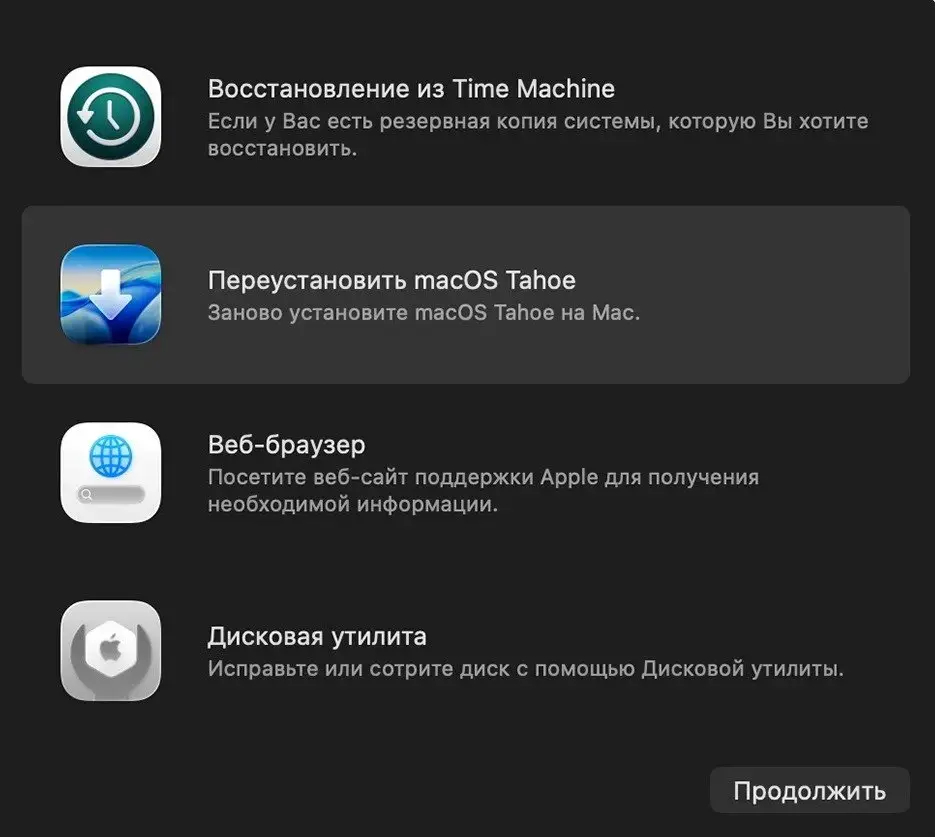
Select Install macOS Tahoe
During the process, the Mac will restart a couple of times — that’s normal. Time-wise, the whole thing takes from 40 minutes to an hour, depending on the model and USB drive speed. When the standard initial setup screen appears, it means Golden Gate is behind you and you’re back on Tahoe.
Setting Up Your Mac After a Clean macOS Tahoe Installation

Be prepared to set up your Mac from scratch
Right after installation, the Mac looks like it was just unboxed: no data, no apps, no accounts. From here, there are two scenarios.
- If you still have a Time Machine backup from the Tahoe era, you can restore the entire system through Migration Assistant. But I recommend a different approach: restore only documents and media, and reinstall apps from scratch. This way you won’t drag back junk and old glitches.
- If you had no backup, simply sign into Apple ID, and some data will pull down from iCloud: contacts, notes, photos, keychain passwords. The rest you’ll restore manually from the external drive.
And the main practical takeaway: don’t throw away the USB drive. The bootable Tahoe installer is a handy tool for the future — you can use it to revive any compatible Mac in about an hour. And when Golden Gate comes out as a stable release in the fall, you can update calmly without the risks of a beta.