The iPhone camera has been considered one of the best among smartphones for many years. Apple strives to make it even better with each generation, as will be the case with the iPhone 18 Pro. But the smarter the image processing becomes, the less natural the photos look. The problem isn’t the hardware, but what happens after pressing the shutter button — and this can be dealt with.
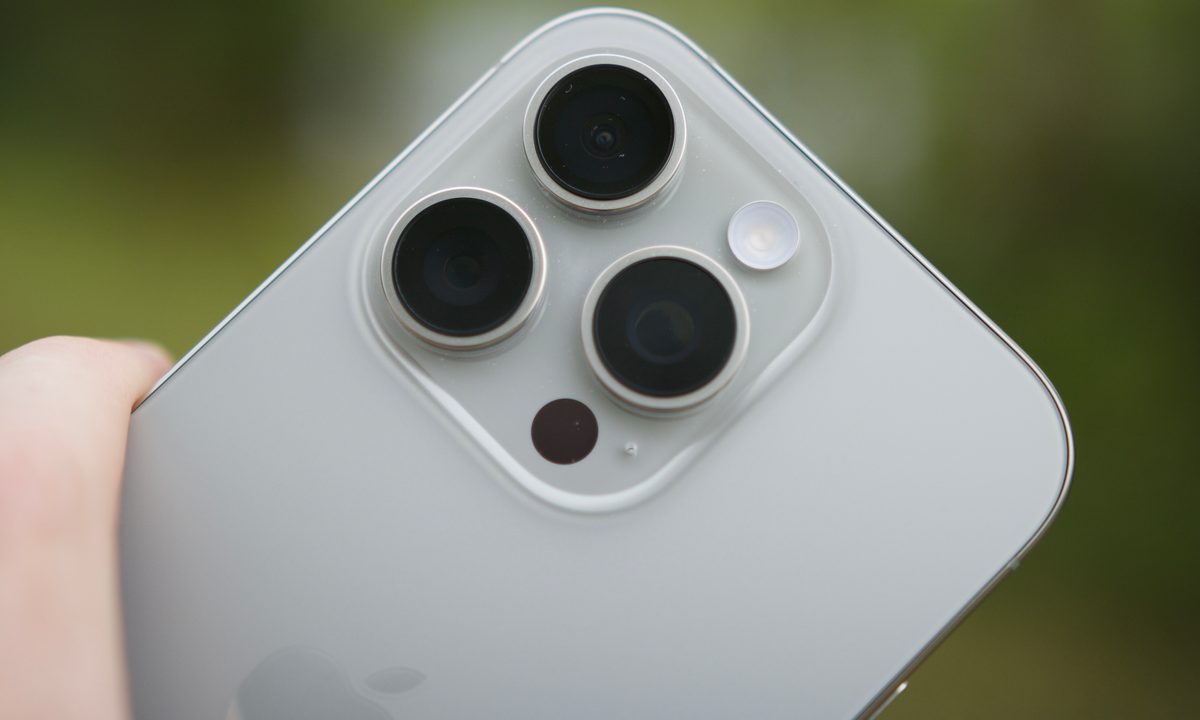
Taking quality photos with the iPhone camera is quite simple
Why iPhone Photos Look Unnatural
Photography is primarily about light. The more light hits the sensor, the better the shot. But smartphones have tiny lenses and sensors compared to full-sized cameras, so manufacturers compensate for this with software processing.
In the case of the iPhone, this is handled by so-called computational photography. Features like Smart HDR, Deep Fusion, and Photonic Engine combine multiple exposures, boost brightness, correct tones, and enhance sharpness — all of this happens automatically, in fractions of a second.
In most situations, the result is genuinely good: a bright, detailed frame ready for publishing. But when the processing becomes too aggressive, photos start looking unnatural — oversharpened, with “plastic” faces and unrealistic lighting. This is especially noticeable in portraits and scenes with high-contrast lighting.
An Unprocessed Shot: What It Looks Like
The essence of the approach is simple: get the shot that the camera captured, not the one the algorithms decided to show you. Such “raw” or minimally processed frames look flatter and more muted, but:
- They are closer to what you see with your eyes
- They don’t have the characteristic “digital” oversharpening
- They are easier to edit manually — there’s more room for correction
It’s similar to the difference between a JPEG that the camera produces “on autopilot” and a RAW file that a photographer works with themselves. You get control over the result instead of relying on the algorithm’s taste.
How to Shoot on iPhone Without Processing Using Halide
One of the most convenient ways to bypass standard processing is to use the third-party app Halide. It’s a professional camera for iPhone, and its main feature in this context is Process Zero mode.
When you enable Process Zero, the app disables all stages of Apple’s computational photography: Smart HDR, Deep Fusion, noise reduction, and automatic sharpening. The output is a 48-megapixel shot taken directly from the main camera sensor, without stacking multiple frames on top of each other. You can enable this mode in Halide as follows:
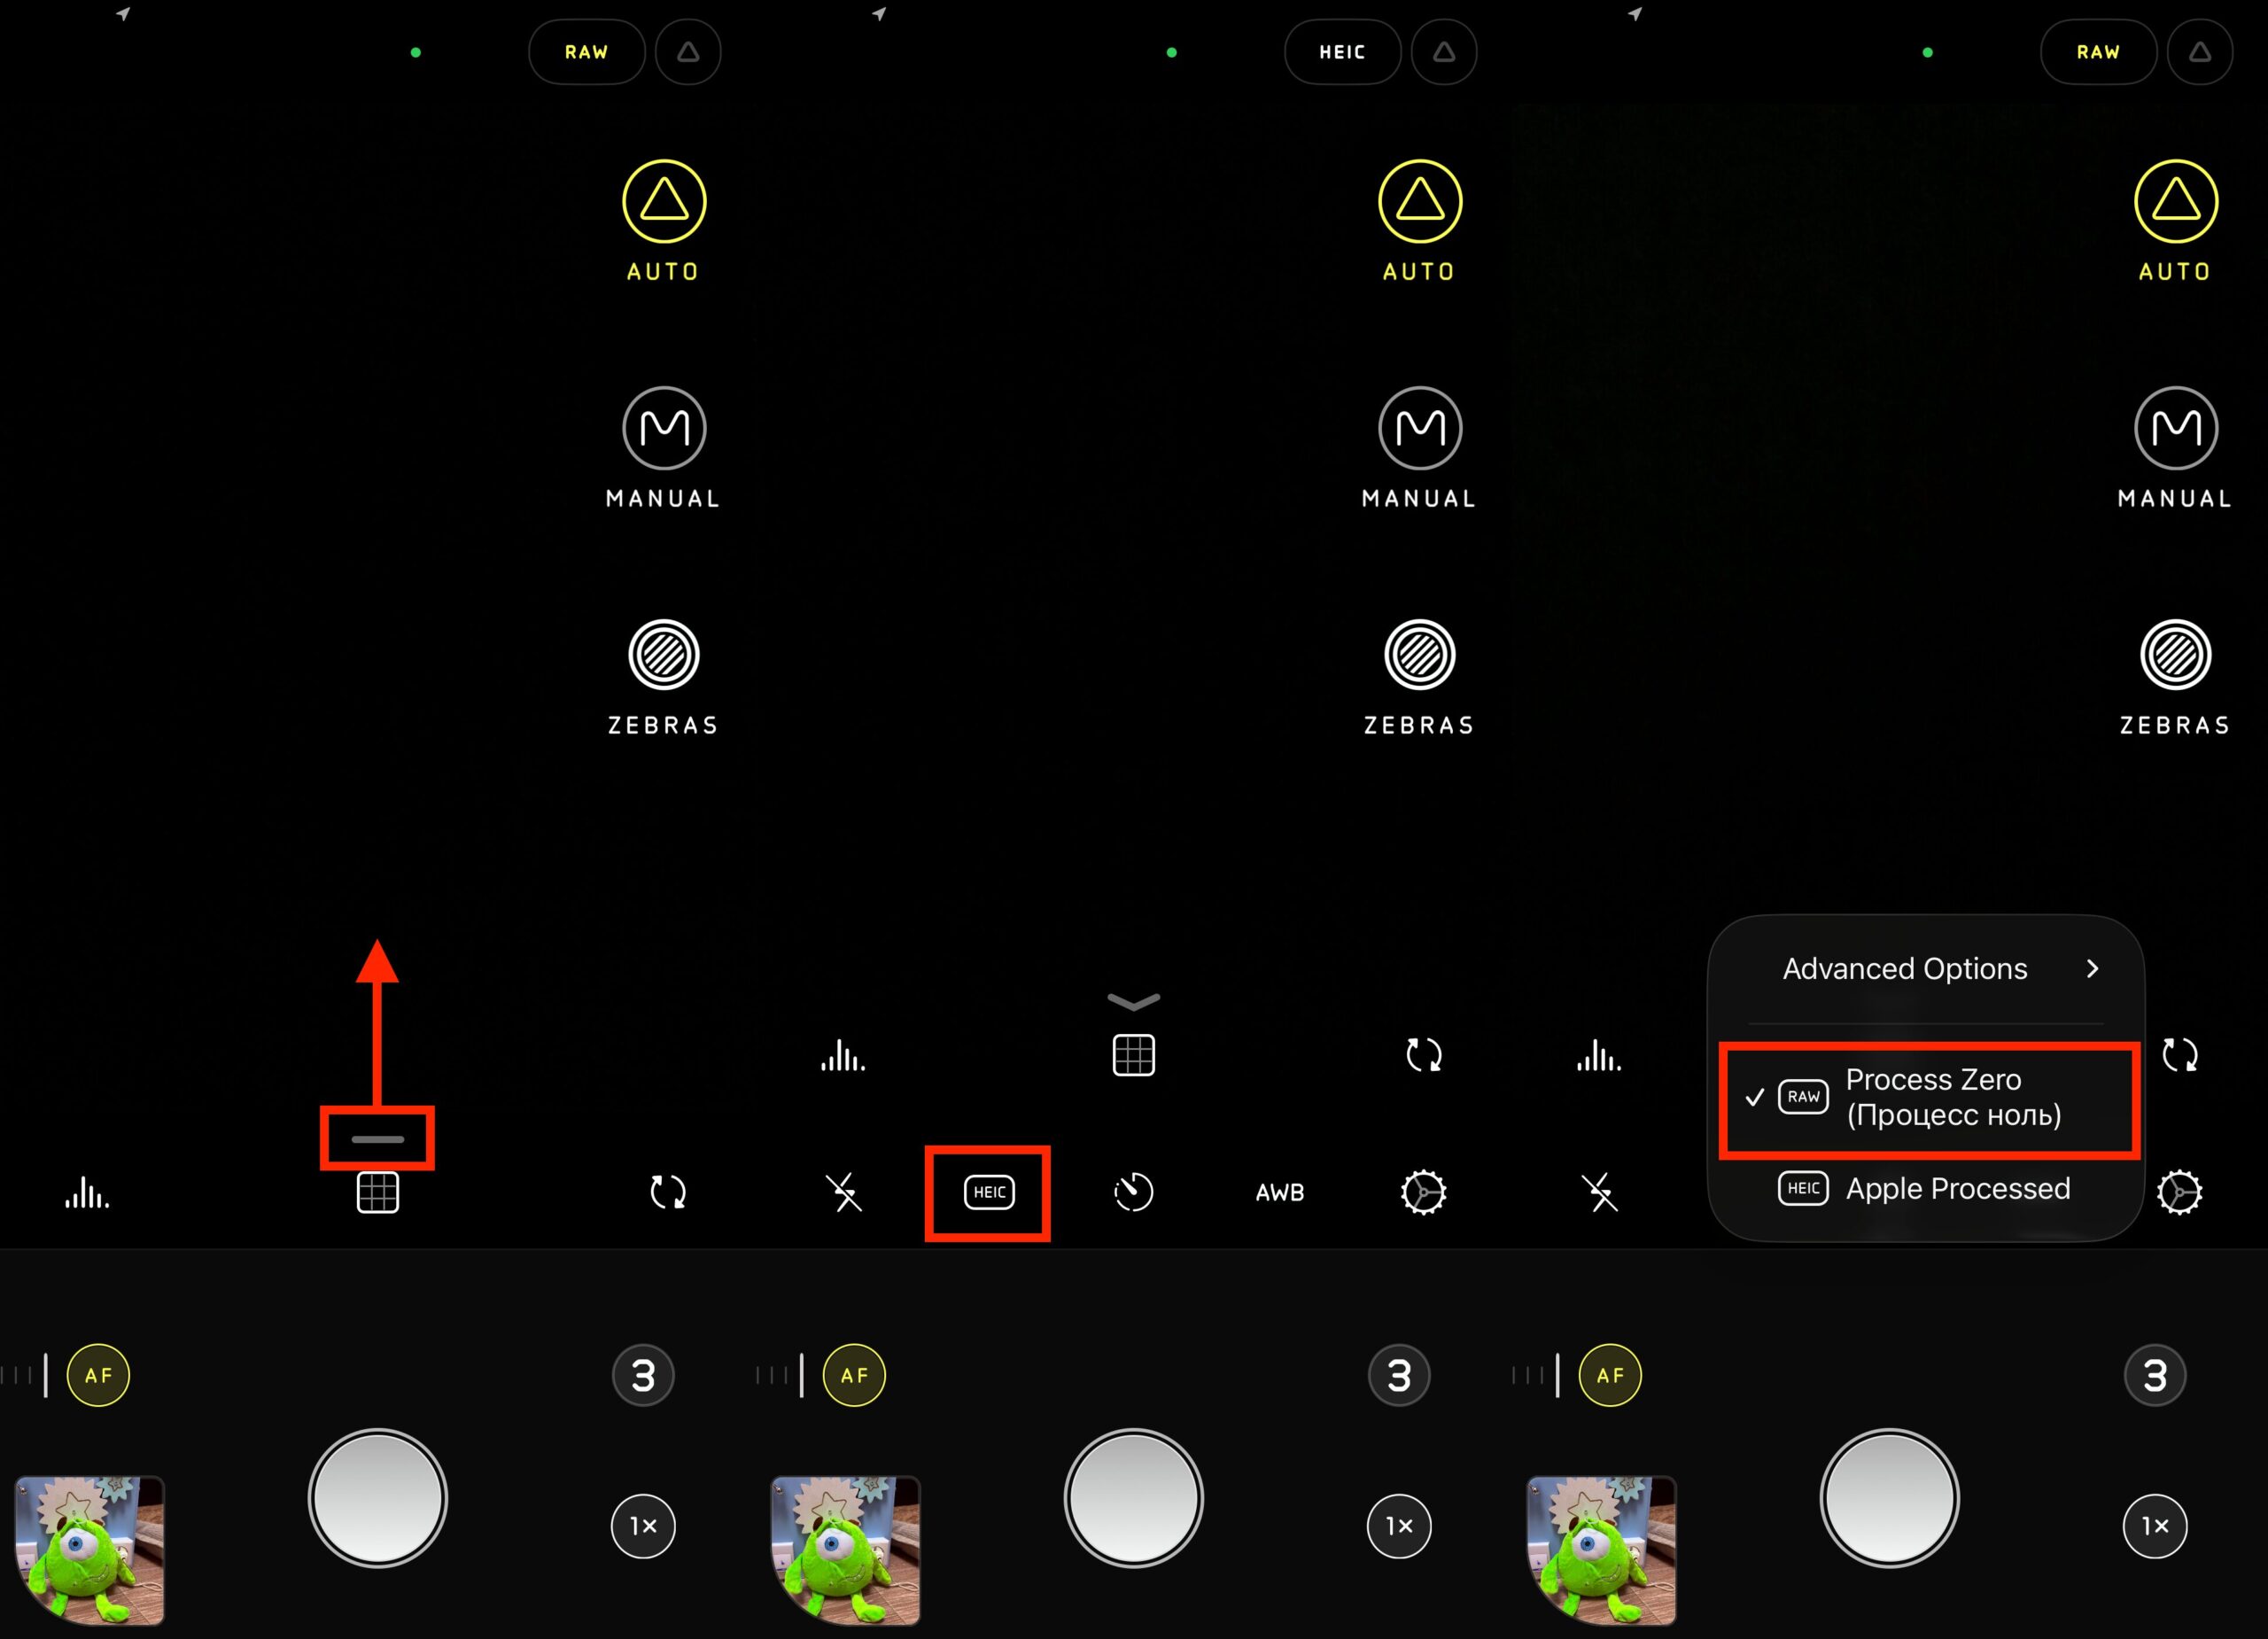
The feature is enabled here
- Launch Halide on your iPhone;
- Expand the settings;
- Tap the “HEIC” button and switch to Process Zero.
The result is softer, more “analog” photos with natural colors. Yes, they require a bit more work when editing, but they also look like real photographs rather than renders.
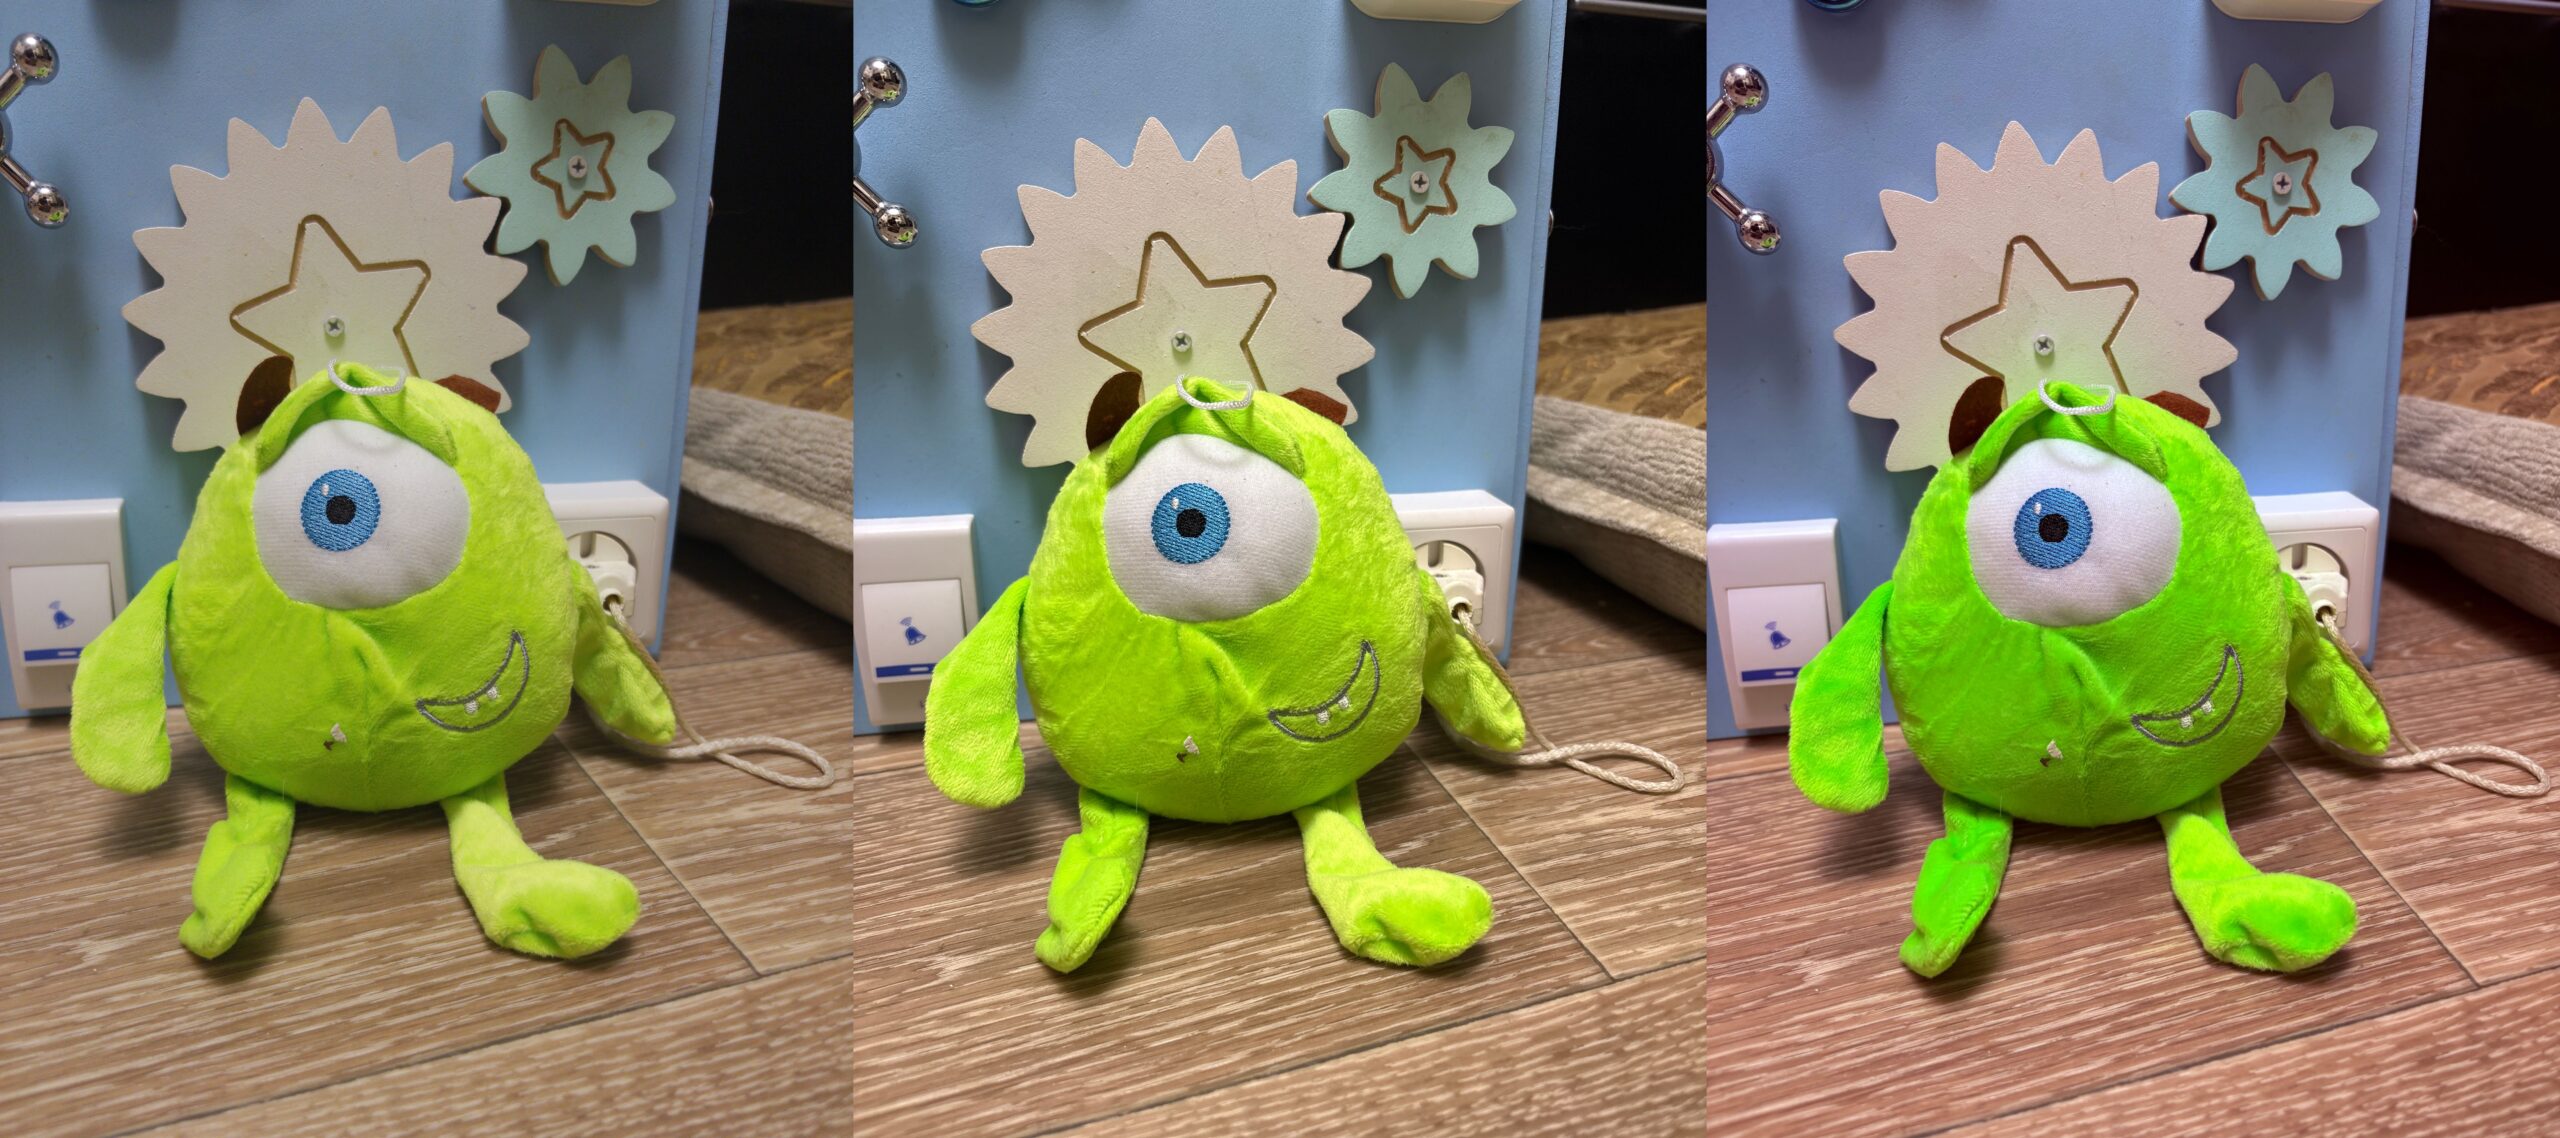
Process Zero on the left, standard shot through Halide in the center, iOS 26 camera on the right
An important note: in Process Zero mode, Live Photos and some other convenient features of the standard camera don’t work. That’s the price of natural-looking photos.
Shooting 48 MP on iPhone
If you don’t want to install additional apps, the iPhone itself has a setting that partially solves the problem. On models with a 48-megapixel camera (iPhone 15 Pro and newer), you can enable shooting in HEIF format at full 48 MP resolution.
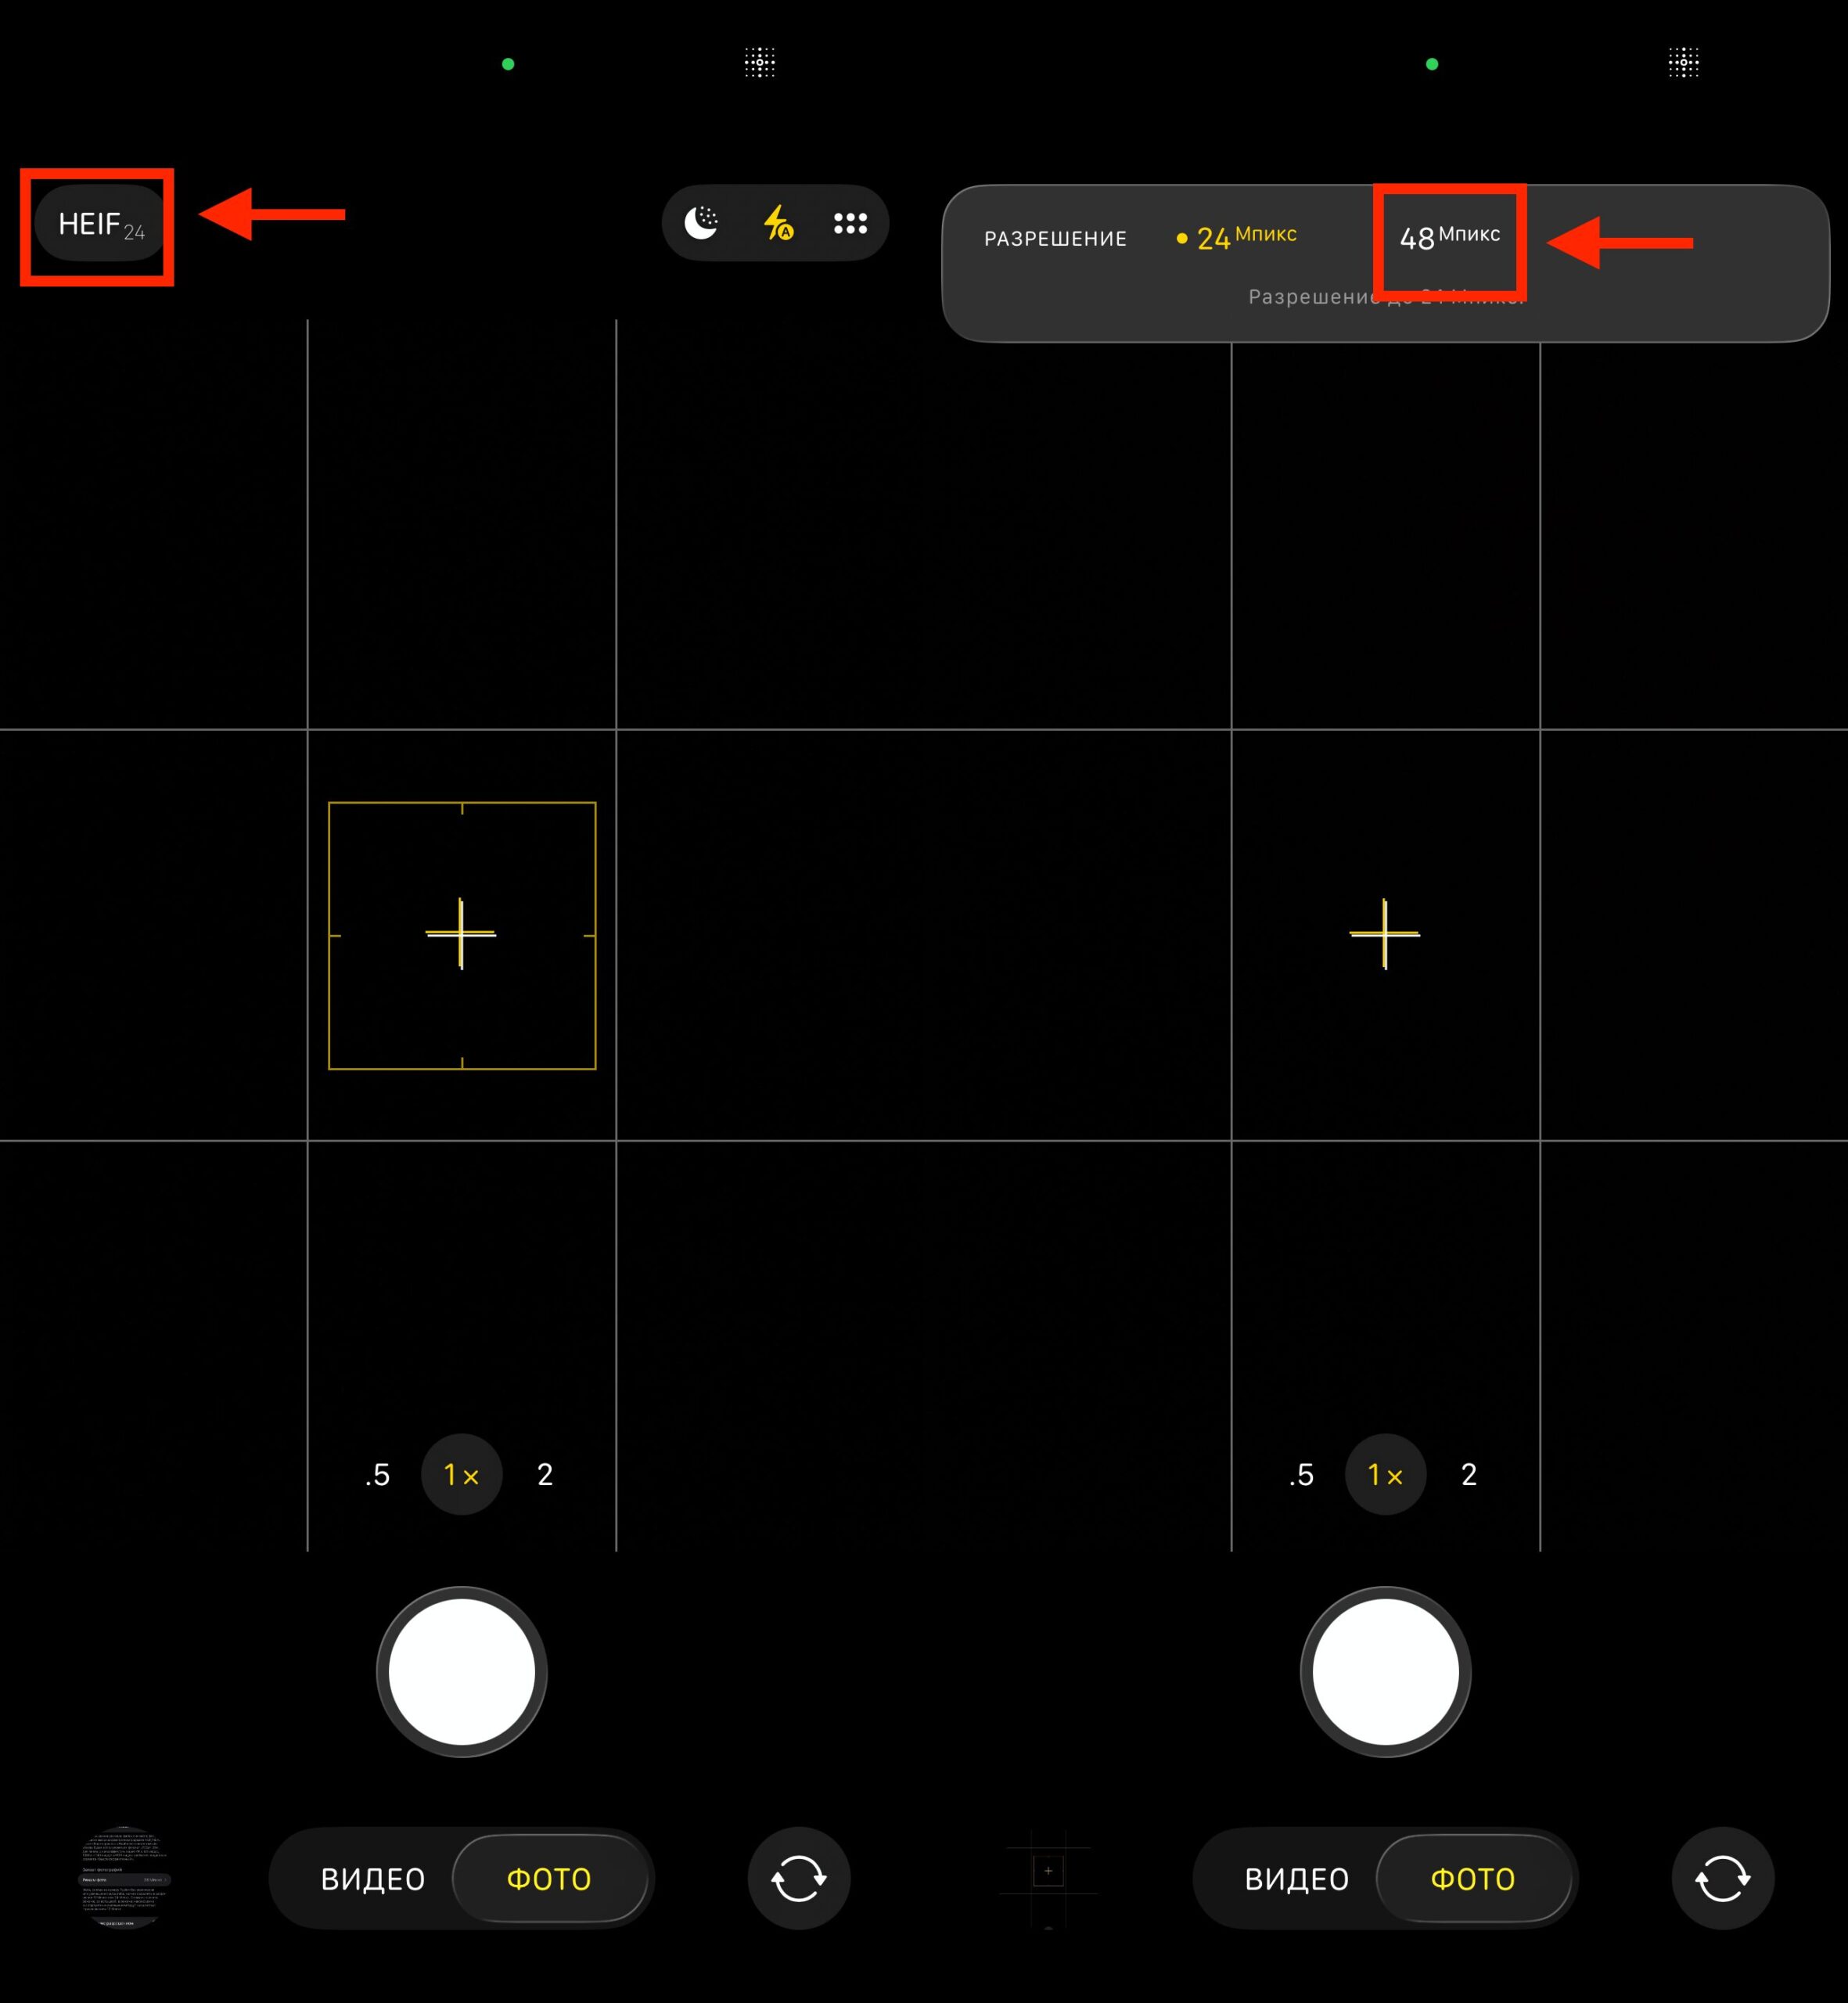
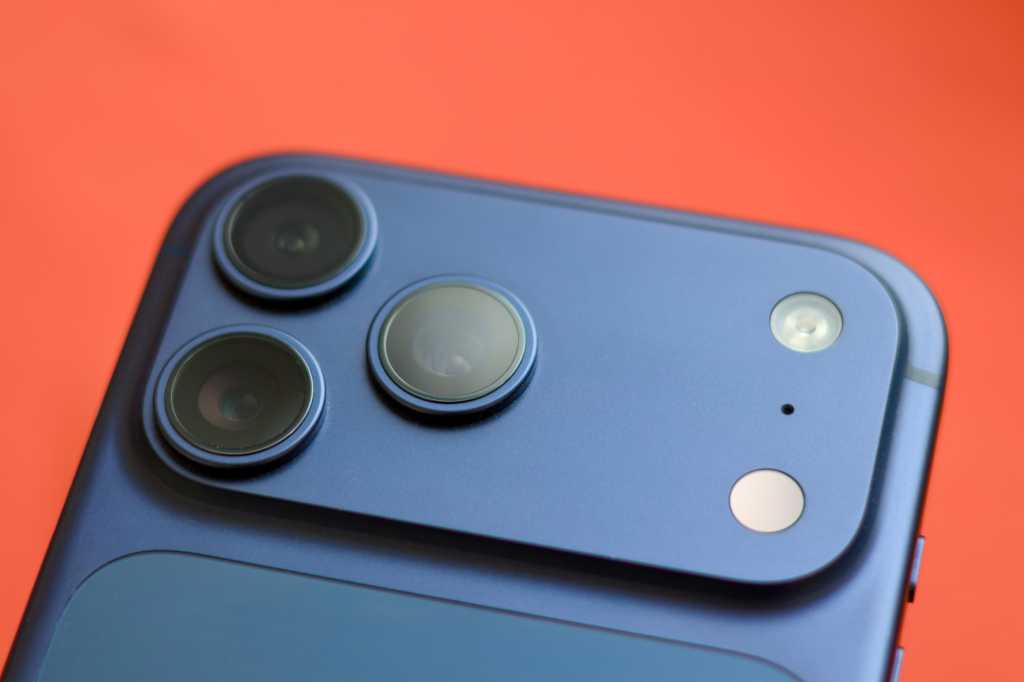
Starting with iPhone 14 Pro, you can shoot 48 MP from the standard camera
This doesn’t completely disable processing, but it reduces the degree of aggressive compression and provides noticeably more detail compared to the standard 12-megapixel mode. For everyday shooting, this is a reasonable compromise: you get more detailed frames without losing the familiar convenience of the standard Camera app.
The downside — files take up more space. A single 48 MP shot weighs 3–4 times more than a regular one, so it’s worth keeping an eye on your available storage.
When You Should Shoot on iPhone Without Processing
This method isn’t for everyone. If you’re shooting kids on the run, capturing moments while traveling, or simply want to quickly send a photo via messenger, the standard iPhone camera remains the best choice. It’s fast, stable, and delivers consistent results.
The iPhone camera can impress anyone
But if you’re annoyed by the “plastic” look of photos, you enjoy editing shots manually, or you simply want your frames to look more lifelike — it’s worth trying. Especially since you can now process photos through neural networks using text commands, such as ChatGPT.
The main thing is to understand that disabling processing doesn’t automatically make photos better. It makes them more “honest” and flexible for further work. If you’re willing to spend a minute on correction in Lightroom or Snapseed, the result will impress you. If not — the standard iPhone camera mode remains an excellent option for 90% of situations.