Users from Russia increasingly need a foreign Apple ID. Changing the region to the USA in the App Store is the most popular way to access apps, games, and services that have become unavailable in the Russian store. In this article, we’ll break down in detail how to change your App Store region to the USA, what data to enter, which state to choose for your Apple ID so you don’t pay extra taxes, and how to pay for purchases after switching to the American region.
Figuring out how to change the App Store region to the USA
Why You Need to Change Your Apple ID Region to the USA
Due to the decision by the Ministry of Digital Development and the introduction of new restrictions on digital services starting April 1, having a foreign account has shifted from being an additional convenience to a practical necessity.
Many users wonder whether it’s worth changing the App Store region to the USA, fearing they’ll lose access to already downloaded Russian apps. In practice, switching the country to the United States provides a huge number of advantages:
- Access to sanctioned apps. You’ll be able to download and update foreign apps, games, and utilities that have left Russia without any issues.
- Global streaming services. With the American region, you’ll be able to fully use Netflix, Spotify, the international version of TikTok, and other media giants.
- Early access. All updates and new apps are first tested and launched for the United States audience.
- Convenient payment system. Purchases in the American store can be easily paid for using gift cards, which can be bought through intermediaries — you simply pay the face value with any Russian card, instantly receive a code, and top up your Apple ID balance.
Preparing to Change Your Region to the USA
If you simply go into settings and try to change your App Store country to the USA, the system may give you an error. Changing the Apple region to the USA requires a small but mandatory preparation of your account. To ensure the region change goes smoothly, complete three important conditions:
- Cancel all active subscriptions. Since April 2026, you can change the App Store region to the USA from a Russian account even with active subscriptions, but some subscriptions may not transfer (for example, Apple Music) or may work with limitations — you’ll need to cancel them and wait for the paid period to end.
- Spend the remaining balance on your Apple ID. Your balance must be zero. If there are leftover pennies in your account, you won’t be able to change the region. If the amount is too small for a purchase, contact Apple support and ask them to zero out the balance (at the paid number 8-499-951-25-79).
- Leave Family Sharing. If you’re a member of a family group or its organizer, changing the region is impossible until you leave the group. Family Sharing only works for accounts from the same country.
Step-by-Step Guide: How to Switch App Store to American
When preparation is complete, you can move on to the actual steps. The instructions are as simple as possible, and the entire process will take you no more than five minutes.
How to change the region to the USA in the App Store through settings:
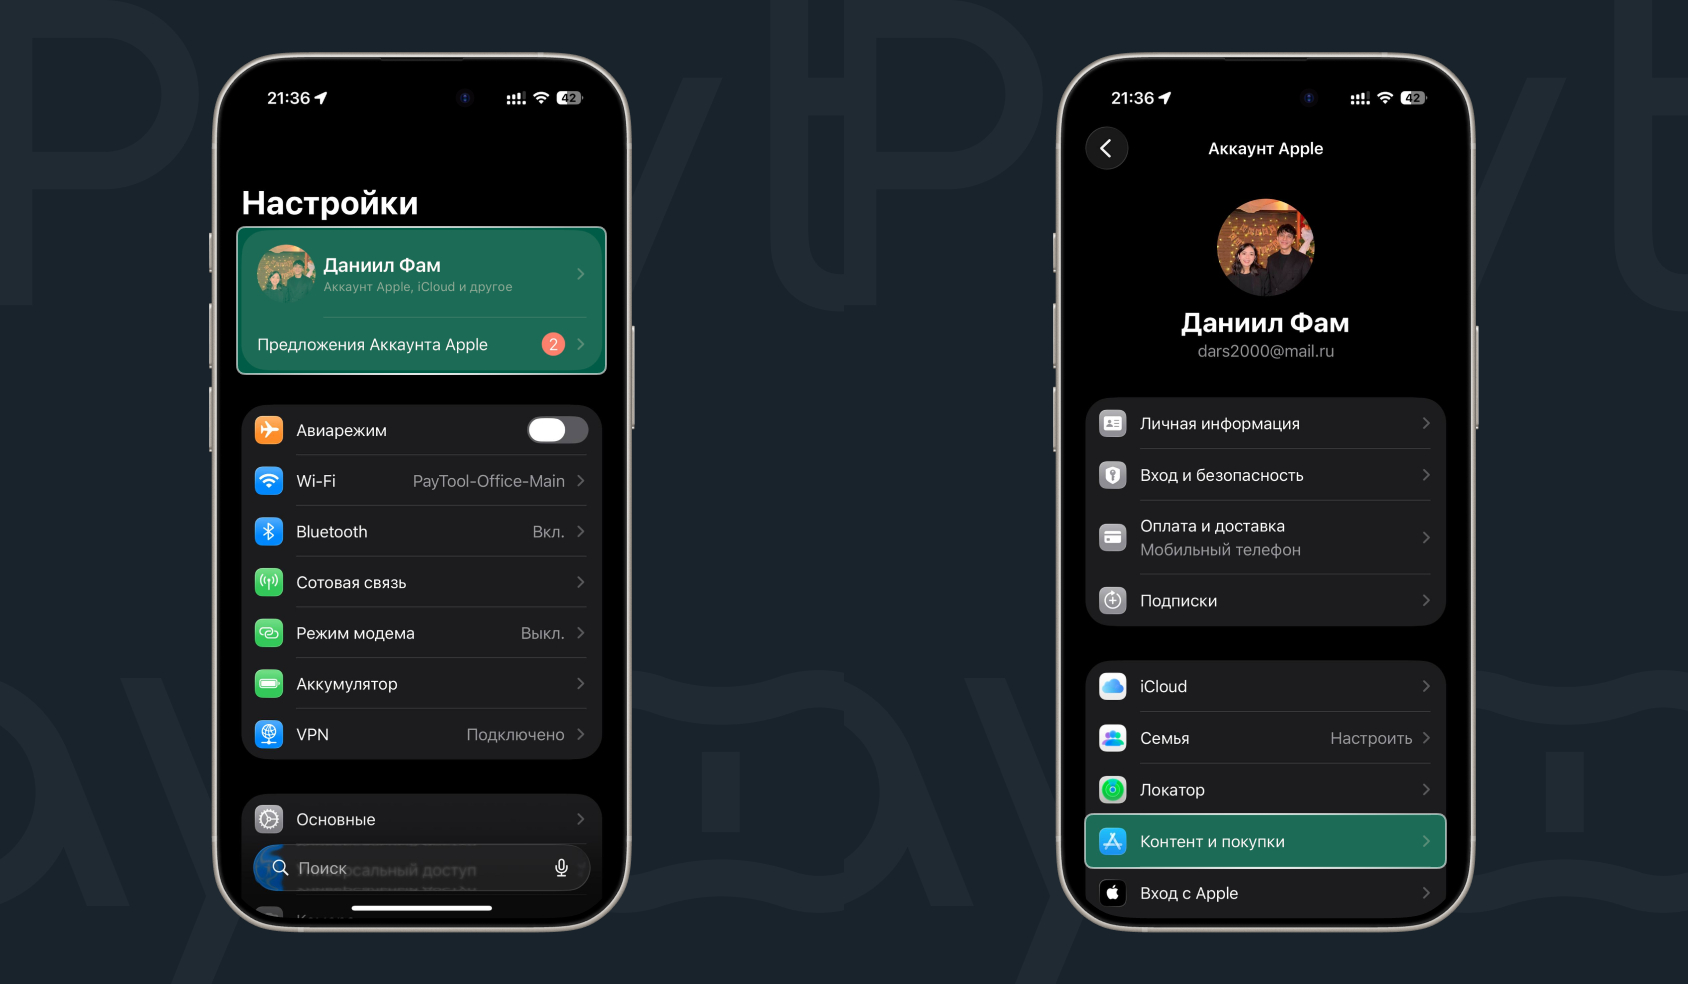
- Open the “Settings” app on your iPhone;
- Tap on your name at the very top of the screen;
- Go to “Content & Purchases,” then select “View”;
- You’ll need to confirm with Face ID or Touch ID;
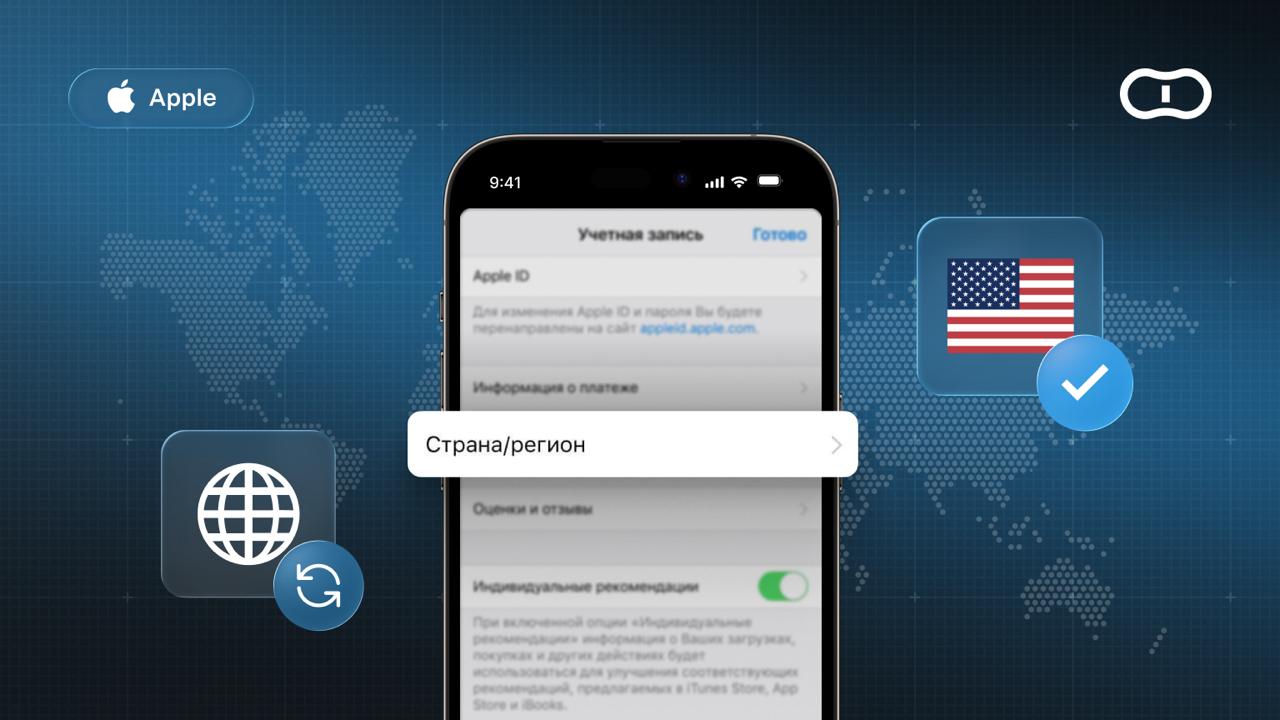
- In the menu that opens, tap on “Country/Region”;
- Tap “Change Country or Region”;
- In the long list of countries, scroll down and select “United States”;
- Review Apple’s terms and conditions and tap “Agree” in the upper right corner.
The region change is done through your account
Select the country and confirm the change
If for some reason you can’t change the country through the phone settings, the region change can be done through the website:
- Open the Safari browser and go to the official site appleid.apple.com;
- Sign in with your account;
- Go to the “Personal Information” section;
- Select “Country/Region”;
- Tap “Change Country/Region” and select the USA.
At this stage, the system will ask you to enter details for the United States. We’ll explain exactly what to write in the next section.
USA Data for App Store: Which State to Choose and What to Enter
After accepting the agreement, the system will take you to a page where you need to enter settings for the new region. This is the most critical step. The data you enter will determine whether you can download apps and whether you’ll end up overpaying.
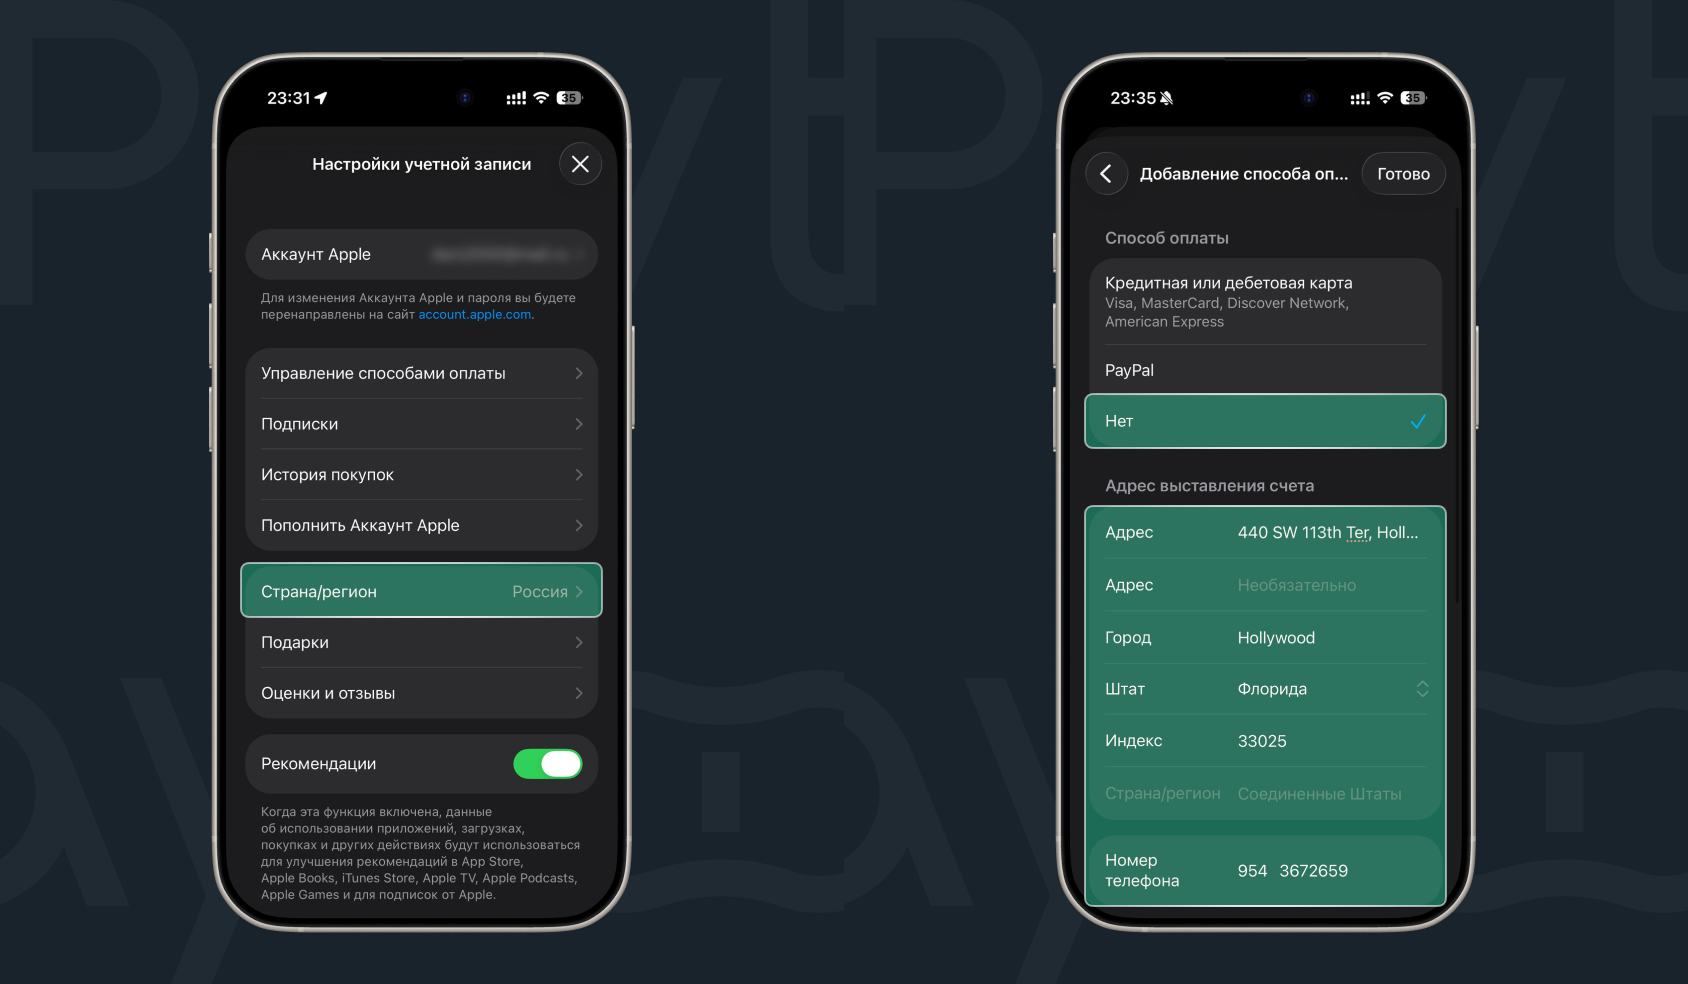
1. Payment Method
The first thing you need to do is select “None” in the payment method section, or link an American bank card if you have one. Russian Visa, Mastercard, and Mir cards won’t work here.
2. Which State to Choose for Apple?
This is the key point. In America, each state has its own sales tax that’s added to the purchase price. If you select California or New York, apps will cost you 7-10% more than their listed price. That’s why we strongly recommend tax-free states.
Best states for Apple ID (where tax is 0%):
- Delaware;
- Montana;
- Oregon;
- Alaska;
- New Hampshire.
3. Addresses for Changing App Store Region to the USA
You need to enter any real existing address in the chosen tax-free state. You can open Google Maps and find any hotel, library, or store. Or use a random address generator.
Here are ready-made addresses you can use:
Option 1: State of Delaware
- Street: 100 Continental Dr
- City: Newark
- State: Delaware
- Zip: 19713
- Phone: 302-454-1500
Option 2: State of Oregon
- Street: 614 SW 11th Ave
- City: Portland
- State: Oregon
- Zip: 97205
- Phone: 503-224-3400
Carefully transfer this data into the corresponding fields. Make sure the zip code strictly matches the chosen state. Once you’ve filled in all the data, tap “Next” and “Done.” Congratulations, the region change to America has been successfully completed!
Possible Errors When Changing Region to the USA