How to take stunning selfies using Camera Remote on Apple Watch. Image: cultofmac.com
How to Take a Beautiful Selfie
Taking photos of yourself with an outstretched arm is uncomfortable and not always flattering. The camera is too close to your face, which distorts proportions: your nose looks bigger, and nothing below your shoulders fits in the frame. While the iPhone front camera has improved significantly in recent years, it still falls short of the rear camera in photo quality.

These are the kind of selfies you can get if you know all the nuances. Image: cultofmac.com
Selfie sticks provide extra distance, but you still have to shoot with the front camera. And carrying a stick around isn’t exactly a pleasure. Camera Remote on Apple Watch solves both problems: you can place your iPhone on any surface, point its rear camera toward yourself, and control the shooting from your watch.
How to Launch Camera Remote on Apple Watch
The app comes pre-installed on Apple Watch — no download needed. But there’s a nuance when launching it that makes many people think the feature doesn’t work. Sometimes the app freezes on a blank screen. To avoid this, follow two steps before opening Camera Remote on your watch:
- Unlock your iPhone.
- Make sure the Camera app on your iPhone is not running — Camera Remote needs to open it on its own.
After connecting, the image from your iPhone camera will appear on your watch screen. If the screen stays blank, press the Digital Crown, return to the watch face, and try again, making sure your iPhone is unlocked and the Camera app is closed.
iPhone Camera Settings
The Camera Remote interface resembles the regular Camera app: most of the screen is the viewfinder, and the shutter button is at the bottom. Next to it is a button with three dots (…), which hides additional settings:
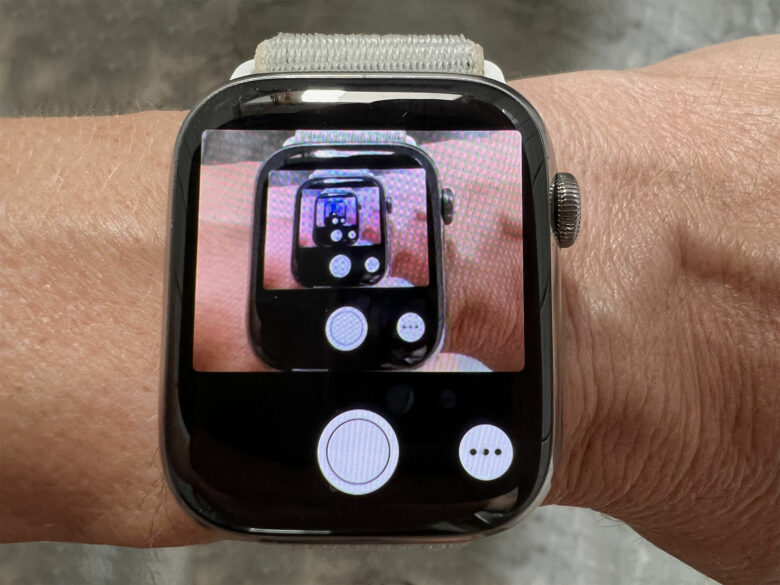
Camera Remote interface with shutter button and settings. Image: cultofmac.com
- Switching between front and rear camera
- Turning flash on and off
- Live Photo mode
- 3-second timer
You can tap different areas of the watch screen to adjust focus and exposure. The Digital Crown works as a zoom control. Some features are only available on the iPhone itself. For example, Portrait mode and video mode need to be enabled on the phone. But after switching to video mode, you can control recording (start and pause) from the watch. The iPhone also has a button to widen the front camera’s field of view.
How to Take a Great Photo with iPhone
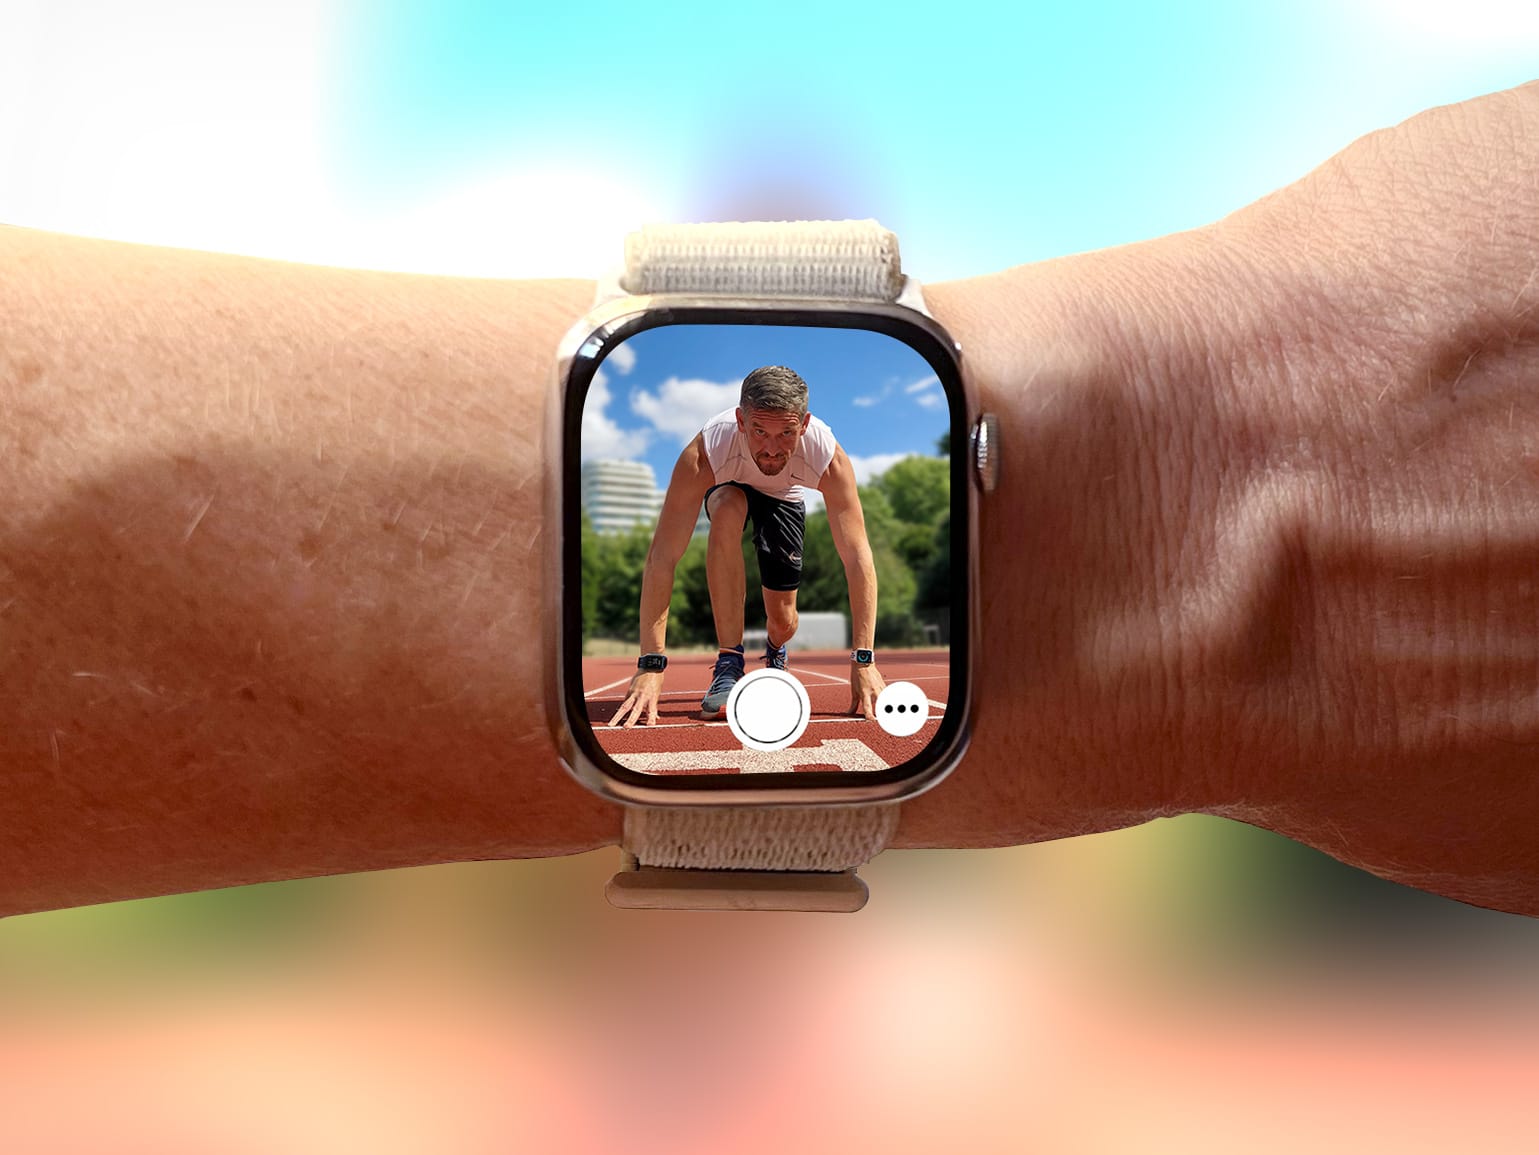
The simplest option is to lean your iPhone against a wall, place it on a bench, or even wedge it between tree branches. A smartphone at ground level gives an unusual, dramatic angle. But for a more natural shot, it’s better to raise it to eye level.

You definitely wouldn’t get a shot like this handheld. Image: cultofmac.com
A compact tripod with flexible legs (such as the Joby GorillaPod) is great for this — you can wrap it around a pole, branch, or railing. It’s lightweight and easily fits in a pocket or backpack. Don’t forget a protective case for your iPhone, and make sure there’s no one nearby who might take your unattended phone.

Essentially, you can place your iPhone anywhere, as long as it’s within Bluetooth range. Image: cultofmac.com
Important limitation: Apple Watch must be within Bluetooth range of the iPhone — approximately up to 10 meters (33 feet).
How to Take Photos on iPhone Using Apple Watch
Once your iPhone is set up and you can see yourself on the watch screen, use the viewfinder for final framing adjustments. Keep in mind that if the iPhone is positioned vertically, the top and bottom of the image will be cropped on the watch. In landscape orientation, the full image will be displayed — with black bars at the top and bottom.
Be sure to enable the 3-second timer. Without it, you’ll be looking at your watch at the moment the photo is taken, rather than at the camera. Three seconds is just enough time to lower your arm and smile. During the countdown, the iPhone flash blinks every half second, and when the photo is taken, the Apple Watch vibrates — wait until the vibration stops before moving.
After shooting, you can immediately check the result on your watch: tap the thumbnail in the bottom-left corner of the screen, and use the Digital Crown to zoom in on details.
Why You Need iPhone Camera Control from Apple Watch
This app is useful not only for perfect selfies while traveling. It comes in handy for group photos when no one can hold the camera, for full-body shots, for content creators who need to film themselves using the rear camera, and even for those who photograph products or interiors and want to be in the frame.
If you have an Apple Watch and an iPhone, you already own a free wireless camera remote. No additional accessories or subscriptions needed. Just figure out the launch quirks once — and everything works simply and predictably from there.