Apple added a battery charge limit feature for MacBook in macOS Tahoe 26.4. Now you can set a maximum charge level — for example, 80% or 90% — and the laptop will stop charging beyond that point, even if it remains plugged in. A similar setting has been available on iPhone for a couple of years, and it has finally made its way to the Mac.
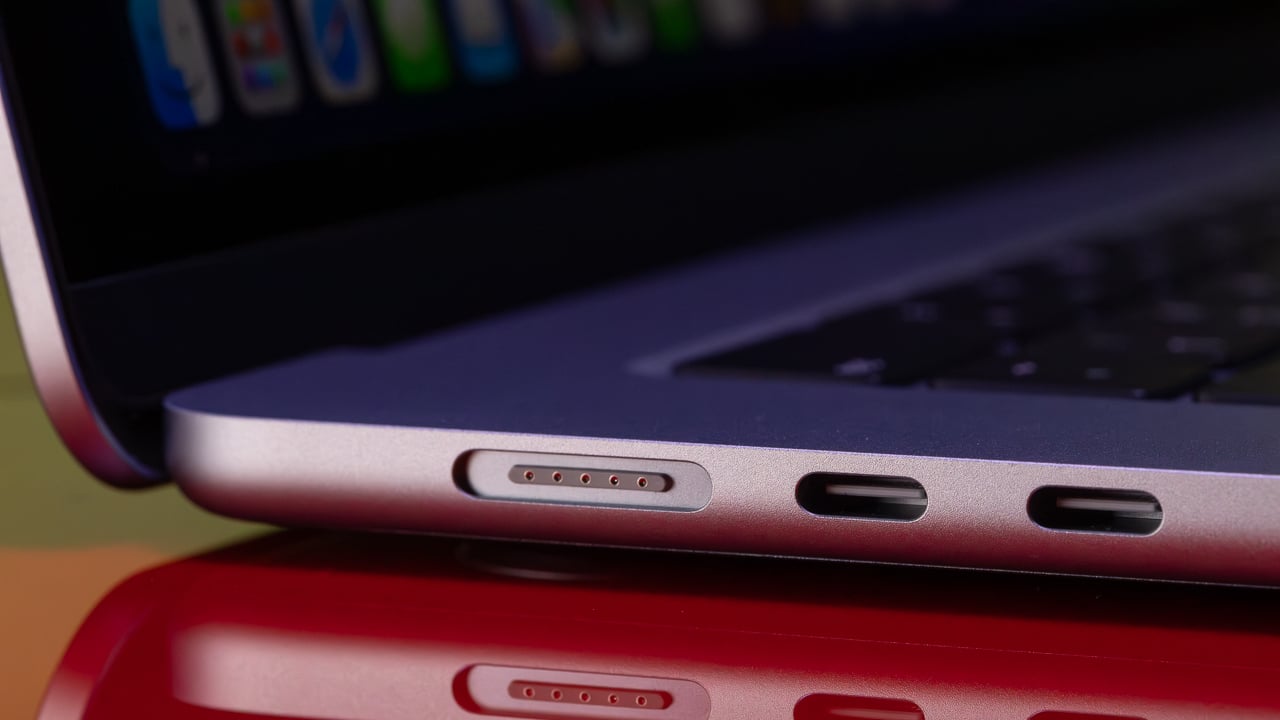
The charge limit will help extend the life of your MacBook’s battery. Image: pcmag.com
Why Limit Your MacBook’s Battery Charge
Lithium-ion batteries degrade faster if they are constantly kept at 100% charge. This is especially relevant for those who work on a MacBook plugged into a charger all day — and that describes the majority of users with stationary workstations.
When you set a limit, the laptop reaches the specified percentage and stops charging. The battery spends less time in a fully charged state, which means it loses capacity more slowly. Essentially, this is a way to extend the battery’s lifespan by an additional year or two — at no cost whatsoever.
Apple explicitly states: if you frequently charge your MacBook or keep it plugged in for long periods, it makes sense to set a limit at 80% or another value below 100%.
How to Set a Battery Charge Limit in macOS Tahoe
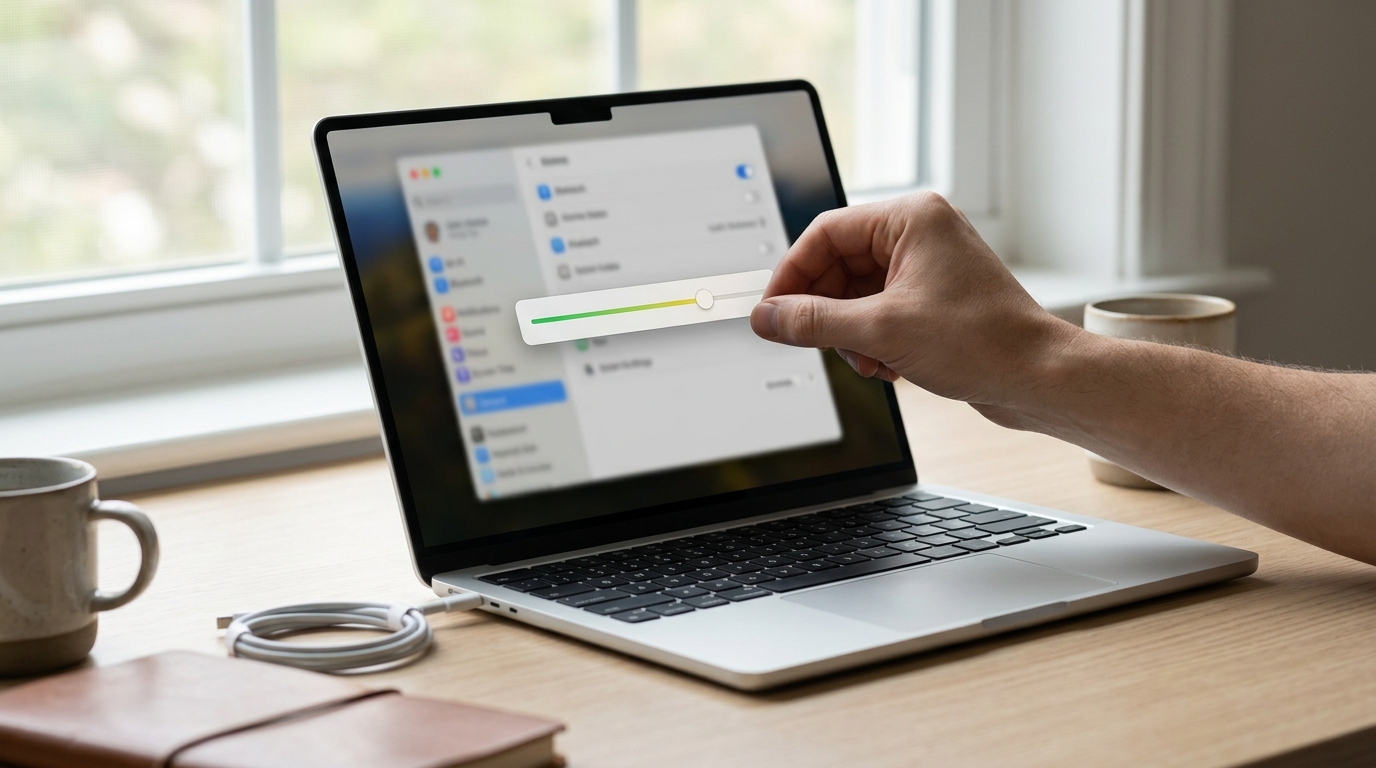
The process takes literally a minute. Here’s what you need to do:
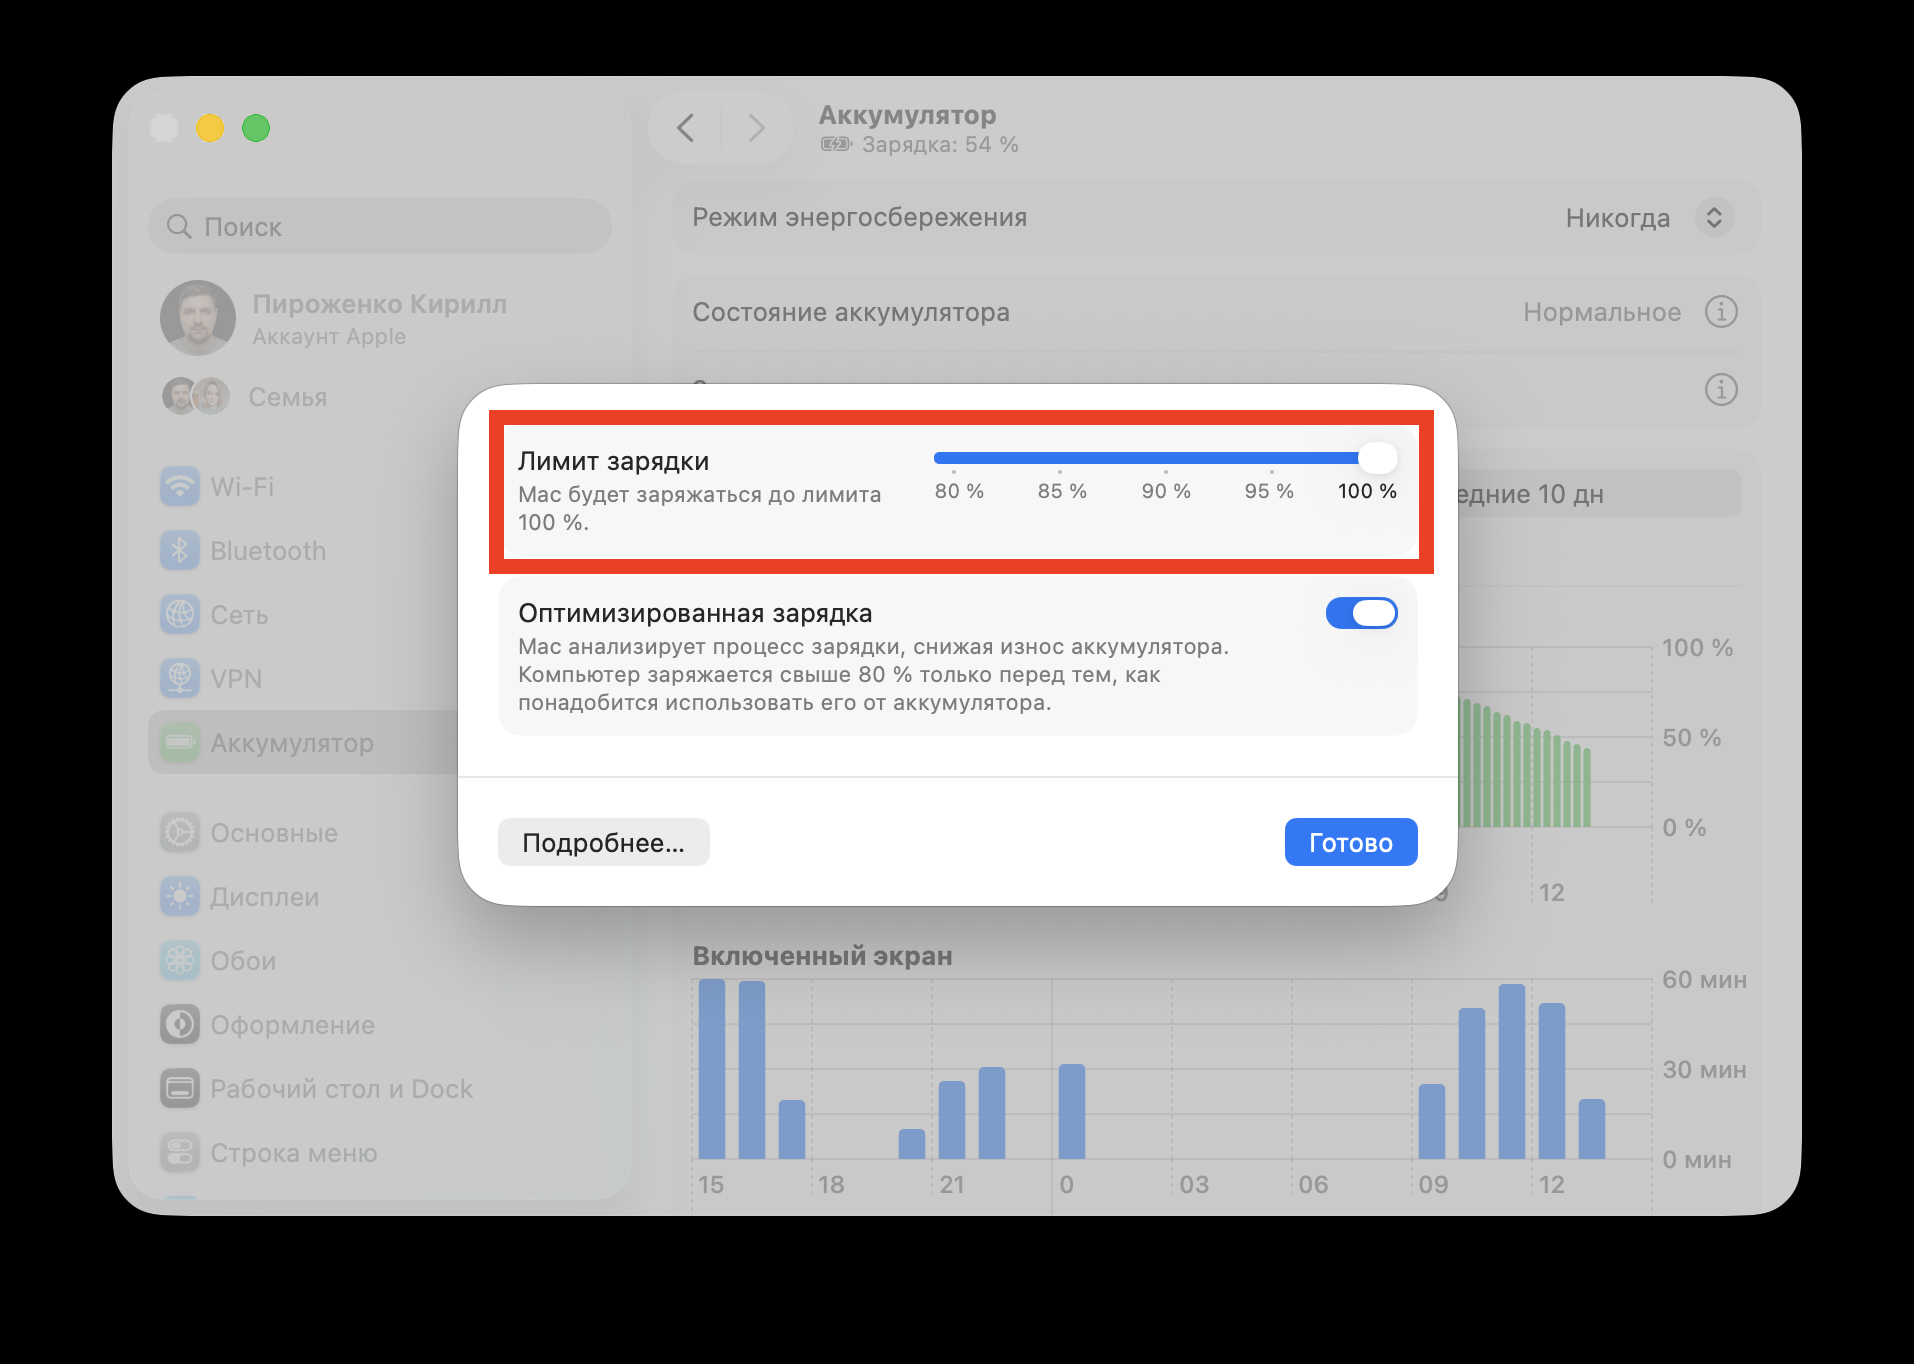
Set the slider to your desired level, and that’s it
- Open “System Settings” on your MacBook.
- Go to the “Battery” section.
- In the “Charging” row, click the “i” in the circle.
- Drag the slider to the desired level — for example, 80%.
After that, your MacBook will only charge up to the selected value. If you have a trip coming up or a long day without access to an outlet, simply go back to settings and move the slider back to 100%.
What to Keep in Mind When Using the MacBook Battery Charge Limit
There are a few nuances worth knowing in advance. Less charge means less battery life. This is obvious but important to mention: if a full charge gives you 10 hours of use, then with an 80% limit you’ll get approximately 8 hours. For those who are plugged in all day, this isn’t a problem. But before traveling, it’s better to temporarily remove the limit.
Why limit MacBook battery charge
The second thing to note — your MacBook will occasionally charge itself to 100%, even if you’ve set a lower limit. Apple explains this as a calibration necessity: the system periodically needs to bring the battery to a full charge so the percentage indicator remains accurate. This is normal behavior, not a glitch.
MacBook Air with charge limit set at 80%
How the Battery Charge Limit Differs from Optimized Charging in macOS
macOS has long had an “Optimized Battery Charging” feature. It analyzes your habits and decides on its own when to hold the charge at around 80% and when to top it up to 100% — for example, by morning, when you typically unplug your MacBook.

Don’t forget that Mac has had optimized charging for a long time
The new manual limit is a different tool. It doesn’t adapt to your schedule but strictly stops charging at the chosen level. If you want full control over the maximum charge level, the manual limit is more reliable. If you don’t want to think about it, optimized charging still works in the background and partially addresses the same issue.
Which MacBook Owners Should Enable the Charge Limit in macOS Tahoe
The feature is primarily useful for two categories of users:
- Those who use their MacBook as a desktop computer — with a permanent connection to a monitor and charger. This is the exact scenario where the battery degrades the fastest.
- Those who plan to use their laptop for a long time — 4-5 years or more — and want to preserve battery health without needing a replacement.
If you frequently work on battery power and charge your MacBook once every day or two, there’s no urgent need for a limit. The built-in optimized charging handles things well enough on its own.
To set the limit, you’ll need macOS Tahoe 26.4. If your MacBook supports this version of the operating system, the feature will appear in the battery settings automatically after updating. No additional programs or third-party utilities are needed — everything is built into the system.