Apple has released new firmware version 8B39 for AirPods Pro 3, AirPods Pro 2, and AirPods 4. The update contains bug fixes and minor improvements — no new features, but it shouldn’t be ignored. Below is a full list of current firmware versions for all AirPods models and step-by-step instructions on how to update faster.
AirPods also received an update. Image: tomsguide.com
Which AirPods Received the Firmware Update
The update affected five Apple earbuds models at once. Here is the full list of current firmware versions at this time:
- AirPods Pro 3 — 8B39
- AirPods Pro 2 (USB-C) — 8B39
- AirPods Pro 2 (Lightning) — 8B39
- AirPods 4 — 8B39
- AirPods 4 with Active Noise Cancellation — 8B39
Older models did not receive the update. AirPods 2 and AirPods 3 remain on firmware 6F21 from October 2024. The original AirPods Pro (first generation) are also on version 6F21. And the first-generation AirPods haven’t been updated in several years.
It’s worth mentioning AirPods Max separately: the USB-C model runs firmware 7E108 (updated in May 2025), while the original AirPods Max with Lightning are on version 6F25 (April 2025). They were not included in the current 8B39 update.
What Changed in the AirPods Pro 2 and AirPods Pro 3 Firmware Update
Apple describes the changes succinctly: “Bug fixes and other improvements.” The company does not disclose the specific list of bugs that were fixed. This is standard practice for earbuds firmware updates — Apple rarely details the specifics.
There are no new features in this update. But past experience shows that Apple sometimes adds truly important things through firmware updates. For example, in September 2024, the real-time speech translation feature was added through a firmware update. And even earlier, AirPods Pro 2 gained the ability to function as hearing aids. So keeping track of firmware updates is a good habit.
How to Update AirPods Pro Firmware — Step-by-Step Instructions
AirPods don’t have an “Update” button in the traditional sense. The firmware installs in the background when the earbuds are charging near a Wi-Fi-connected Apple device. But the process can be sped up.
- Make sure your iPhone, iPad, or Mac is connected to Wi-Fi.
- Place the AirPods in the charging case and close the lid.
- Connect the case to a charger with a cable (Lightning or USB-C, depending on the model).
- Leave the case closed near the device and wait at least 30 minutes.
- Open the case lid so the earbuds reconnect to the device.
- Check the firmware version (instructions below).
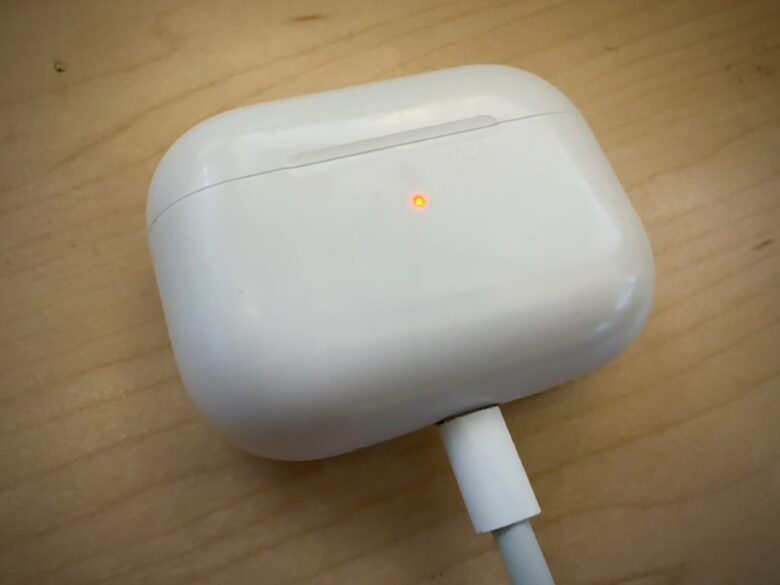
AirPods must be placed on charge.
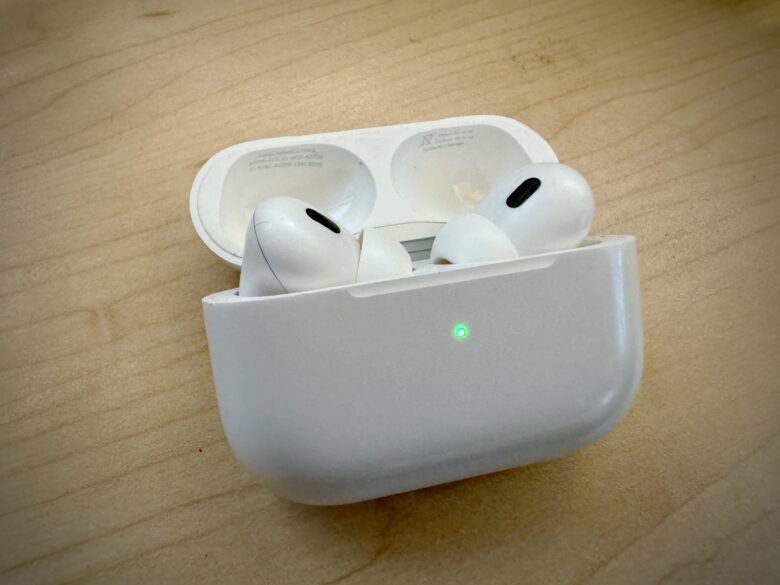
Open the case to connect to your smartphone and check if the update has been applied.
Usually the update takes 5 to 10 minutes, but Apple recommends allowing up to half an hour. If the firmware didn’t update, try resetting your AirPods through settings and repeat the process.
Important: AirPods firmware can only be updated through an iPhone, iPad, or Mac. If you use the earbuds with an Android smartphone or Windows computer, firmware updates through them are not possible. You will need any Apple device for this.
How to Check AirPods Firmware Version on iPhone
The check takes literally a minute. There are two methods.
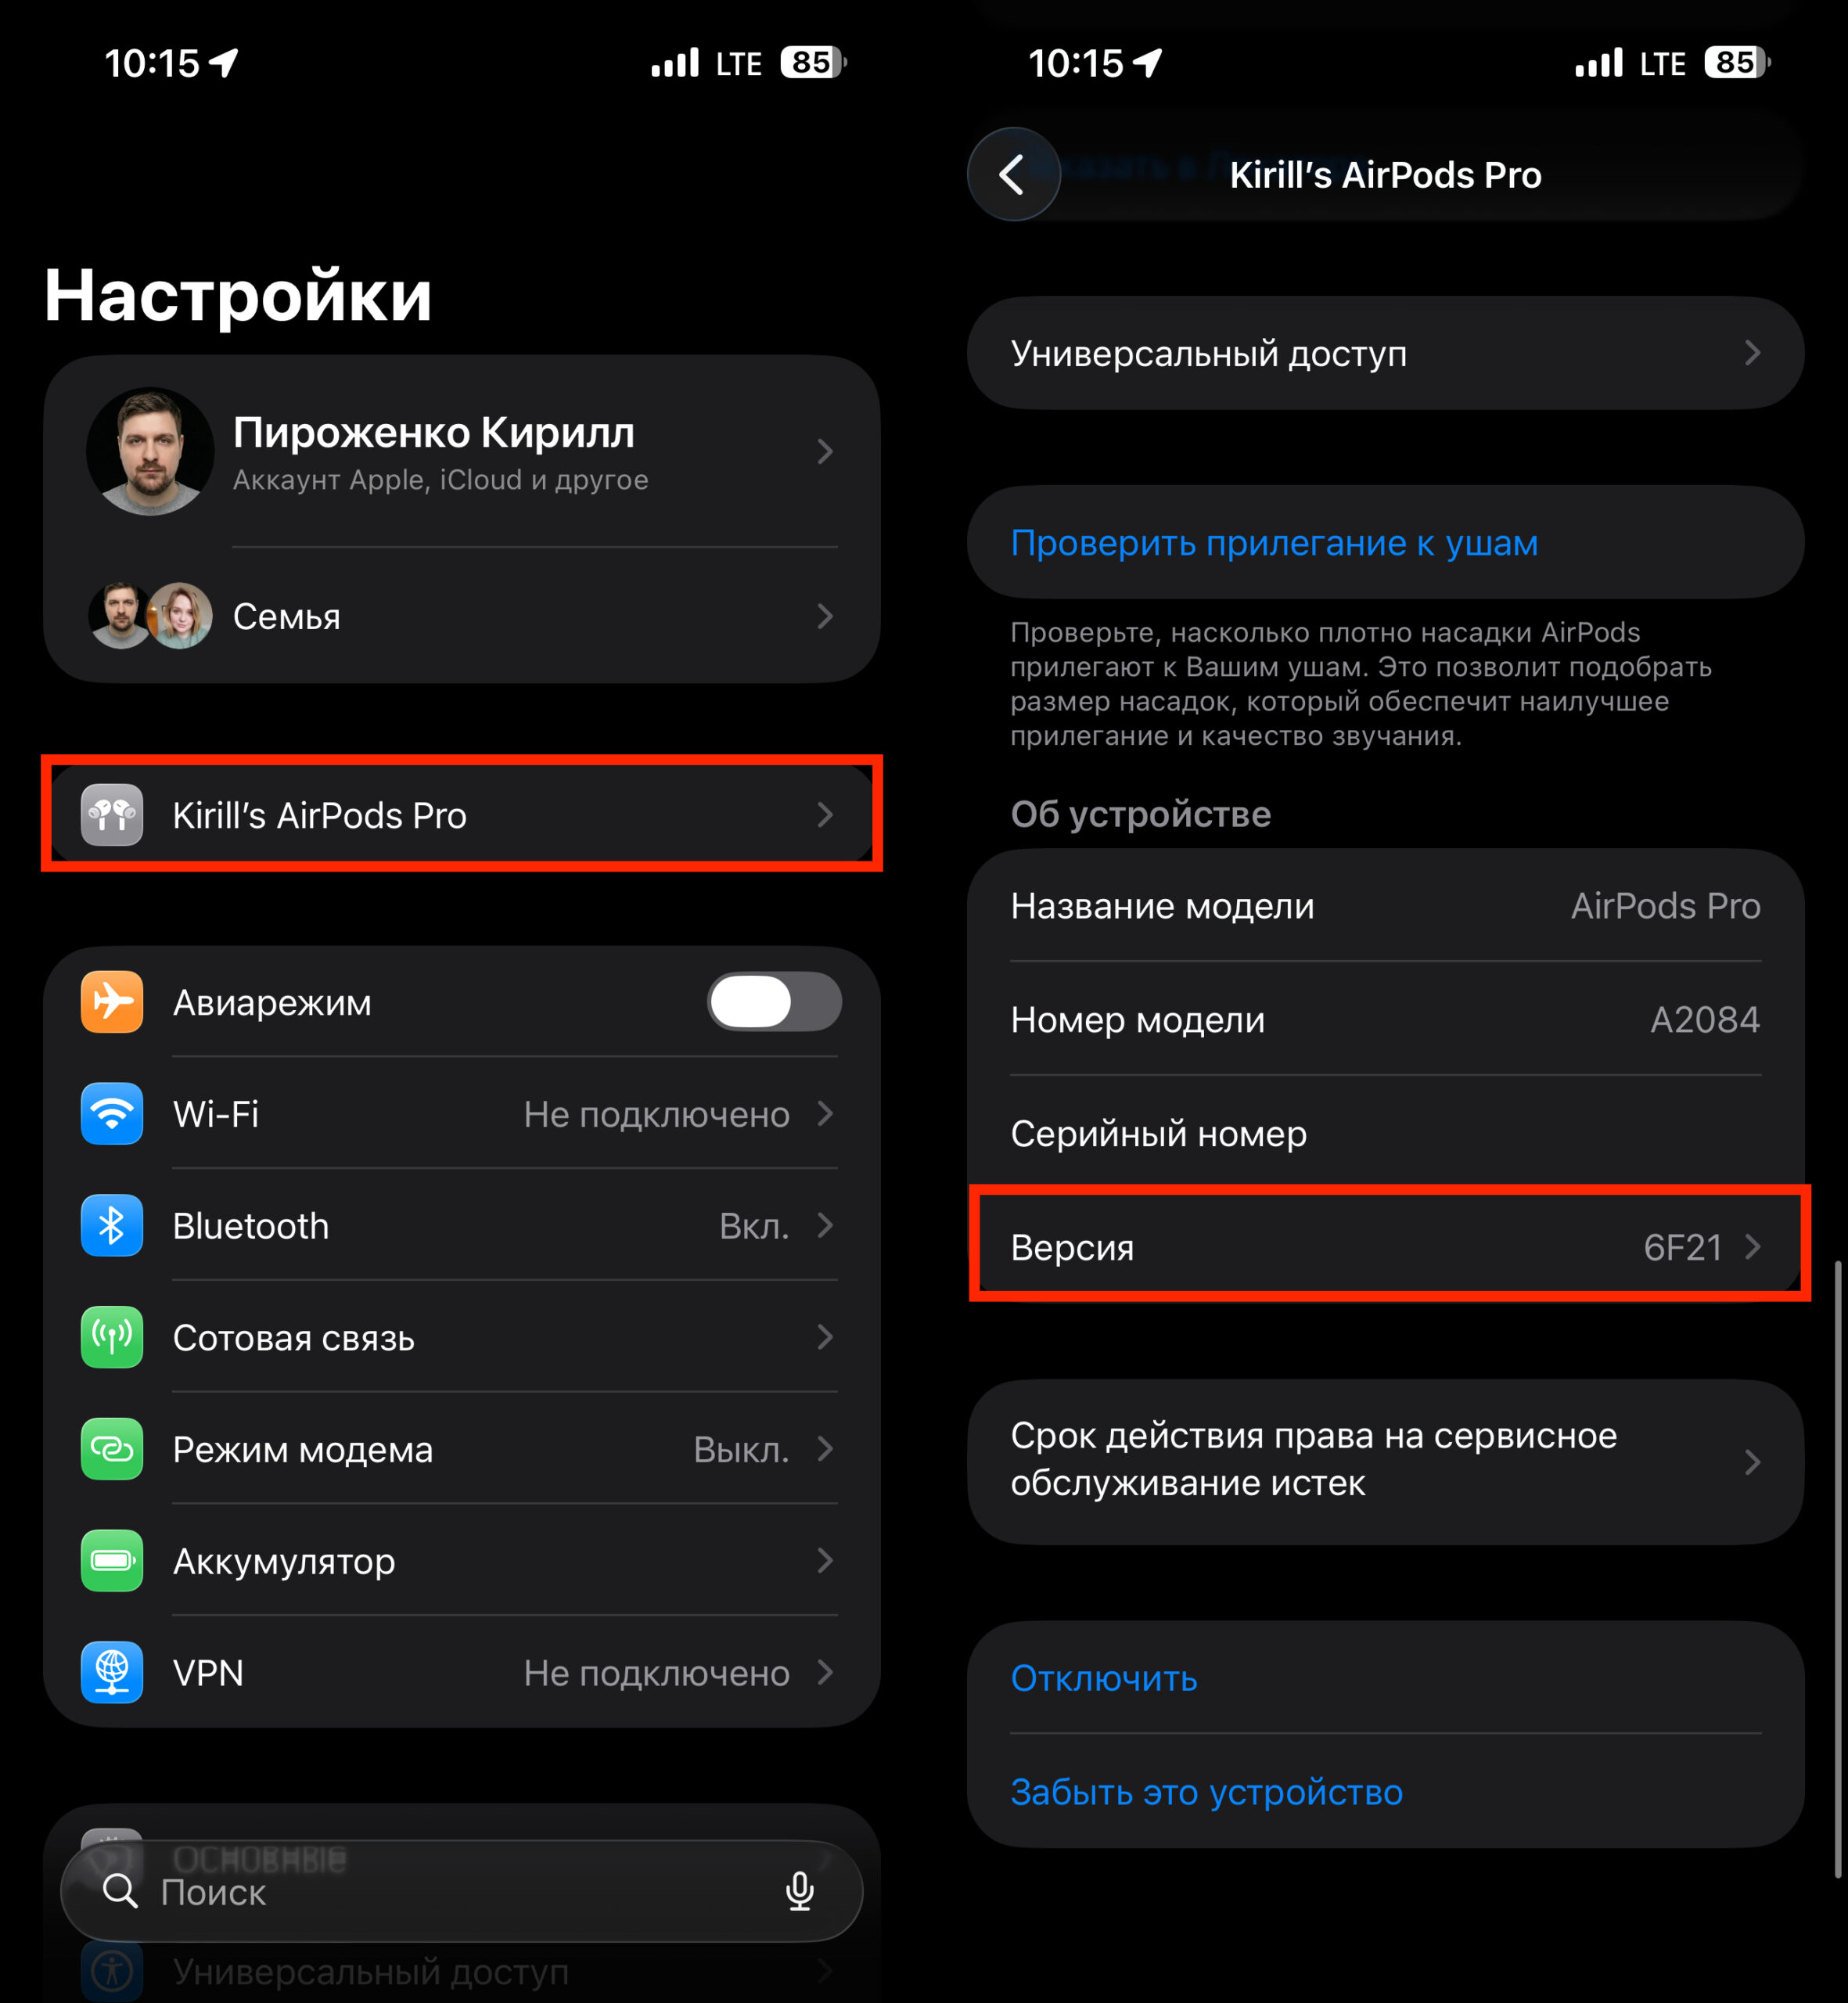
You can access AirPods settings from the main settings page
First method: open the AirPods case lid so they connect to your iPhone. Go to “Settings” — your AirPods name will be right at the top of the screen, below Apple ID. Tap on them and scroll down to the “Version” line.
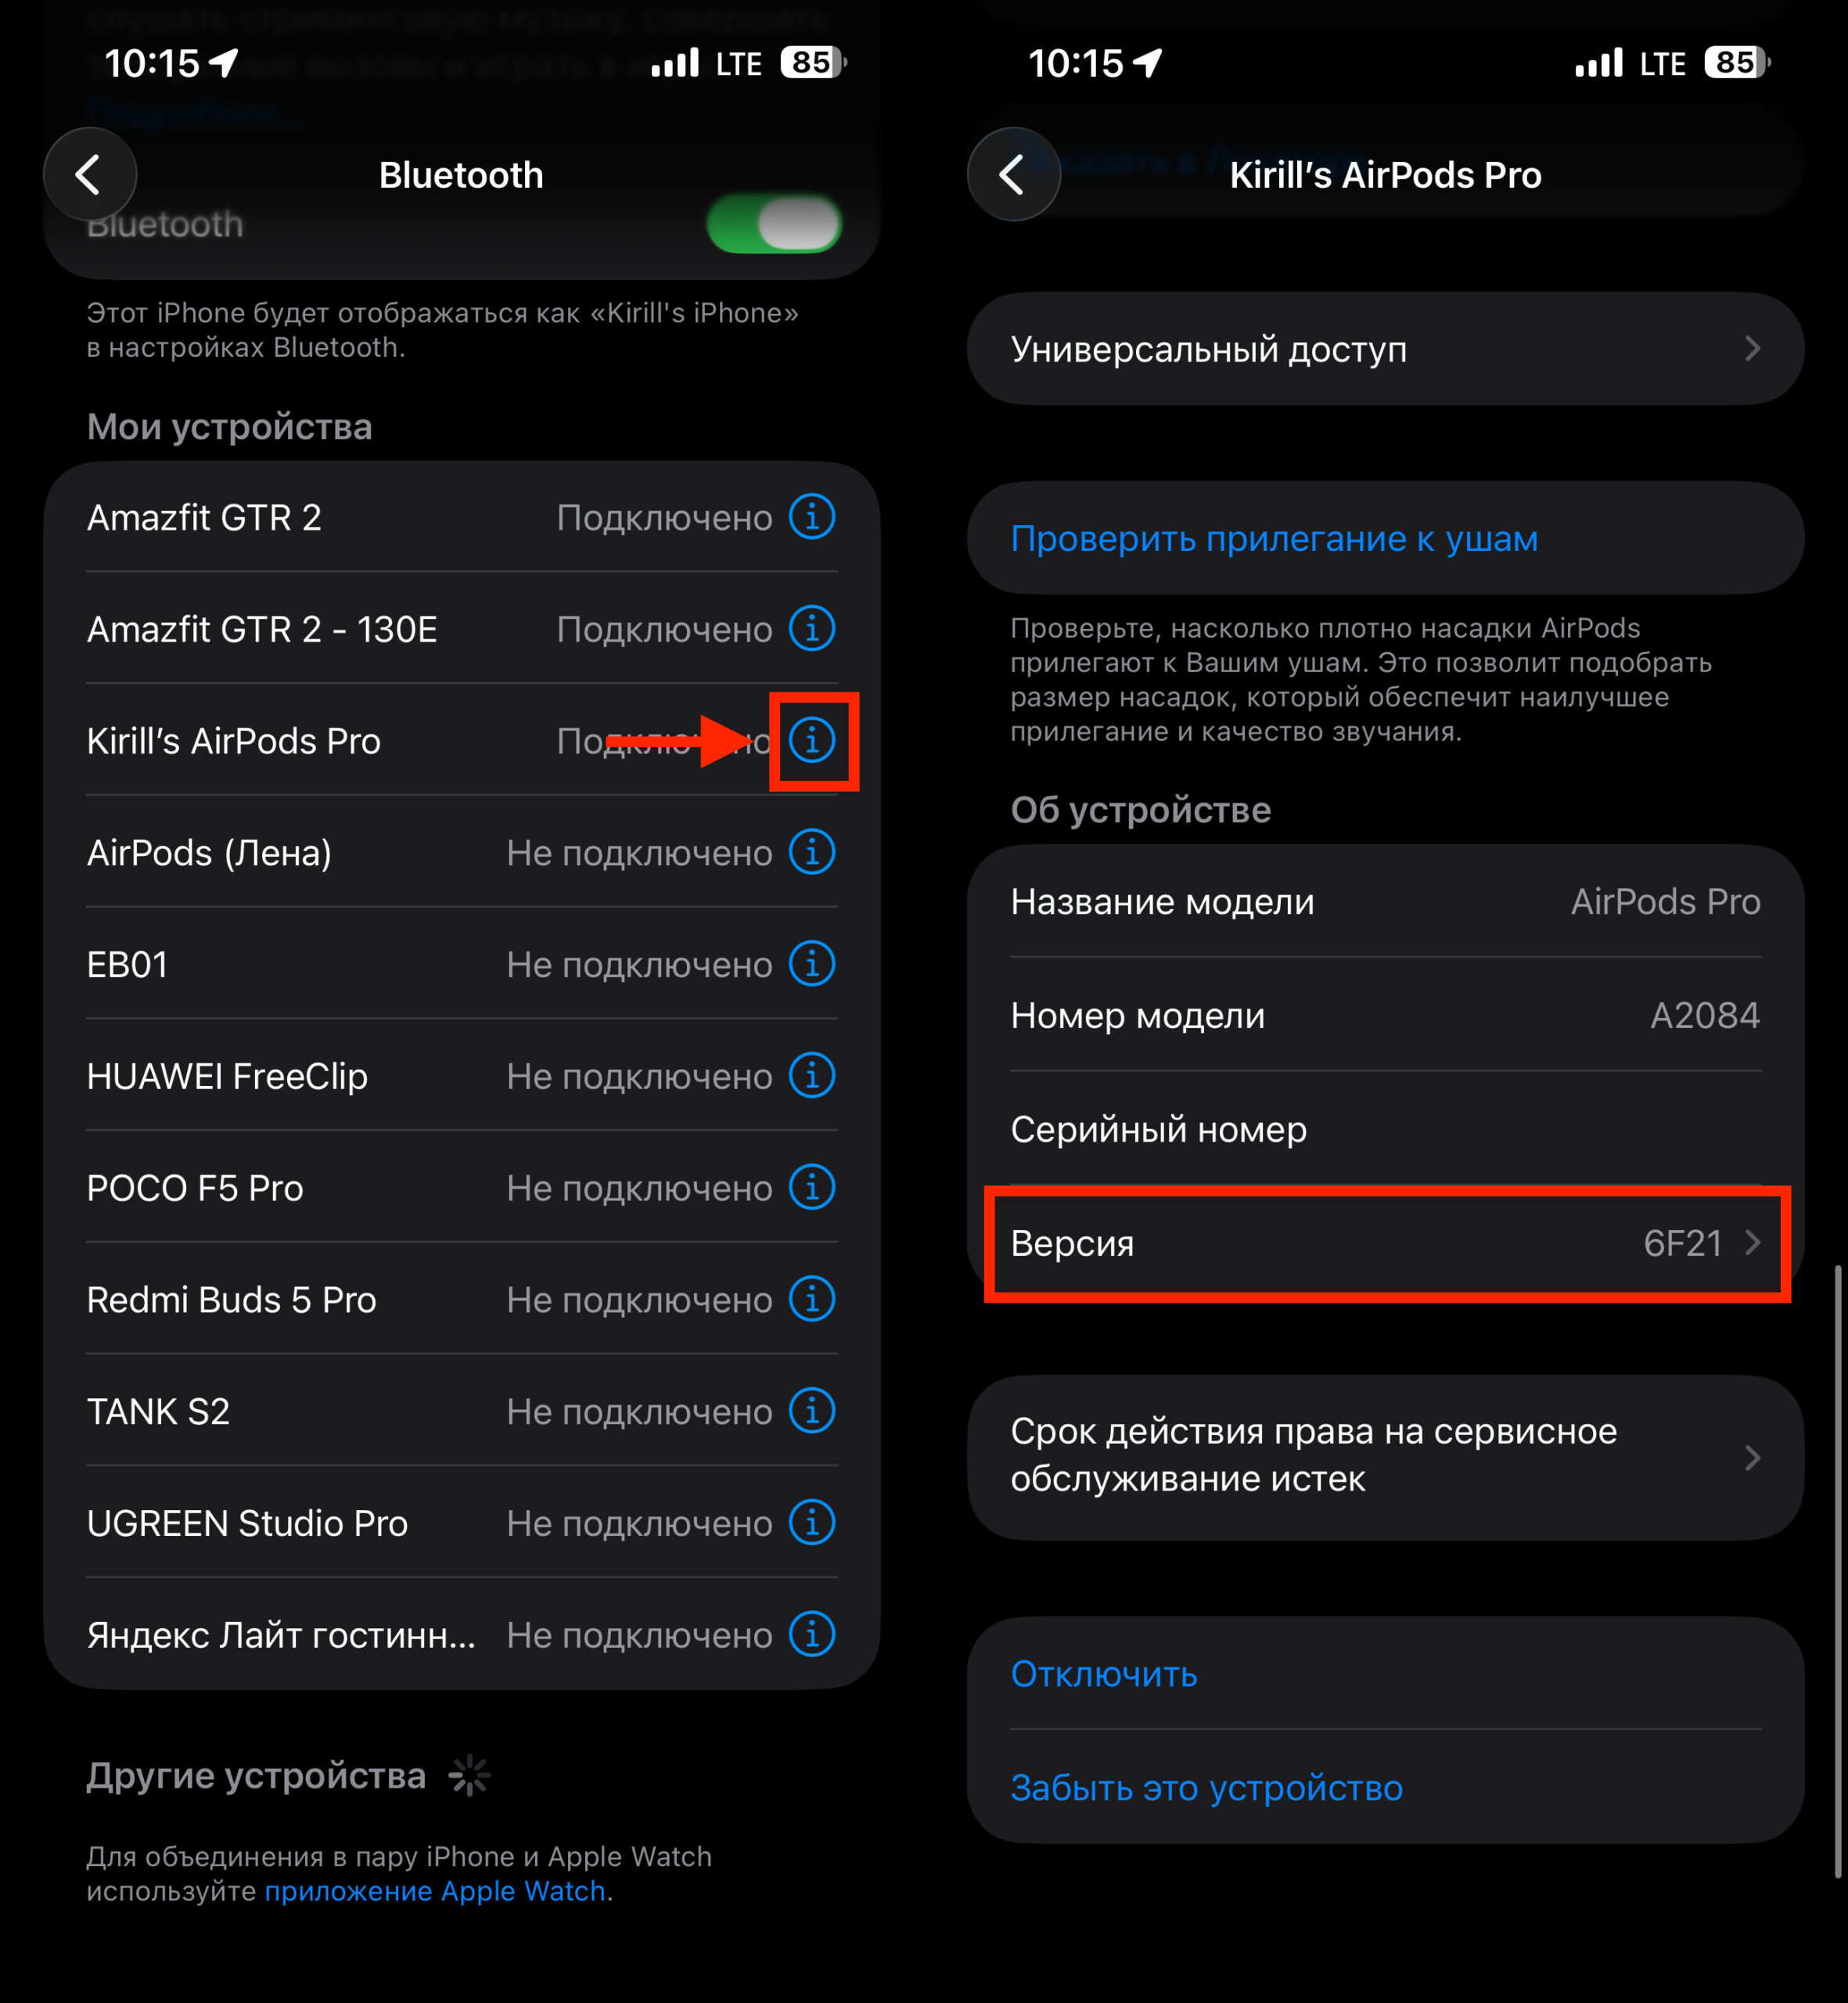
Or navigate through Bluetooth
Second method: go to “Settings” → “Bluetooth,” find your AirPods in the “My Devices” list, and tap the ⓘ icon next to their name. In the window that opens, find the “Version” line.
For current models (AirPods Pro 3, AirPods Pro 2, AirPods 4), the version should be 8B39. If you have an older model, check against the list above.
How to Check AirPods Firmware on Mac
On Mac, the process is also simple, but you’ll need macOS Ventura or newer.
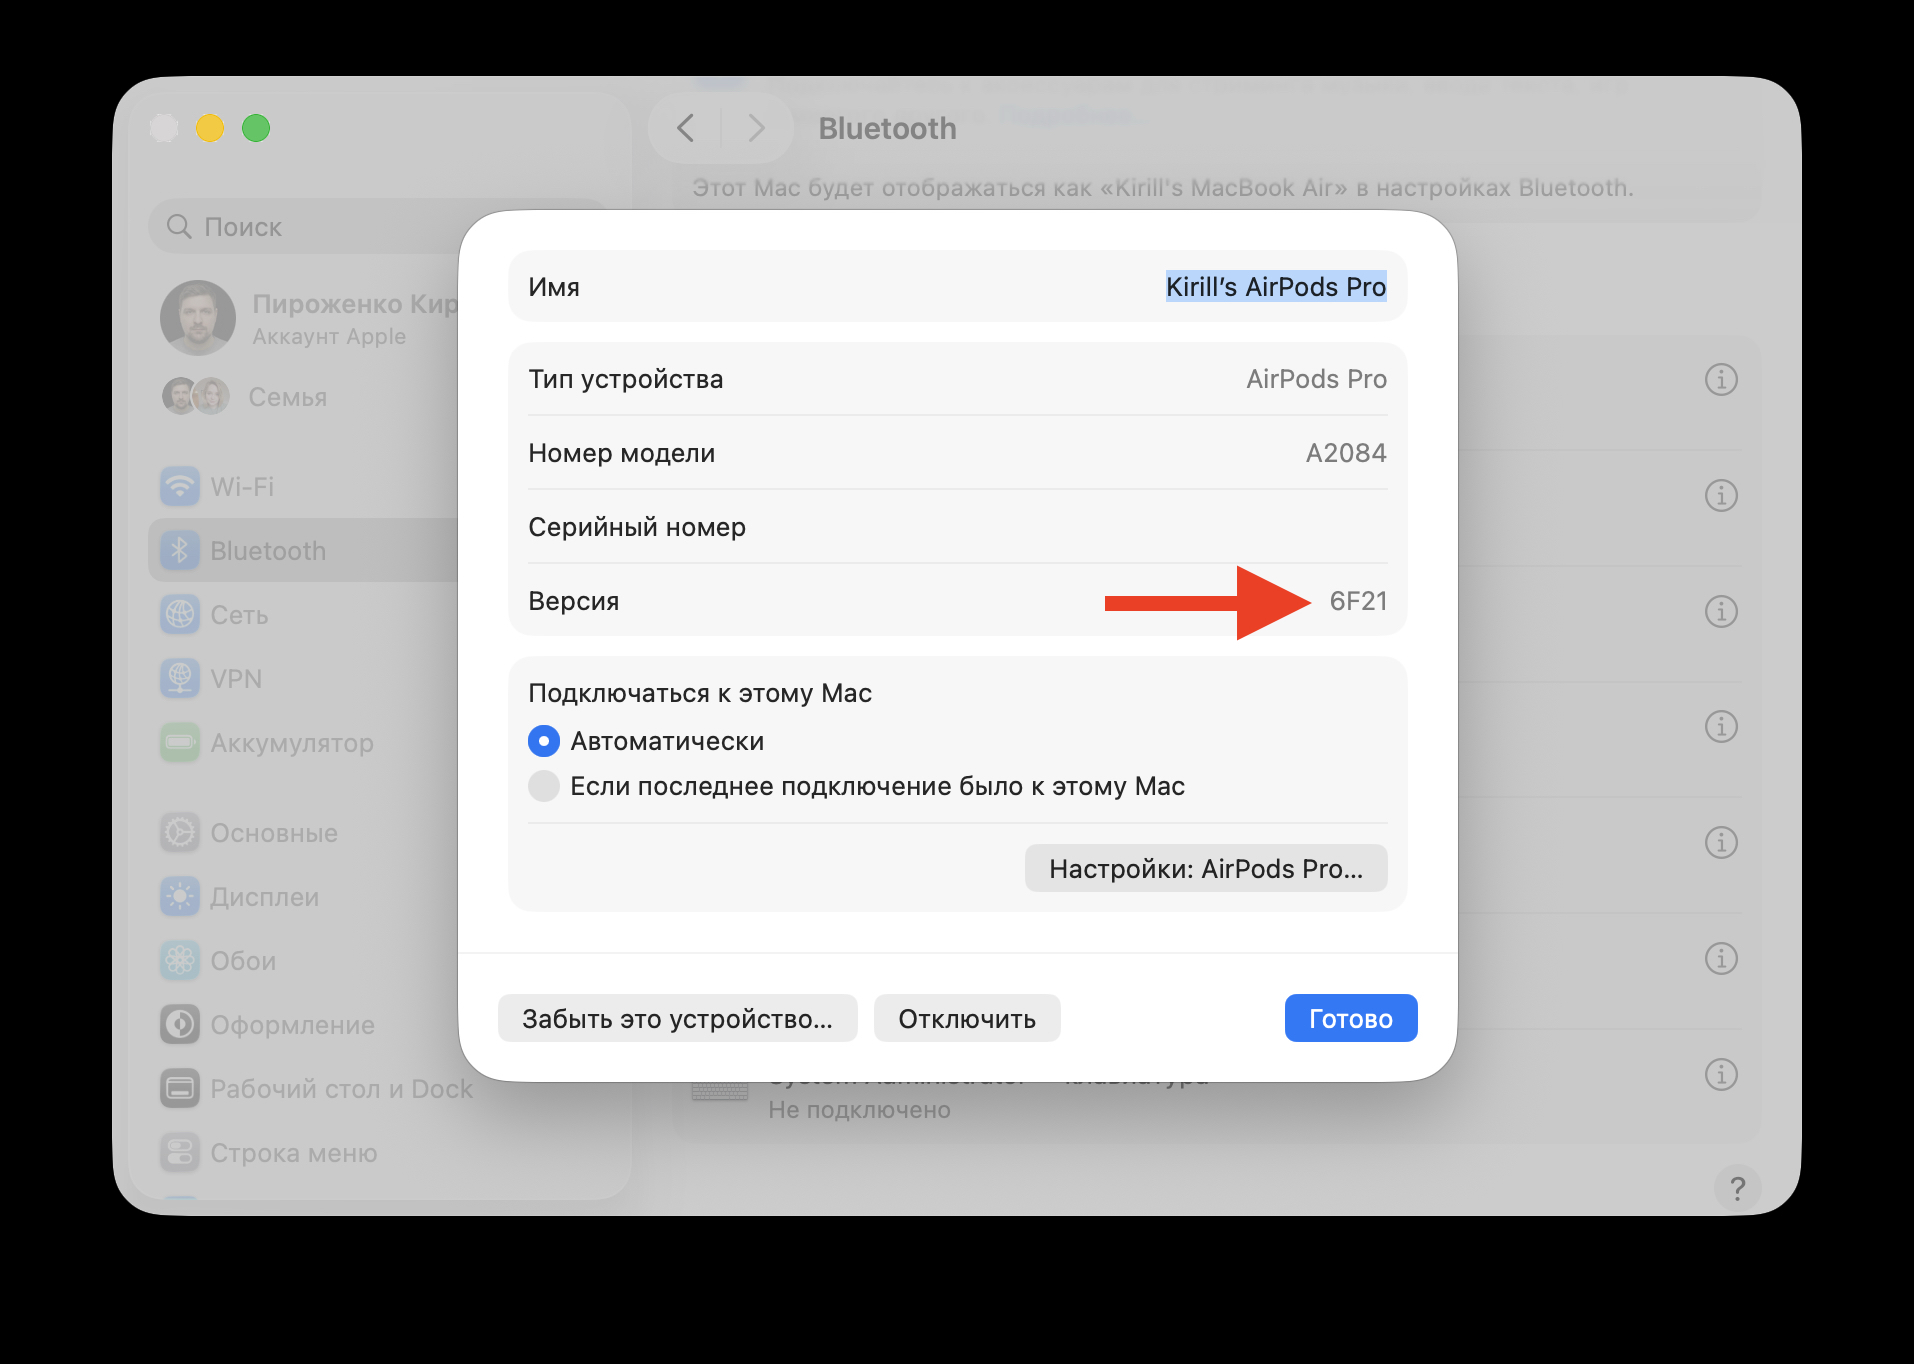
You can also check earbuds firmware on Mac
- Click the Apple icon in the upper-left corner of the screen and select “System Settings.”
- Go to the “Bluetooth” section.
- Find your AirPods in the “My Devices” list and click the ⓘ icon next to the name.
- The firmware version will be displayed in the window that appears.
If the version is outdated, connect the AirPods case to a charger (you can plug it directly into a USB port on your Mac) and wait — the firmware will update automatically.
Should You Update Your AirPods
If the earbuds are working without issues, there’s no need to rush — the firmware will update on its own during the next charge near your iPhone. Usually, users don’t even notice the process. But if you’re experiencing problems — connection drops, incorrect noise cancellation behavior, strange behavior when switching between devices — it’s worth checking the firmware version and updating it manually using the instructions above. These are exactly the kinds of bugs that are typically fixed in such updates.
Owners of AirPods Pro 3, AirPods Pro 2, and AirPods 4 are recommended to make sure the firmware has been updated to 8B39. Owners of older models don’t need to do anything — nothing has changed for them.